本文属于机器翻译版本。若本译文内容与英语原文存在差异,则一律以英文原文为准。
其他应用程序选项
您可能有一个要与 Amazon Cognito 身份验证集成的现有应用程序 UI。您甚至可能拥有自己的现有身份验证页面,其目录设置功能不如 Amazon Cognito 用户池。您可以使用适用于各种编程语言的 Amazon Cognito 集成向此类应用程序添加或替换身份验证组件。 Amazon SDKs 以下为一些示例。
如果您在 Amazon Cognito 控制台中为此目的创建用户池,则可能没有必要拥有托管交互式登录页面和 OpenID Connect(OIDC)服务的用户池域。在控制台中创建用户池的过程会为您自动生成一个域。您可以从用户池的域选项卡中删除此域。其他选项包括通过编程方式为您的应用程序创建 Amazon Cognito 资源, Amazon SDKs 并在 CLI 中使用自动设置选项。 Amazon Amplify 有关更多信息,请参阅 将 Amazon Cognito 身份验证和授权与 Web 和移动应用程序集成。
设置一个示例 React 单页应用程序
在本教程中,您将创建一个 React 单页应用程序,您可以在该应用程序中测试用户注册、确认和登录。React 是一个 JavaScript基于 Web 和移动应用程序的库,重点是用户界面 (UI)。此示例应用程序演示了 Amazon Cognito 用户池的一些基本功能。如果您已经有使用 React 开发 Web 应用程序的经验,请从中下载示例应用程序 GitHub
以下屏幕截图是您要创建的应用程序中的初始身份验证页面。
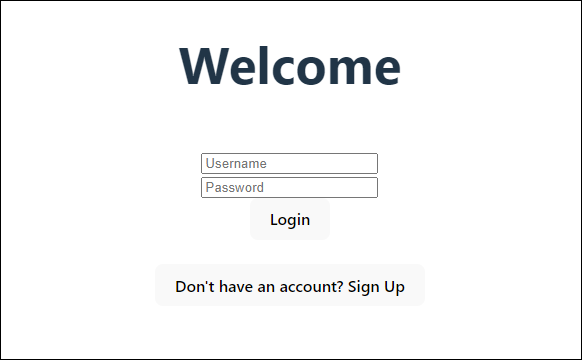
要设置此应用程序,用户池必须满足以下要求:
-
用户可以使用自己的电子邮件地址登录。Cognito 用户池登录选项:电子邮件。
-
用户名不区分大小写。用户名要求:未选择将用户名设为区分大小写。
-
多重身份验证(MFA)不是必需。MFA 强制执行:可选 MFA。
-
您的用户池通过电子邮件消息验证用于确认用户配置文件的属性。要验证的属性:发送电子邮件消息,验证电子邮件地址。
-
电子邮件是唯一必需的属性。必需属性:电子邮件。
-
用户可以在您的用户池中自行注册。自行注册:选中启用自行注册。
-
您的初始应用程序客户端是允许使用用户名和密码登录的公共客户端。应用程序类型:公共客户端,身份验证流程:
ALLOW_USER_PASSWORD_AUTH。
创建 应用程序
要构建此应用程序,您必须设置开发人员环境。开发人员环境要求是:
-
已安装并更新 Node.js。
-
已安装节点包管理器(npm)并更新至版本 10.2.3 及更高版本。
-
可以在 Web 浏览器中通过 TCP 端口 5173 访问该环境。
创建示例 React Web 应用程序
-
登录开发人员环境并导航到应用程序的父目录。
cd~/path/to/project/folder/ -
创建新 React 服务。
npm create vite@latest frontend-client -- --template react-ts -
从上的 Amazon 代码示例存储库中克隆
cognito-developer-guide-react-example项目文件夹GitHub。 cd~/some/other/pathgit clone https://github.com/awsdocs/aws-doc-sdk-examples.gitcp -r ./aws-doc-sdk-examples/javascriptv3/example_code/cognito-identity-provider/scenarios/cognito-developer-guide-react-example/frontend-client~/path/to/project/folder/ -
导航到项目中的
src目录。cd~/path/to/project/folder/frontend-client/src -
编辑
config.json并替换以下值:-
YOUR_AWS_REGION用 Amazon Web Services 区域 代码替换。例如:us-east-1。 -
将
YOUR_COGNITO_USER_POOL_ID替换为您指定用于测试的用户池的 ID。例如:us-east-1_EXAMPLE。用户池必须位于您在 Amazon Web Services 区域 上一步中输入的。 -
将
YOUR_COGNITO_APP_CLIENT_ID替换为您指定用于测试的应用程序客户端的 ID。例如:1example23456789。应用程序客户端必须位于上一步的用户池中。
-
-
如果要从
localhost以外的 IP 访问示例应用程序,请编辑package.json并将行"dev": "vite",更改为"dev": "vite --host 0.0.0.0",。 -
安装应用程序。
npm install -
启动应用程序。
npm run dev -
在 Web 浏览器中通过
http://localhost:5173或http://[IP address]:5173访问应用程序。 -
使用有效的电子邮件地址注册新用户。
-
从电子邮件消息中检索确认码。在应用程序中输入确认码。
-
使用用户名和密码登录。
使用 Amazon Lightsail 创建 React 开发者环境
开始使用此应用程序的一种快速方法是使用 Amazon Lightsail 创建虚拟云服务器。
借助 Lightsail,您可以快速创建一个预先配置了此示例应用程序先决条件的小型服务器实例。您可以使用基于浏览器的客户端通过 SSH 连接到您的实例,并通过公有或私有 IP 地址连接到 Web 服务器。
为此示例应用程序创建 Lightsail 实例
-
前往 Lightsail 控制台
。如果出现提示,请输入您的 Amazon 凭据。 -
选择创建实例。
-
在选择平台中,选择 Linux/Unix。
-
在选择蓝图中,选择 Node.js。
-
在标识您的实例下,为您的开发环境指定一个友好名称。
-
选择创建实例。
-
Lightsail 创建您的实例后,将其选中,然后从 “连接” 选项卡中选择 “使用 SSH 连接”。
-
此时会在浏览器窗口中打开 SSH 会话。运行
node -v和npm -v来确认您的实例已配置了 Node.js 且最低 npm 版本为 10.2.3。
使用 Flutter 设置示例 Android 应用程序
在本教程中,您将在 Android Studio 中创建一个移动应用程序,您可以在该应用程序中模拟设备并测试用户注册、确认和登录。此示例应用程序在 Flutter 中创建一个适合 Android 的基本 Amazon Cognito 用户池移动客户端。如果您已经有使用 Flutter 开发移动应用程序的经验,请从 GitHub中下载示例应用程序
以下屏幕截图显示在虚拟 Android 设备上运行的应用程序。
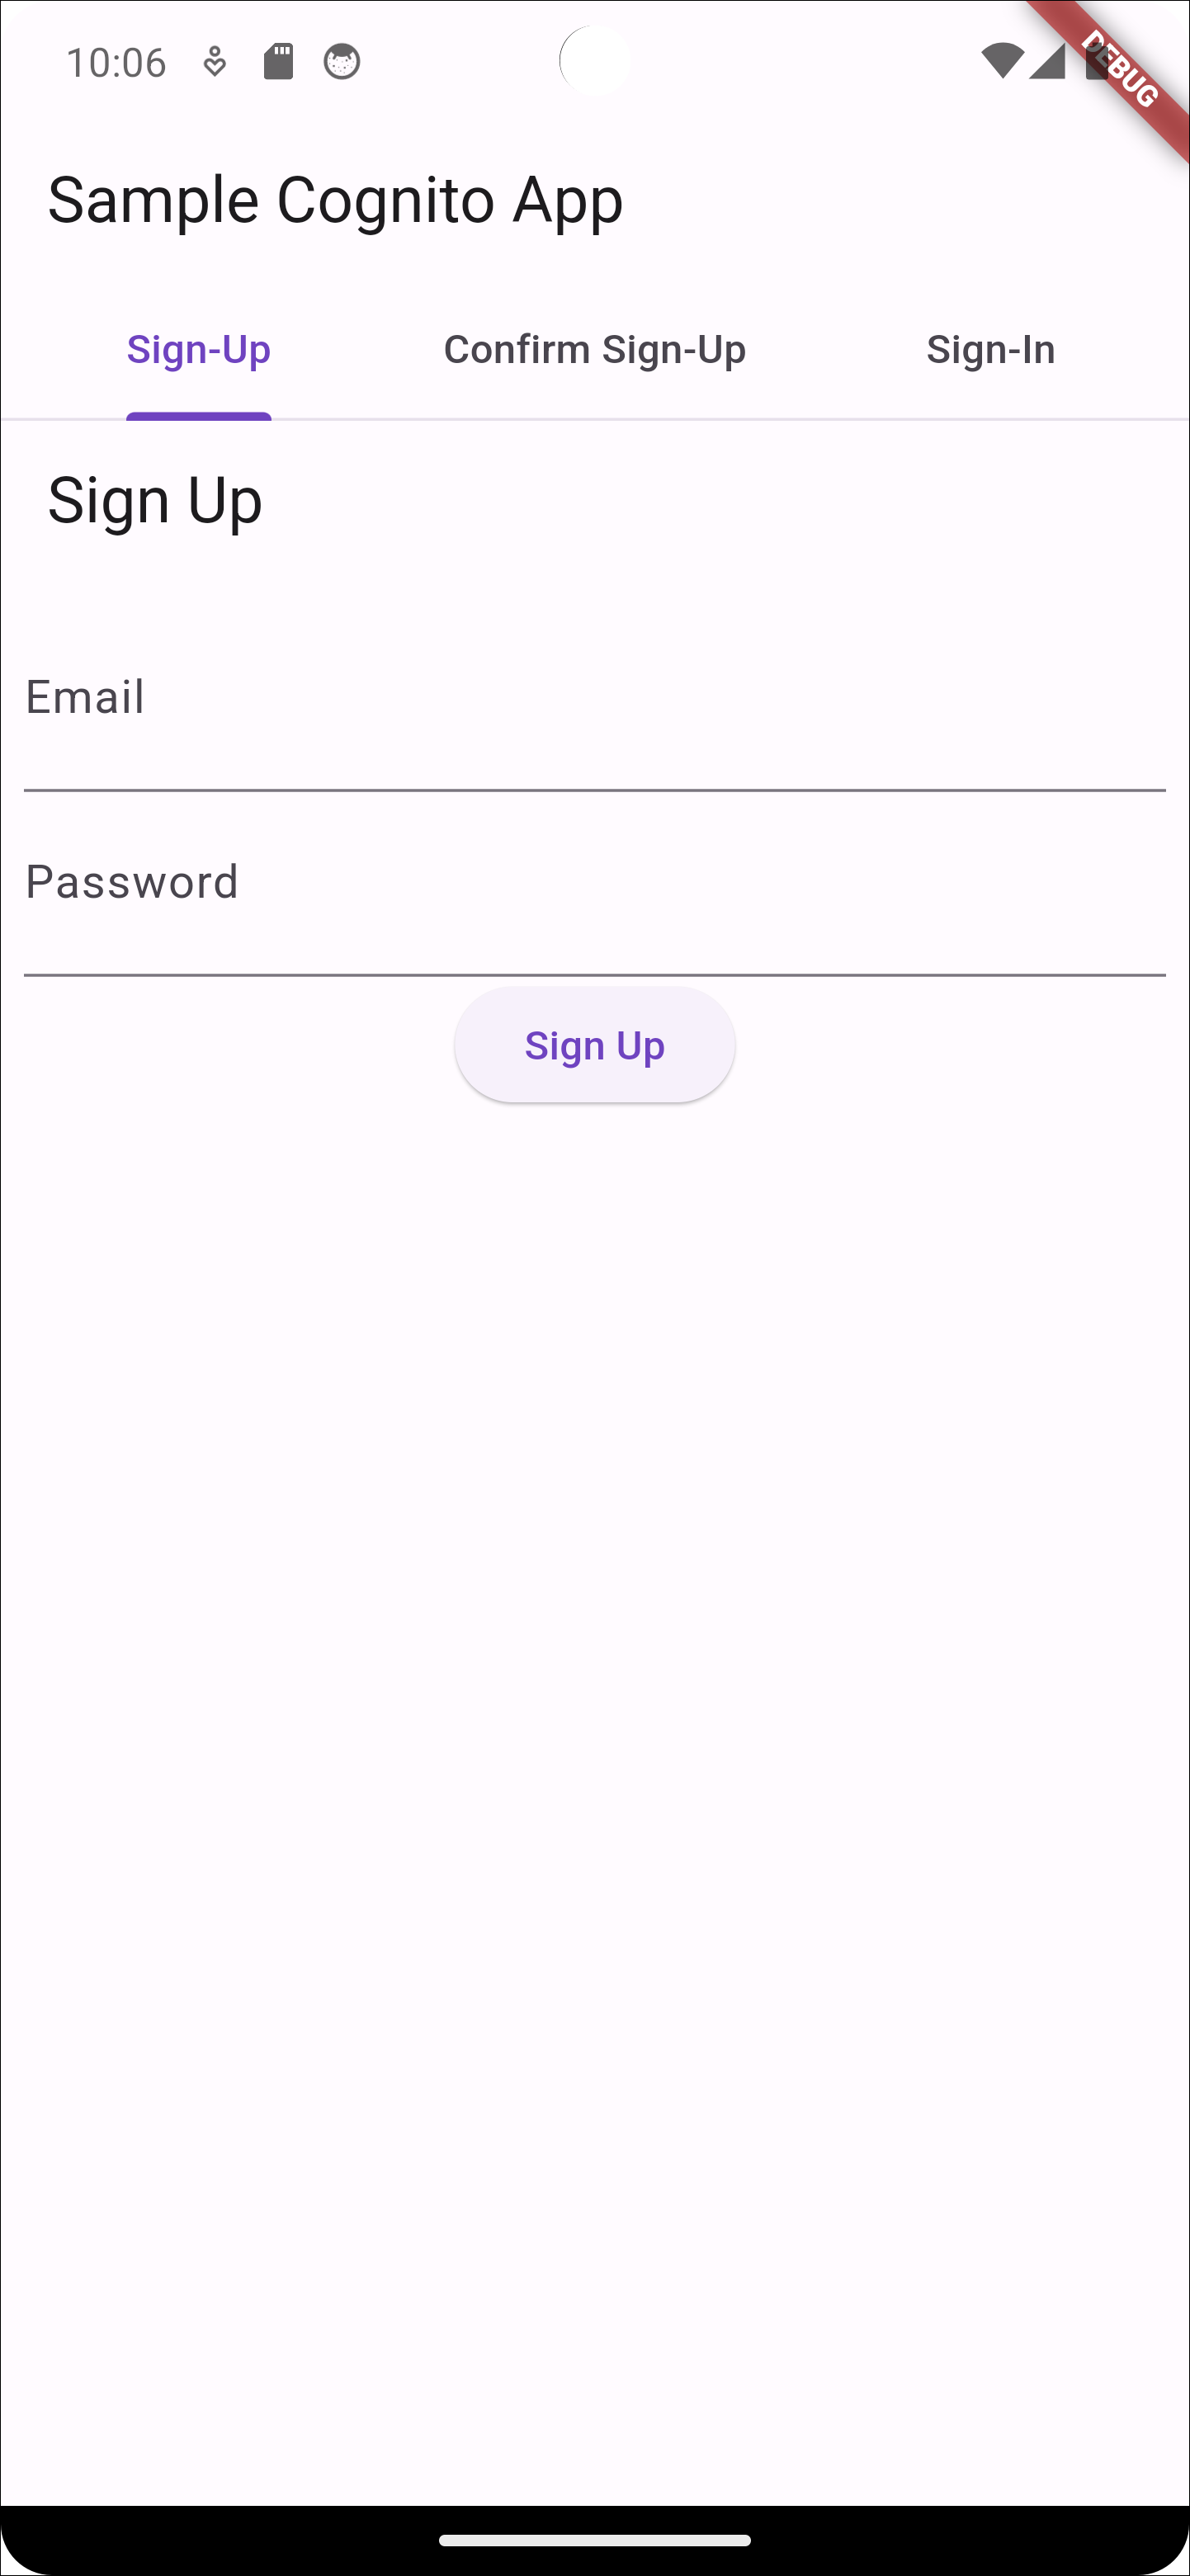
要设置此应用程序,您的用户池必须满足以下要求:
-
用户可以使用自己的电子邮件地址登录。Cognito 用户池登录选项:电子邮件。
-
用户名不区分大小写。用户名要求:未选择将用户名设为区分大小写。
-
多重身份验证(MFA)不是必需。MFA 强制执行:可选 MFA。
-
您的用户池通过电子邮件消息验证用于确认用户配置文件的属性。要验证的属性:发送电子邮件消息,验证电子邮件地址。
-
电子邮件是唯一必需的属性。必需属性:电子邮件。
-
用户可以在您的用户池中自行注册。自行注册:选中启用自行注册。
-
您的初始应用程序客户端是允许使用用户名和密码登录的公共客户端。应用程序类型:公共客户端,身份验证流程:
ALLOW_USER_PASSWORD_AUTH。
创建 应用程序
创建示例 Android 应用程序
-
安装 Android studio
和命令行工具 。 -
在 Android Studio 中,安装 Flutter 插件
。 -
根据这个示例应用程序
中 cognito_flutter_mobile_app目录的内容创建一个新的 Android Studio 项目。-
编辑
assets/config.json<<YOUR USER POOL ID>>和<< YOUR CLIENT ID>>替换 IDs 为用户池和应用程序客户端的。
-
-
安装 Flutter
。 -
将 Flutter 添加到 PATH 变量中。
-
使用以下命令接受许可证。
flutter doctor --android-licenses -
验证您的 Flutter 环境并安装所有缺失的组件。
flutter doctor-
如果缺少任何组件,请运行
flutter doctor -v以了解如何修复问题。
-
-
切换到新 Flutter 项目的目录并安装依赖项。
-
运行
flutter pub add amazon_cognito_identity_dart_2。
-
-
运行
flutter pub add flutter_secure_storage。
-
-
创建虚拟 Android 设备。
-
在 Android Studio GUI 中,使用设备管理器
创建新设备。 -
在 CLI 中,运行
flutter emulators --create --name
                  android-device
。
-
-
启动您的虚拟 Android 设备。
-
在 Android Studio GUI 中,选择虚拟设备旁边的启动
 图标。
图标。 -
在 CLI 中,运行
flutter emulators --launch android-device。
-
-
在虚拟设备上启动应用程序。
-
在 Android Studio GUI 中,选择部署
 图标。
图标。 -
在 CLI 中,运行
flutter run。
-
-
在 Android Studio 中导航到正在运行的虚拟设备。
-
使用有效的电子邮件地址注册新用户。
-
从电子邮件消息中检索确认码。在应用程序中输入确认码。
-
使用用户名和密码登录。