Launch an EC2 instance to connect with your DB instance
Create an Amazon EC2 instance in the public subnet of your VPC.
To launch an EC2 instance
Sign in to the Amazon Web Services Management Console and open the Amazon EC2 console at https://console.amazonaws.cn/ec2/
. -
In the upper-right corner of the Amazon Web Services Management Console, choose the Amazon Web Services Region where you want to create the EC2 instance.
-
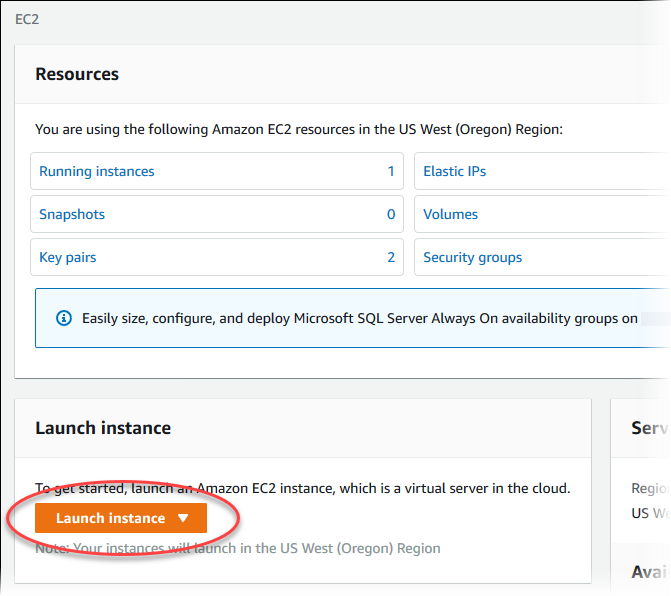
Choose EC2 Dashboard, and then choose Launch instance, as shown following.

-
Choose the following settings in the Launch an instance page.
-
Under Name and tags, for Name, enter
tutorial-ec2-instance-web-server. -
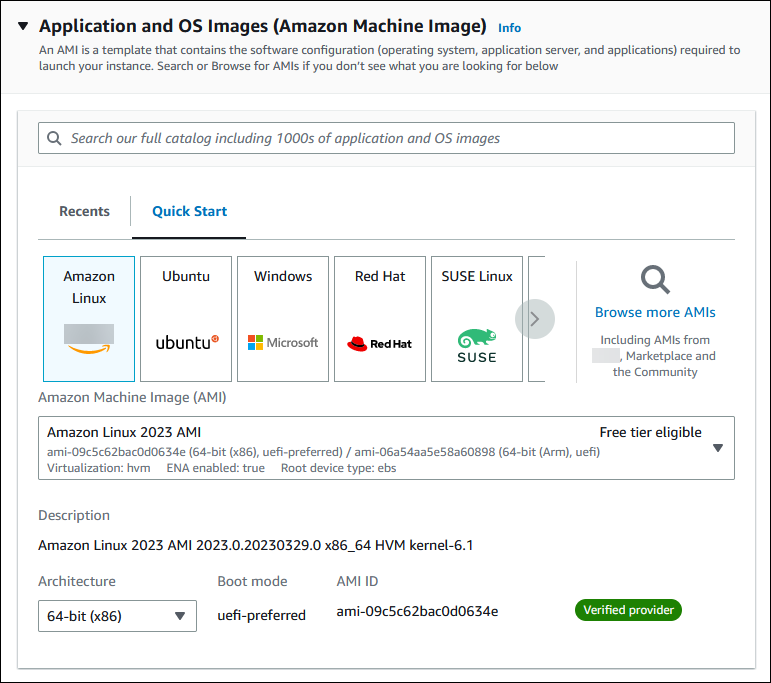
Under Application and OS Images (Amazon Machine Image), choose Amazon Linux, and then choose the Amazon Linux 2023 AMI. Keep the defaults for the other choices.

-
Under Instance type, choose t2.micro.
-
Under Key pair (login), choose a Key pair name to use an existing key pair. To create a new key pair for the Amazon EC2 instance, choose Create new key pair and then use the Create key pair window to create it.
For more information about creating a new key pair, see Create a key pair in the Amazon EC2 User Guide.
-
Under Network settings, set these values and keep the other values as their defaults:
-
For Allow SSH traffic from, choose the source of SSH connections to the EC2 instance.
You can choose My IP if the displayed IP address is correct for SSH connections.
Otherwise, you can determine the IP address to use to connect to EC2 instances in your VPC using Secure Shell (SSH). To determine your public IP address, in a different browser window or tab, you can use the service at https://checkip.amazonaws.com
. An example of an IP address is 203.0.113.25/32.In many cases, you might connect through an internet service provider (ISP) or from behind your firewall without a static IP address. If so, make sure to determine the range of IP addresses used by client computers.
Warning
If you use
0.0.0.0/0for SSH access, you make it possible for all IP addresses to access your public instances using SSH. This approach is acceptable for a short time in a test environment, but it's unsafe for production environments. In production, authorize only a specific IP address or range of addresses to access your instances using SSH. -
Turn on Allow HTTPs traffic from the internet.
-
Turn on Allow HTTP traffic from the internet.

-
-
Leave the default values for the remaining sections.
-
Review a summary of your instance configuration in the Summary panel, and when you're ready, choose Launch instance.
-
-
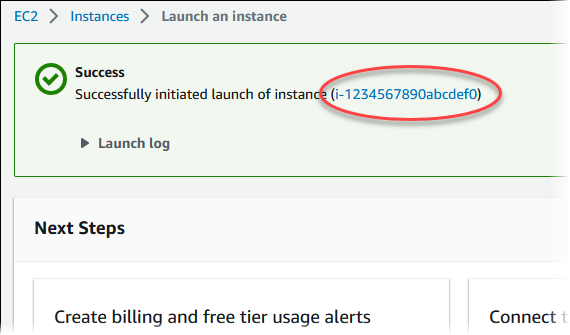
On the Launch Status page, note the identifier for your new EC2 instance, for example:
i-1234567890abcdef0.
-
Choose the EC2 instance identifier to open the list of EC2 instances, and then select your EC2 instance.
-
In the Details tab, note the following values, which you need when you connect using SSH:
-
In Instance summary, note the value for Public IPv4 DNS.

-
In Instance details, note the value for Key pair name.

-
-
Wait until Instance state for your instance is Running before continuing.
-
Complete Create an Amazon RDS DB instance.