Using drivers with Amazon Glue DataBrew
A database driver is a file or URL that implements a database connection protocol, for example Java Database Connectivity (JDBC). The driver functions as an adaptor or a translator between a specific database management system (DBMS) and another system.
In this case, it allows Amazon Glue DataBrew to connect to your data. Then you can access a database object, like a table or view, from a supported data source. The data source that you're using might be called a database, a data warehouse, or something else. However, for the purpose of this documentation we refer to all data providers as data sources or connections.
To use a JDBC driver or jar file, download the file or files you need and put them in an S3 bucket. The IAM role that you use to access the data needs to have read permissions for both the driver files.
Note
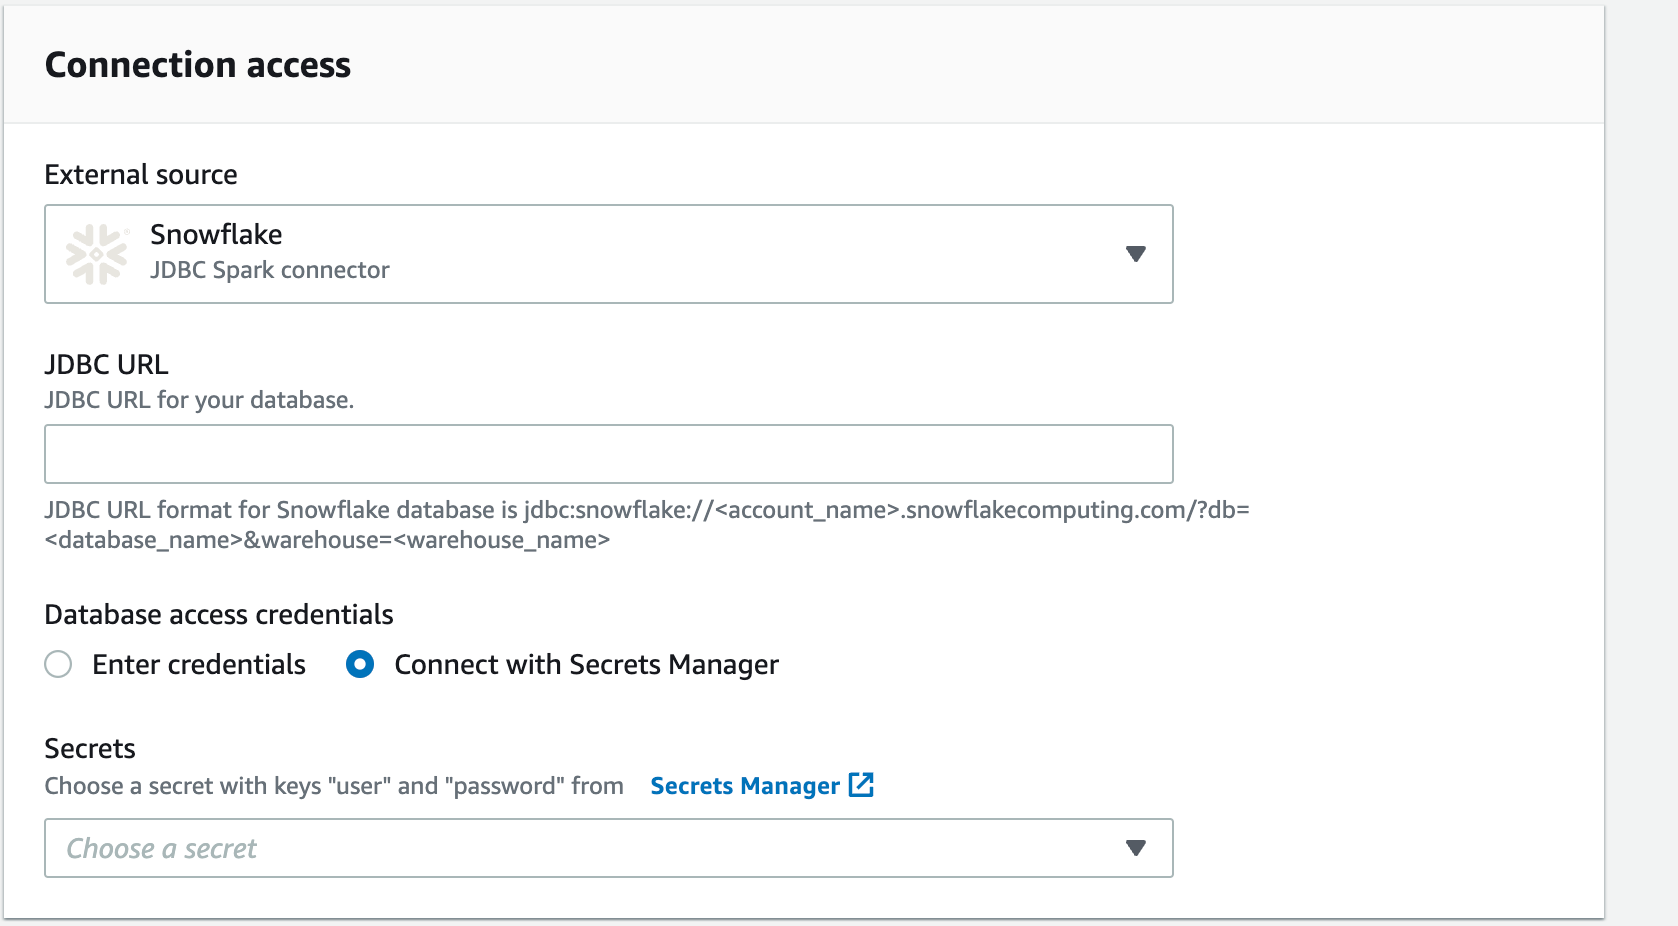
With Amazon Glue 4.0, connecting to Snowflake as a data source is supported natively. You don't need to
provide custom jar files. In Amazon Glue DataBrew, choose Snowflake as the External source connection and
provide the URL of your Snowflake instance. The URL will use a hostname in the form
https://account_identifier.snowflakecomputing.com.
Provide the data access credentials, Snowflake database name, and Snowflake schema name. Additionally, if your Snowflake user does not have a default warehouse set, you will need to provide a warehouse name.
Snowflake connections use an Amazon Secrets Manager secret to provide credential information. Your project and job roles in must have permission to read this secret.

To use drivers with DataBrew
-
Find out which version of your data source you're on, using the method provided by the product.
-
Find the latest version of connectors and driver required. You can locate this information on the data providers website.
-
Download the required version of the JDBC files. These are normally stored as Java ARchives (.JAR) files.
-
Either upload the drivers from the console to your S3 bucket or provide the S3 path to your .JAR files.
-
Enter the basic connection details, for example class, instance, and so on.
-
Enter any additional configuration information that your data source needs, for example virtual private cloud (VPC) information.