Author and run data preparation recipes in a visual ETL Amazon Glue job
In this scenario, you can author data preparation recipes without having to first create them in DataBrew. Before you can start authoring recipes, you must:
-
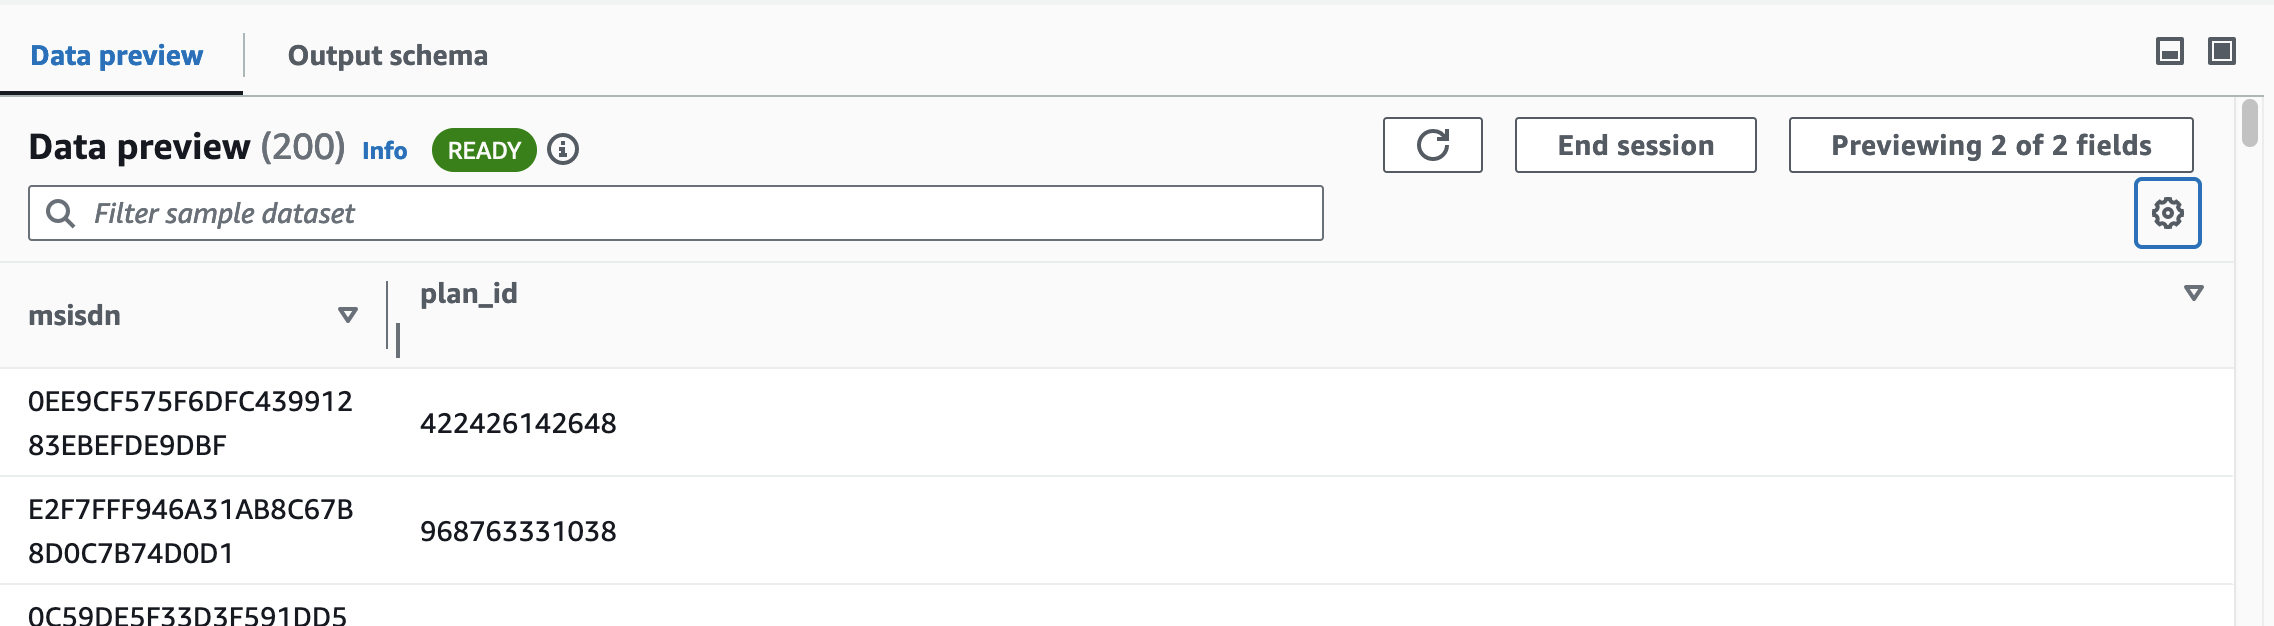
Have an active Data Preview session running. When the data preview session is READY, then Author Recipe will become active and you can begin authoring or editing your recipe.

-
Ensure that the toggle for Automatically import glue libraries is enabled.
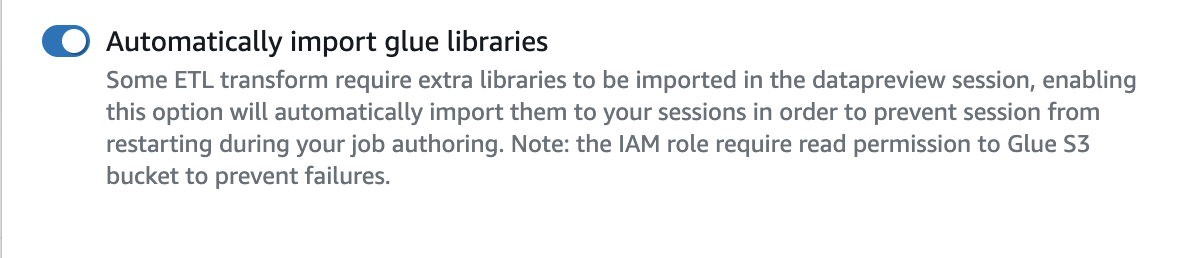
You can do this by choosing the gear icon in the Data Preview pane.
To author a data preparation recipe in Amazon Glue Studio:
-
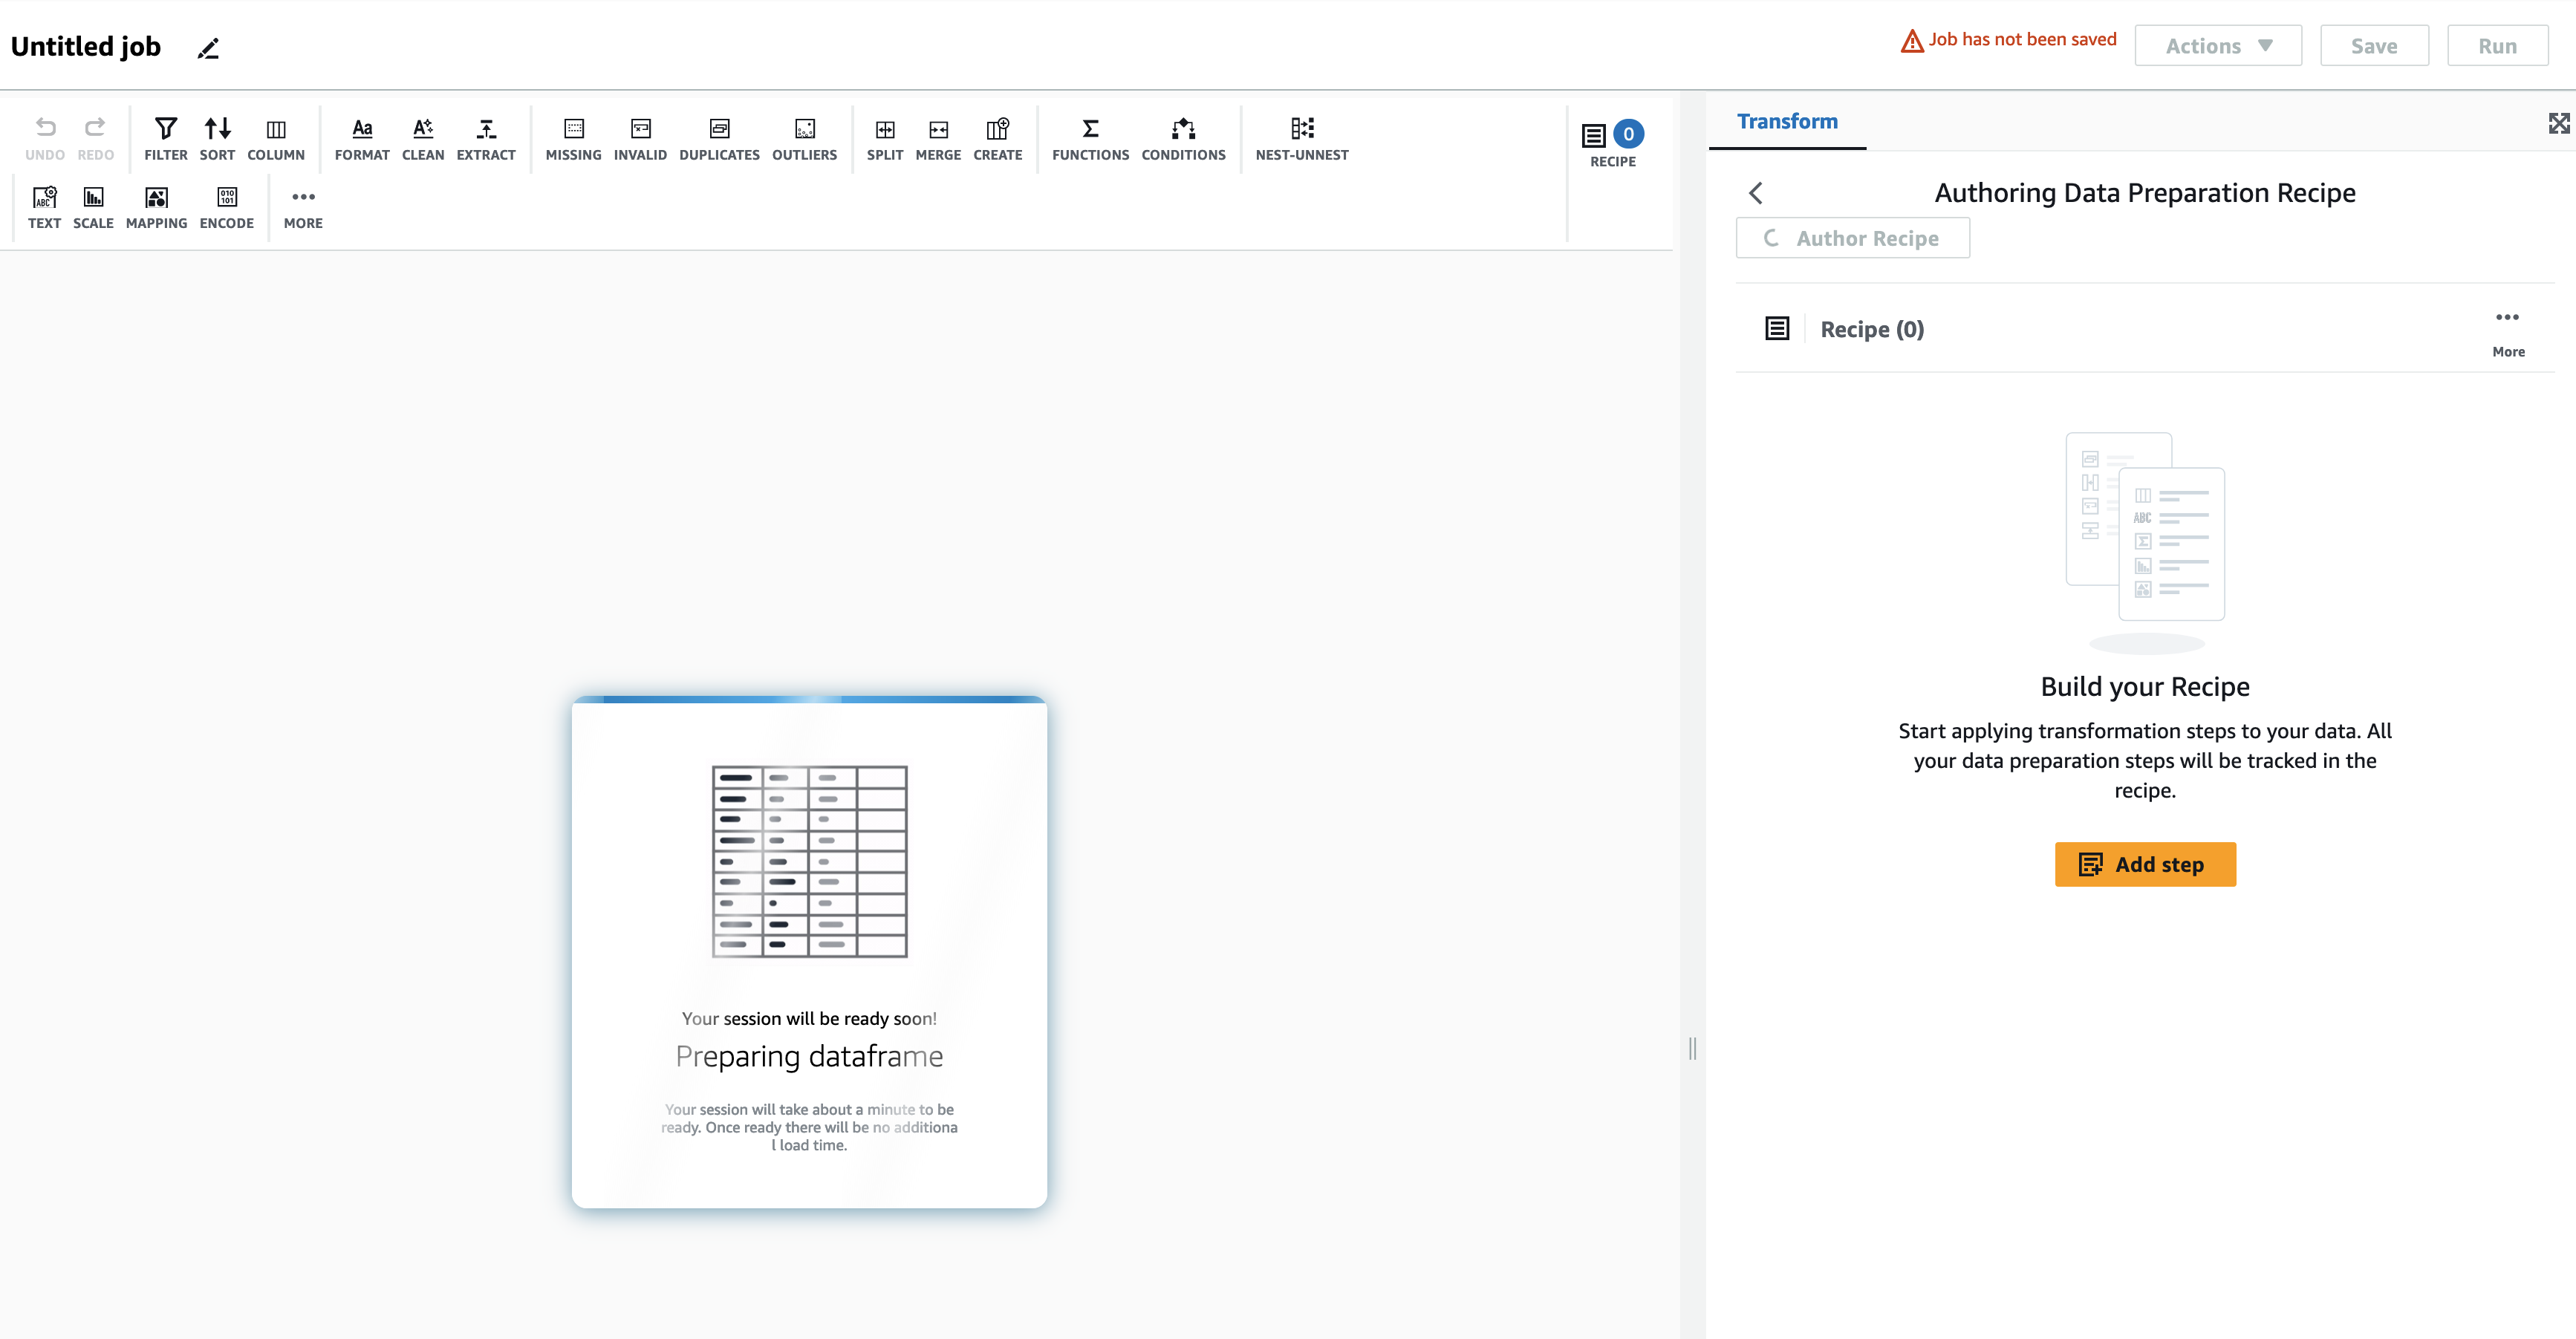
Add the Data Preparation Recipe transform to your job canvas. Your transform should be connected to a data source node parent. When adding the Data Preparation Recipe node, the node will restart with the proper libraries and you will see the Data Frame being prepared.
-
Once the Data Preview session is ready, the data with any previously applied steps will appear on the bottom of the screen.
-
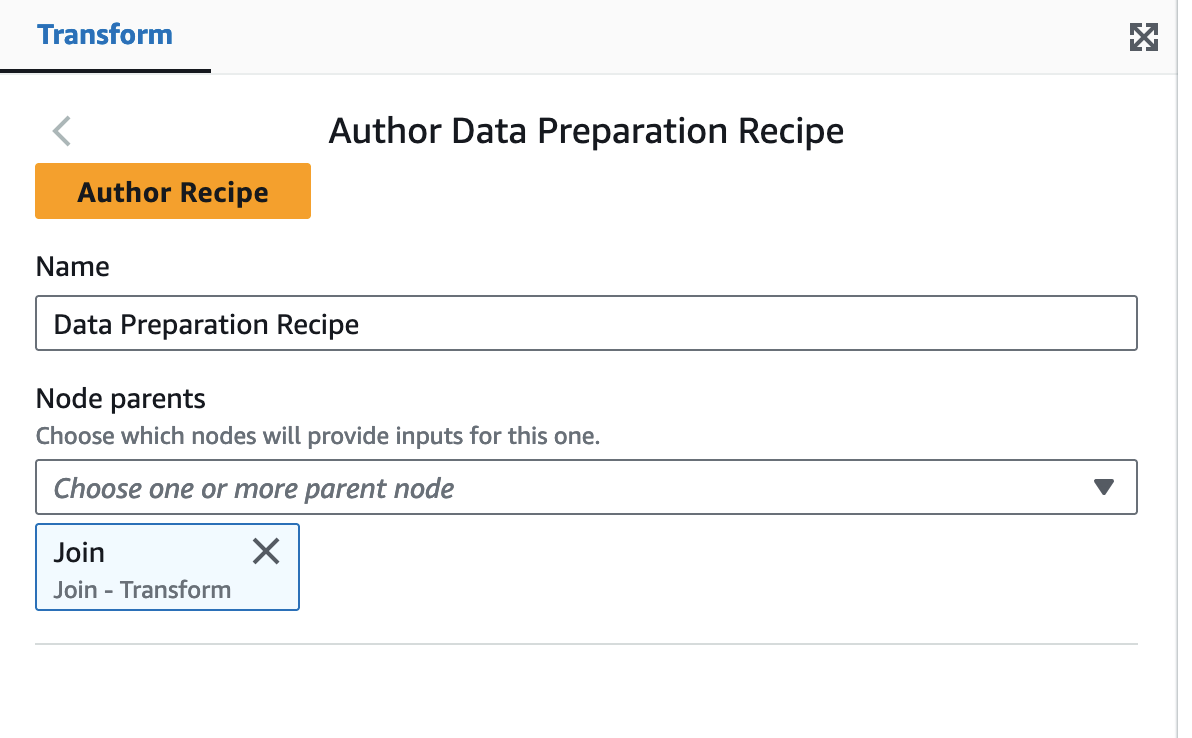
Choose Author Recipe. This will allow you to start a new recipe in Amazon Glue Studio.
-
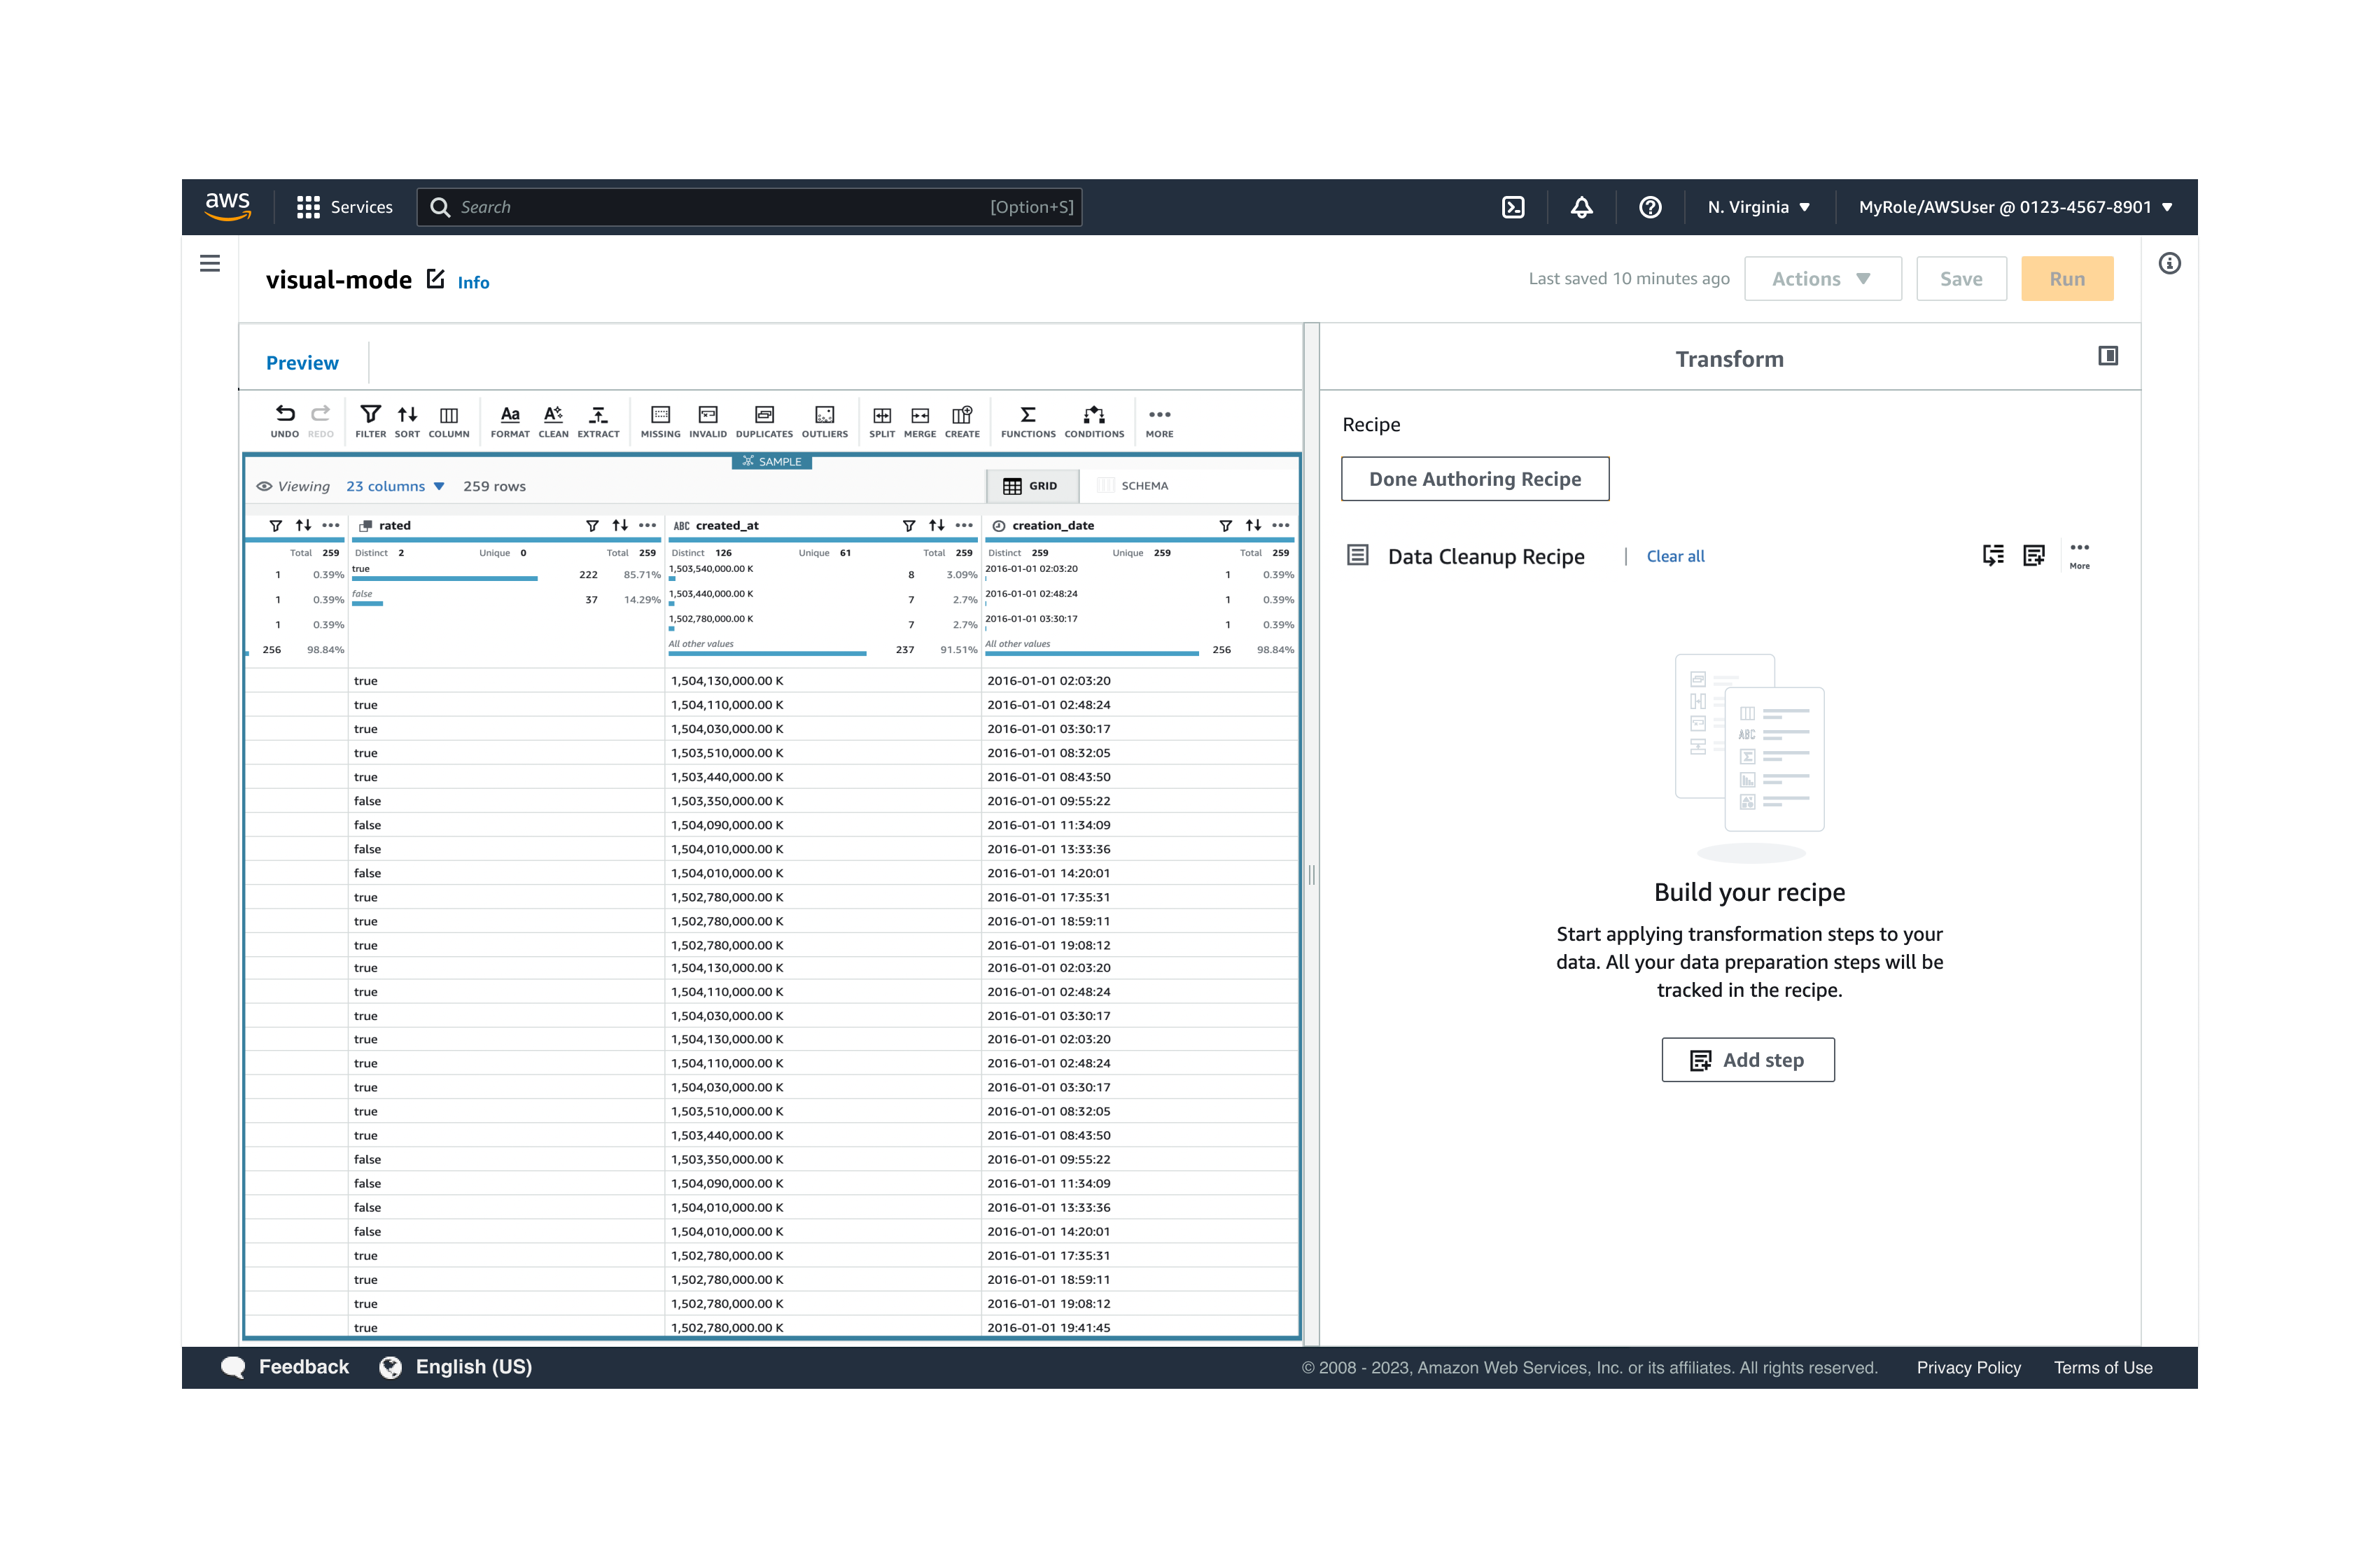
In the Transform panel to the right of the job canvas, enter a name for your data preparation recipe.
-
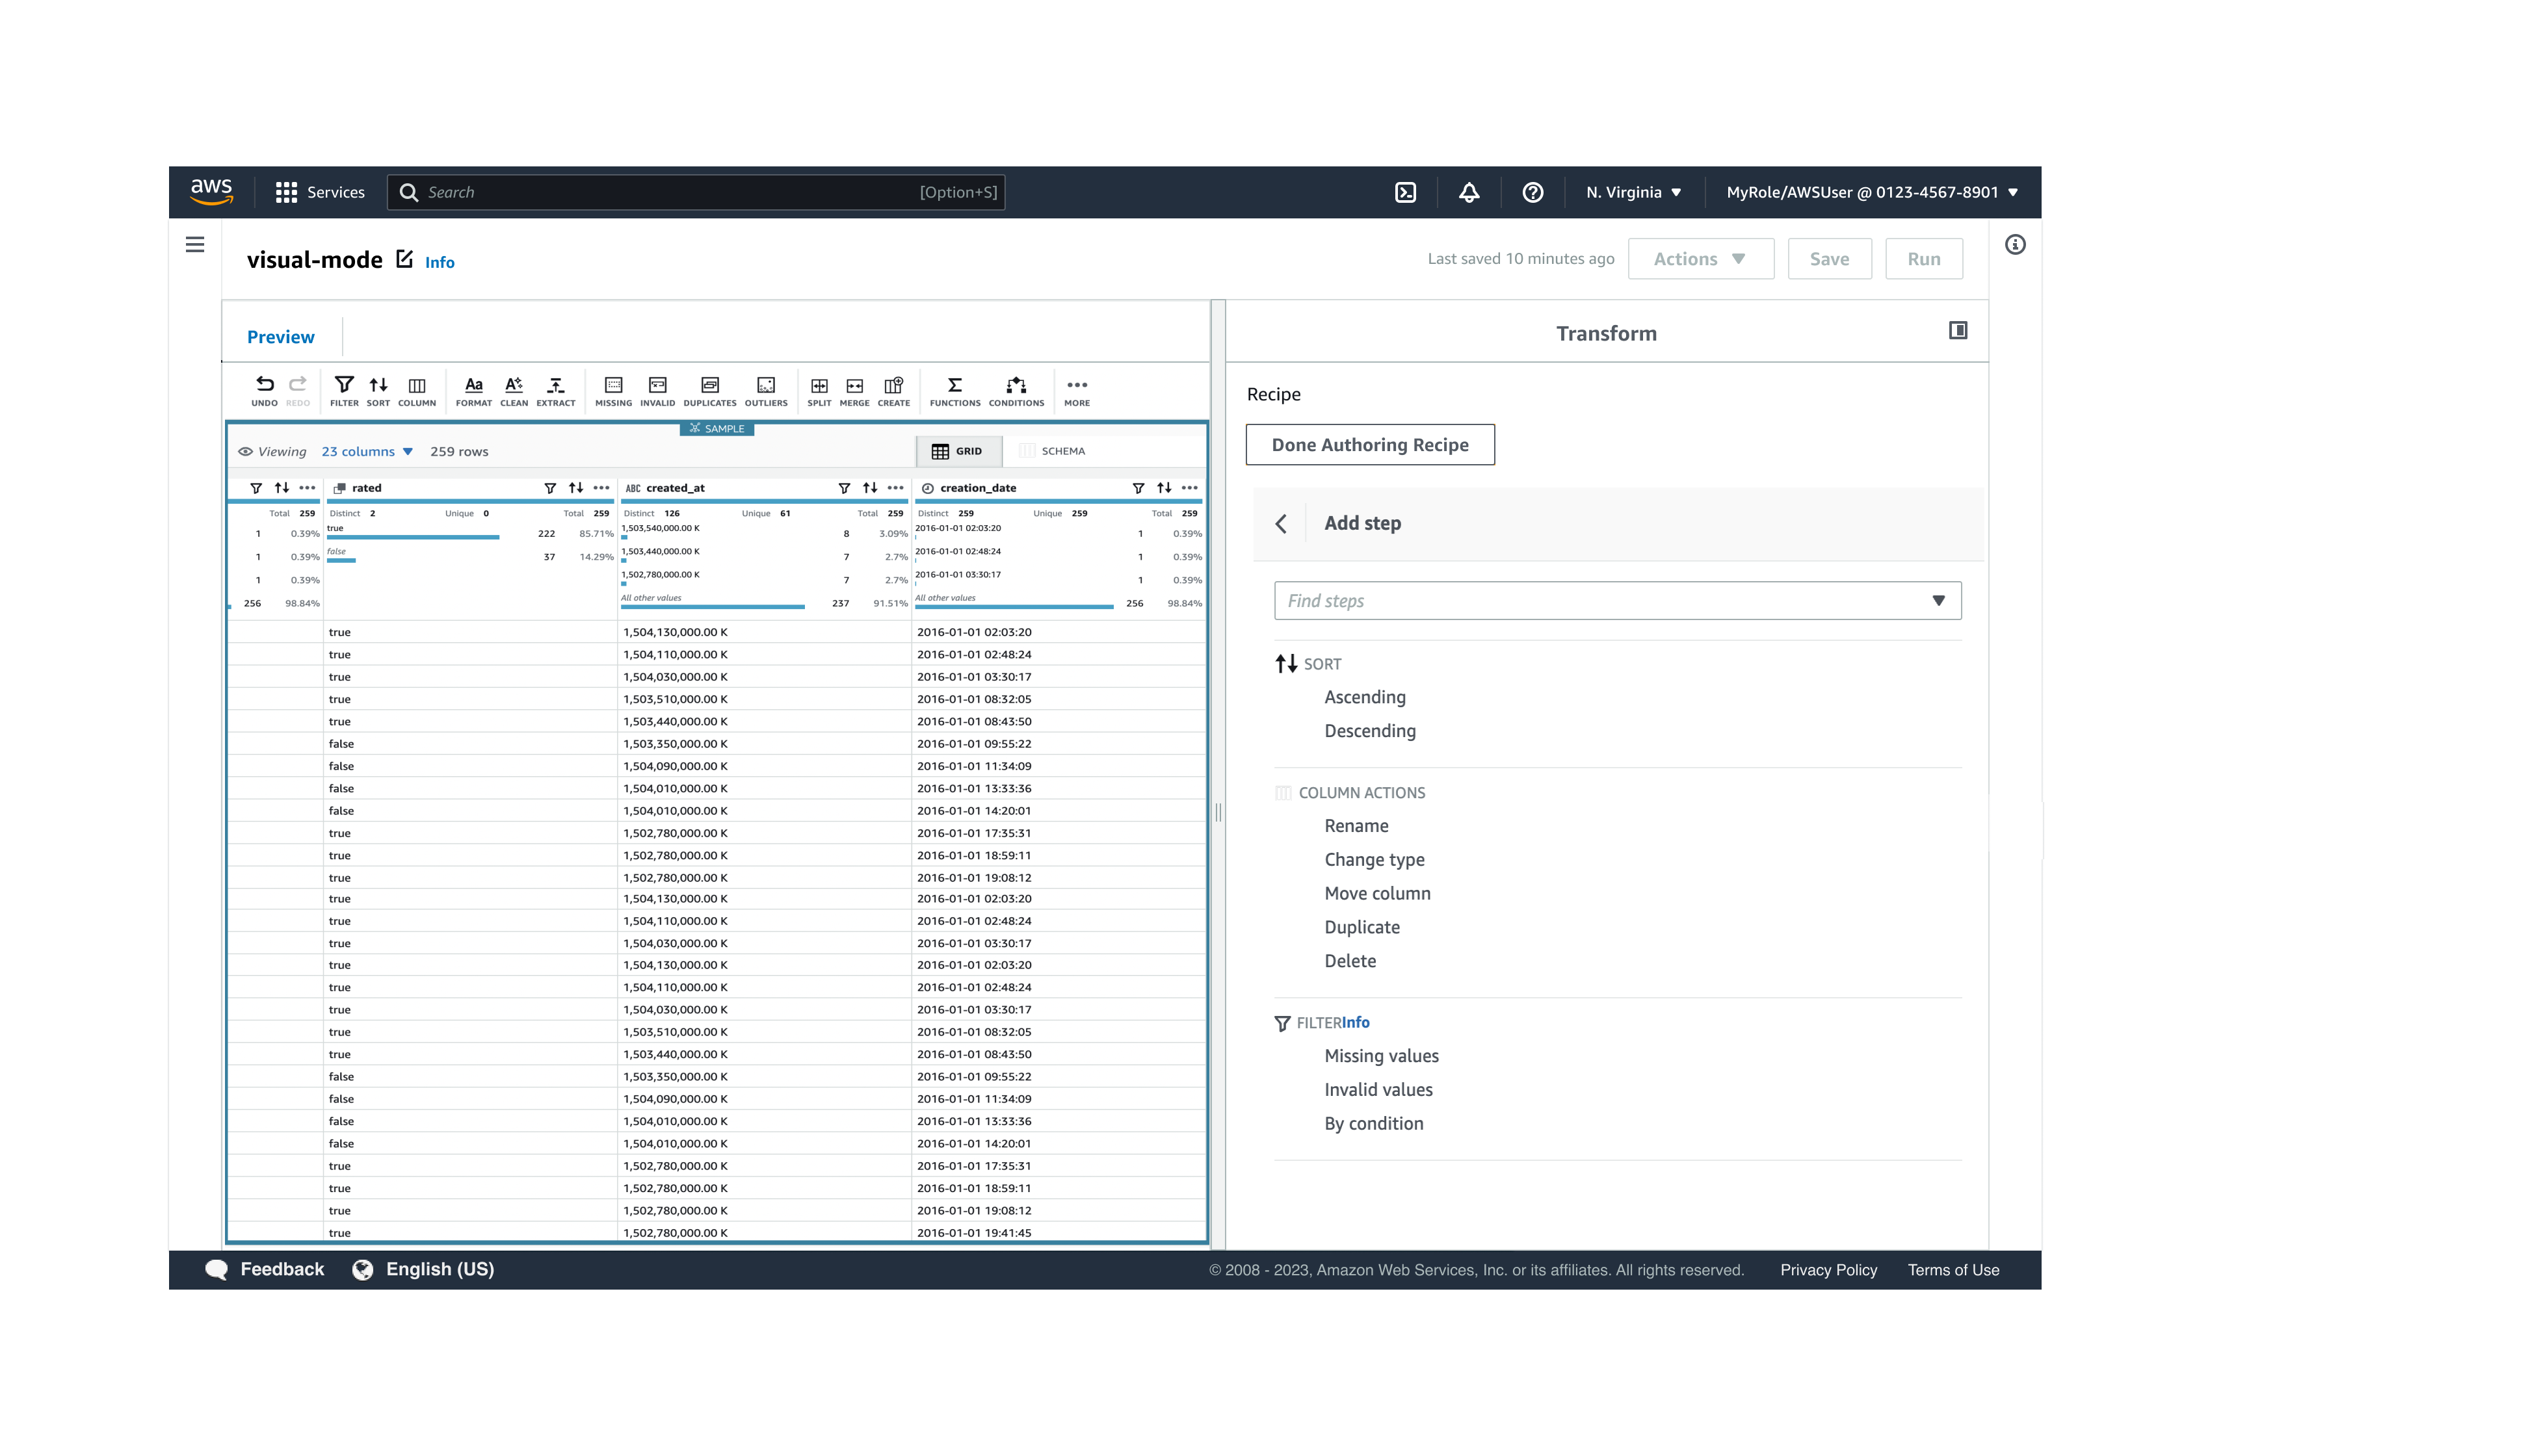
On the left-side, the canvas will be replaced with a grid view of your data. To the right, the Transform panel will change to show you your recipe steps. Choose Add step to add the first step in your recipe.
-
In the Transform panel, choose to sort, take an action on the column, and filter values. For example, choose Rename column.
-
In the Transform panel on the right-side, options for renaming a column allow you to choose the source column to rename, and to enter the new column name. Once you have done so, choose Apply.
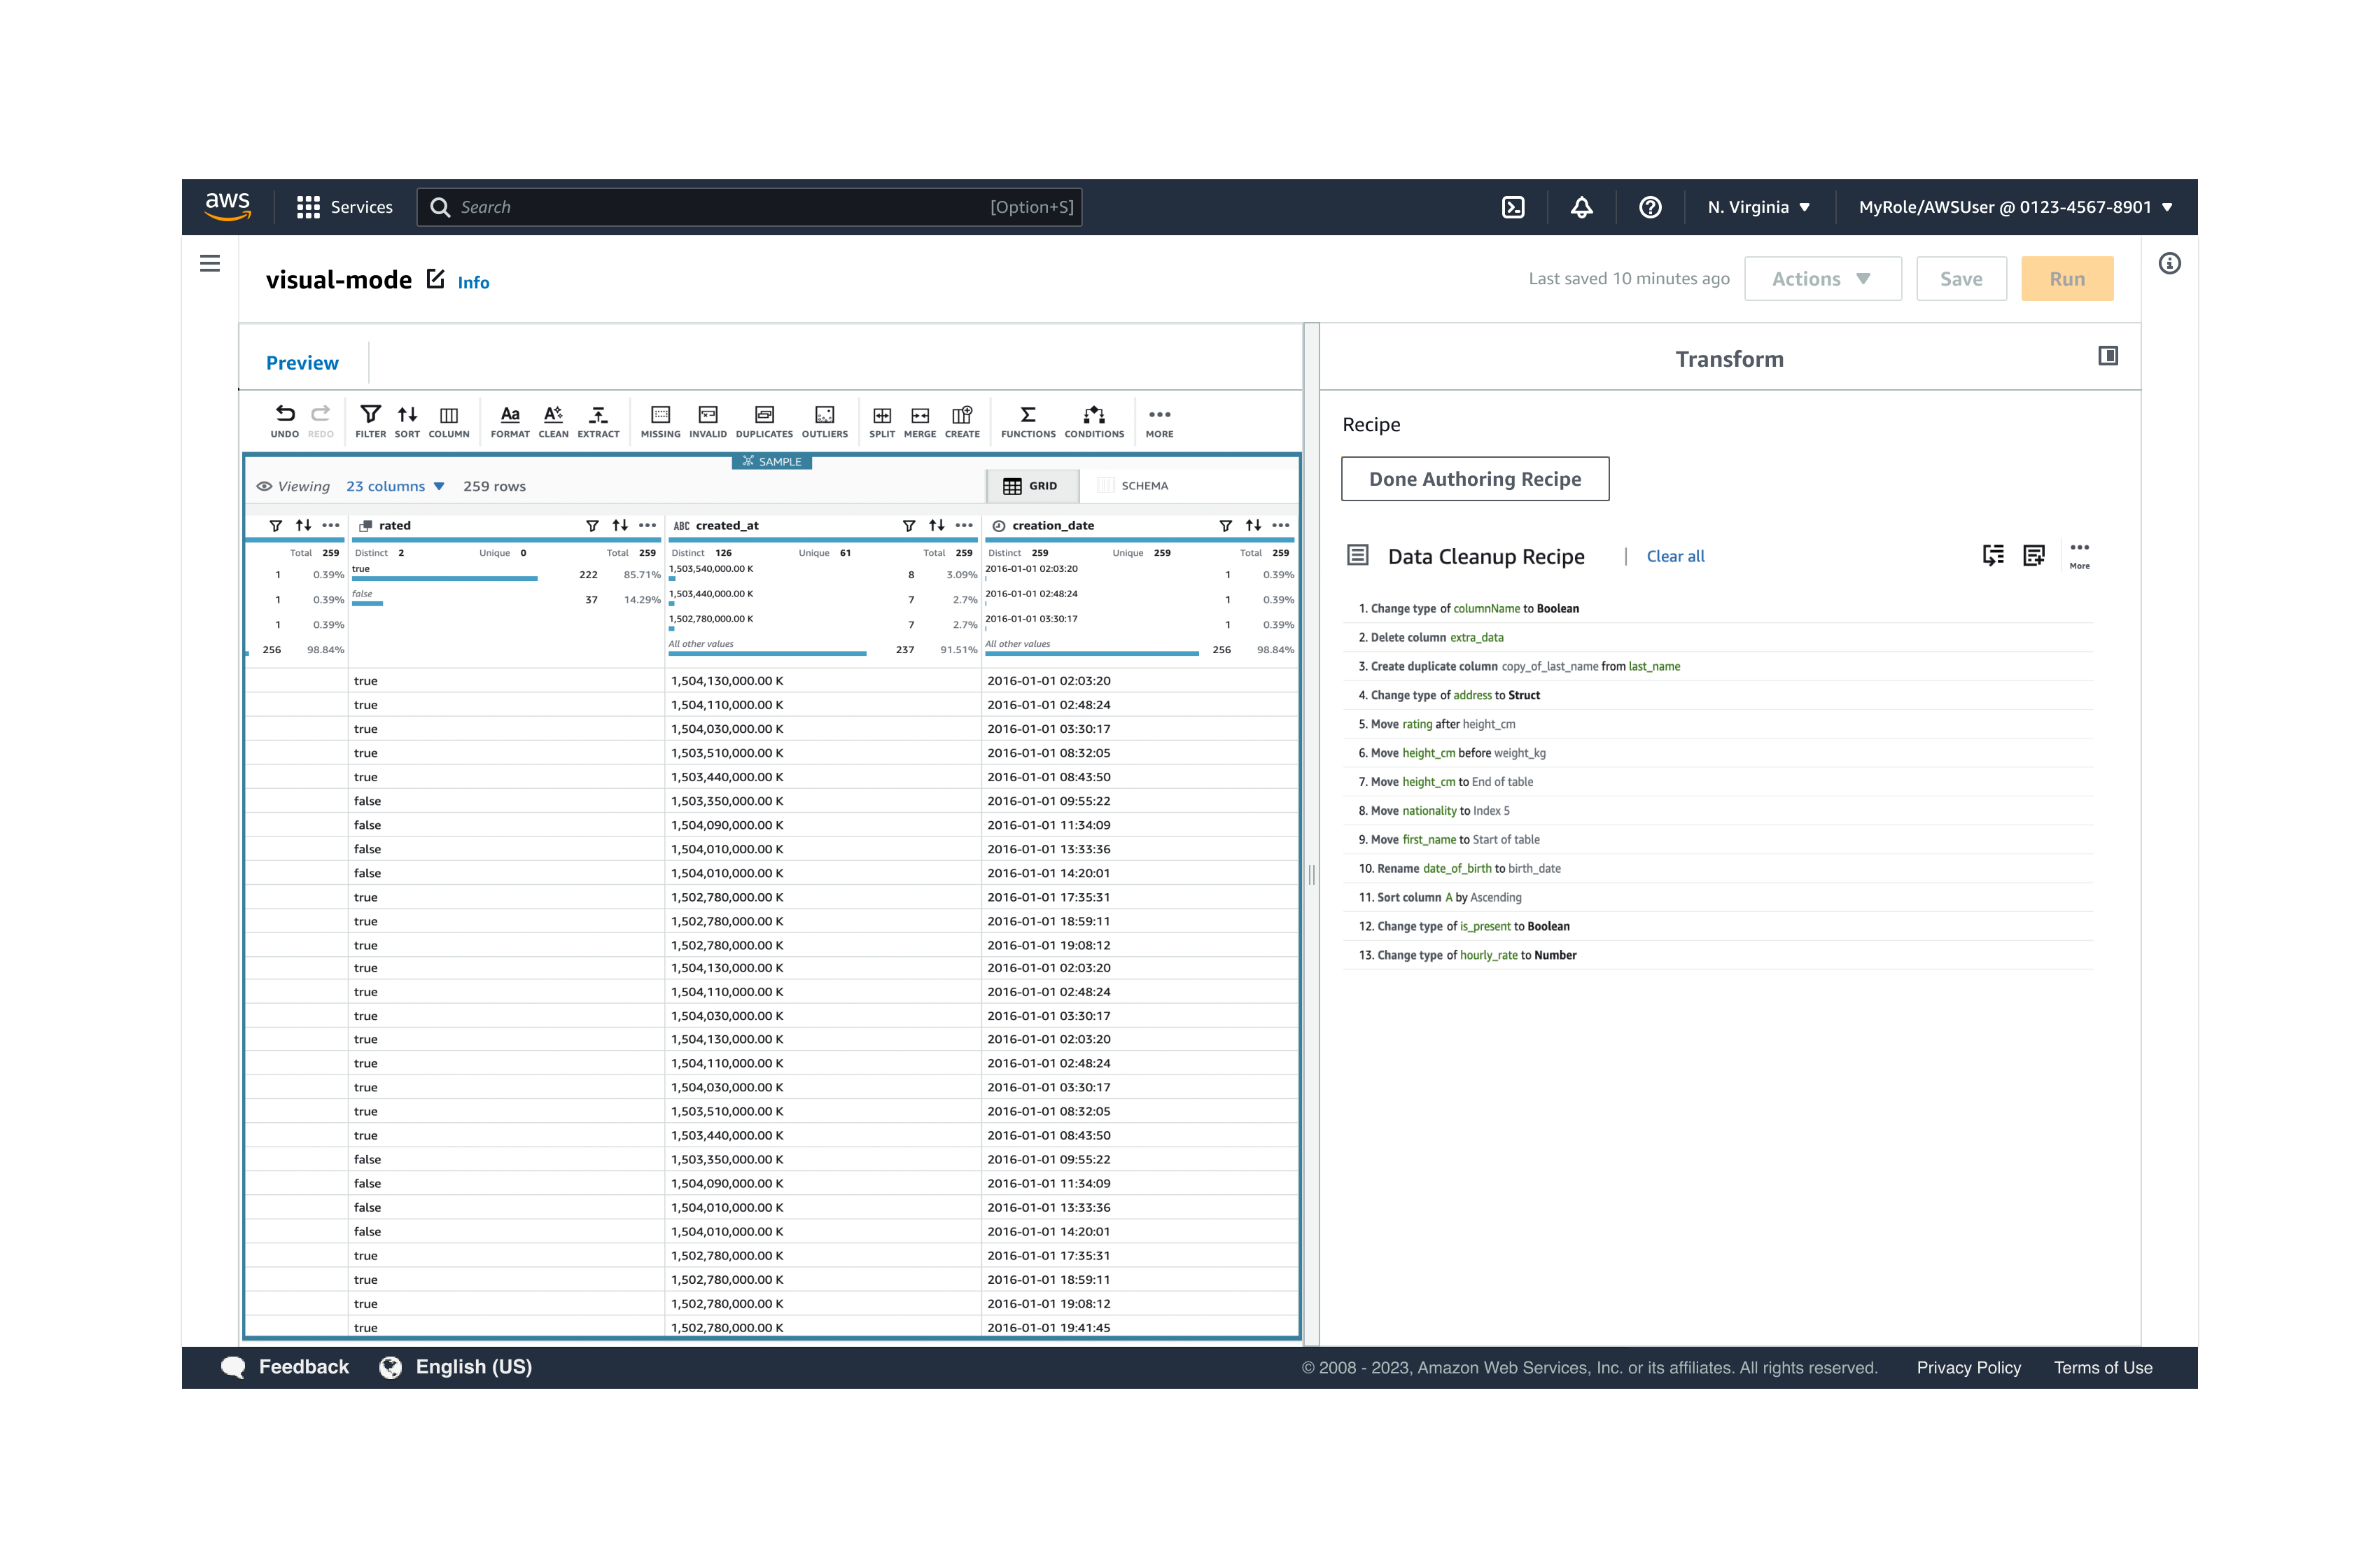
You can preview each step, undo a step, and re-order steps and use any of the action icons, such as Filter, Sort, Split, Merge, etc. When you perform actions in the data grid, the steps are added to the recipe in the Transform panel.
If you need to make a change, you can do this in the Preview pane by previewing the result of each step, undoing a step, and re-ordering steps. For example:
-
Undo/redo step – undo a step by choosing the undo icon. You can repeat a step by choosing the redo icon.

-
Reorder step – when you reorder a step, Amazon Glue Studio will validate each step and let you know if the step is invalid.
-
-
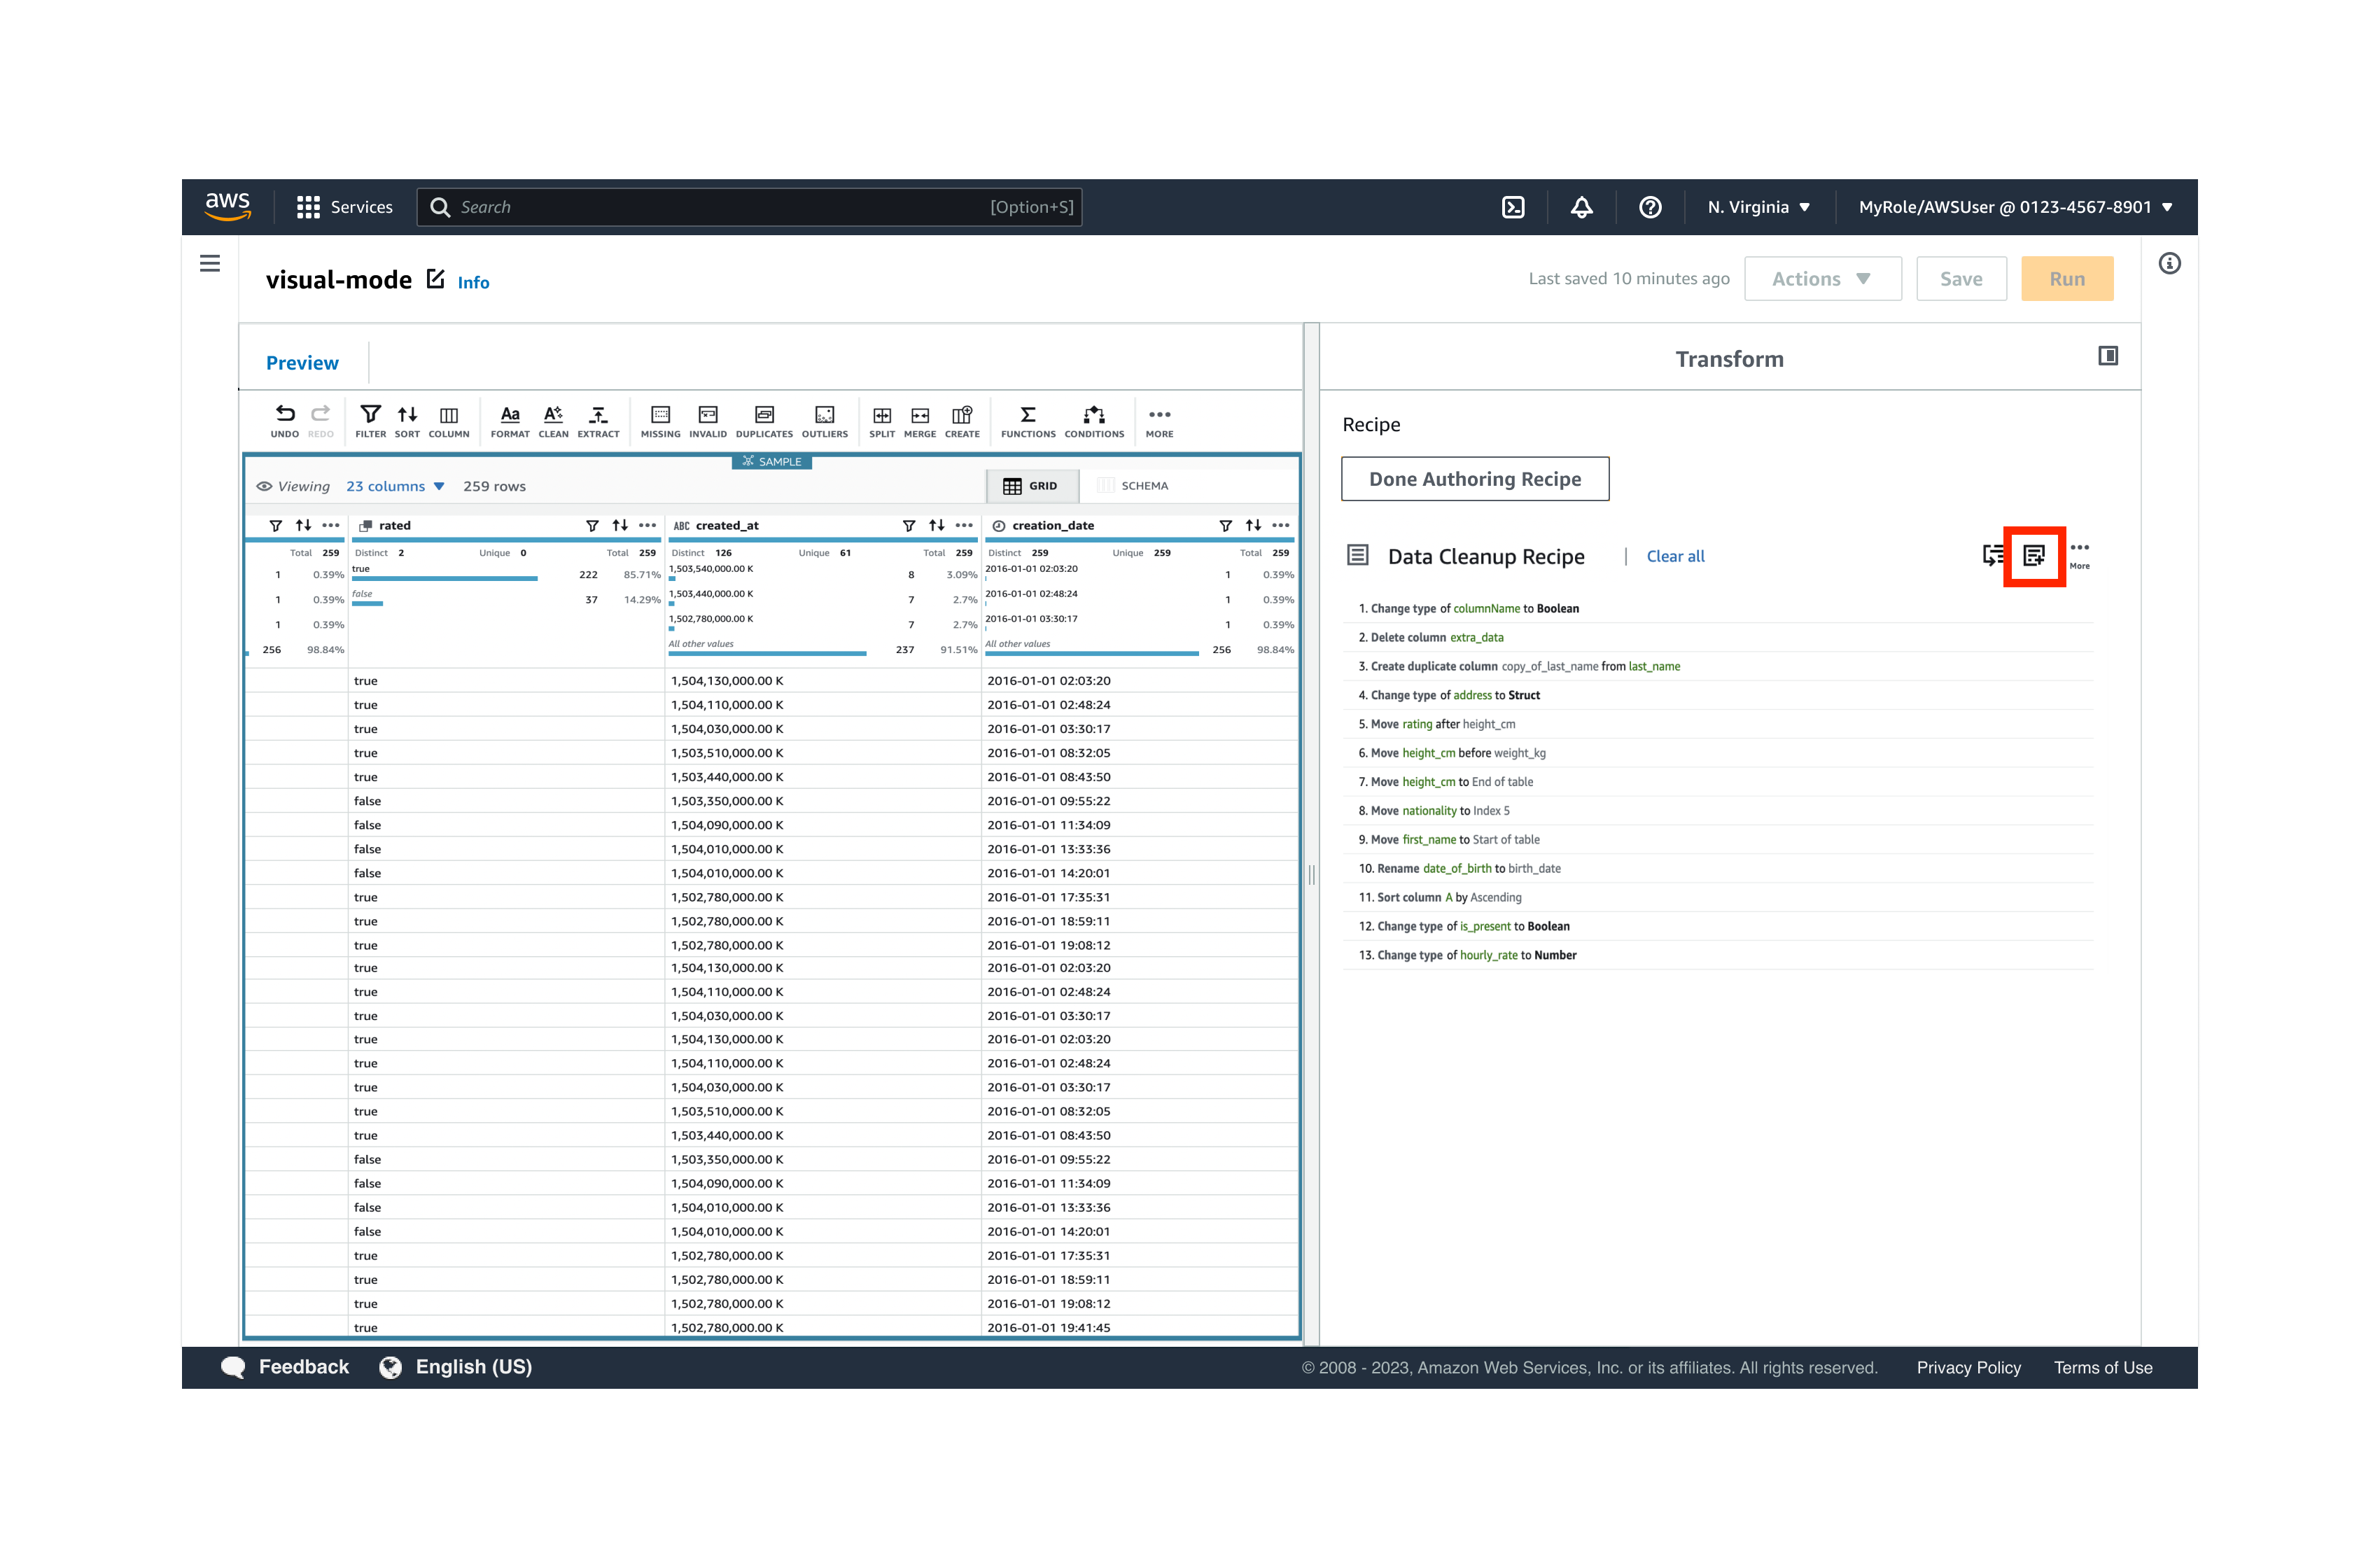
Once you've applied a step, the Transform panel will show you all the steps in your recipe. You can clear all the steps to start over, add more steps by choosing the add icon, or choose Done Authoring Recipe.
-
Choose Save at the top right side of your screen. Your recipe steps will not be saved until you save your job.