Tutorial: Adding an Amazon Glue crawler
For this Amazon Glue scenario, you're asked to analyze arrival data for major air carriers to calculate the popularity of departure airports month over month. You have flights data for the year 2016 in CSV format stored in Amazon S3. Before you transform and analyze your data, you catalog its metadata in the Amazon Glue Data Catalog.
In this tutorial, let’s add a crawler that infers metadata from these flight logs in Amazon S3 and creates a table in your Data Catalog.
Topics
Prerequisites
This tutorial assumes that you have an Amazon account and access to Amazon Glue.
Step 1: Add a crawler
Use these steps to configure and run a crawler that extracts the metadata from a CSV file stored in Amazon S3.
To create a crawler that reads files stored on Amazon S3
-
On the Amazon Glue service console, on the left-side menu, choose Crawlers.
-
On the Crawlers page, choose Create crawler. This starts a series of pages that prompt you for the crawler details.
-
In the Crawler name field, enter
Flights Data Crawler, and choose Next.Crawlers invoke classifiers to infer the schema of your data. This tutorial uses the built-in classifier for CSV by default.
-
For the crawler source type, choose Data stores and choose Next.
-
Now let's point the crawler to your data. On the Add a data store page, choose the Amazon S3 data store. This tutorial doesn't use a connection, so leave the Connection field blank if it's visible.
For the option Crawl data in, choose Specified path in another account. Then, for the Include path, enter the path where the crawler can find the flights data, which is
s3://crawler-public-us-east-1/flight/2016/csv. After you enter the path, the title of this field changes to Include path. Choose Next. -
You can crawl multiple data stores with a single crawler. However, in this tutorial, we're using only a single data store, so choose No, and then choose Next.
-
The crawler needs permissions to access the data store and create objects in the Amazon Glue Data Catalog. To configure these permissions, choose Create an IAM role. The IAM role name starts with
AWSGlueServiceRole-, and in the field, you enter the last part of the role name. EnterCrawlerTutorial, and then choose Next.Note
To create an IAM role, your AWS user must have
CreateRole,CreatePolicy, andAttachRolePolicypermissions.The wizard creates an IAM role named
AWSGlueServiceRole-CrawlerTutorial, attaches the Amazon managed policyAWSGlueServiceRoleto this role, and adds an inline policy that allows read access to the Amazon S3 locations3://crawler-public-us-east-1/flight/2016/csv. -
Create a schedule for the crawler. For Frequency, choose Run on demand, and then choose Next.
-
Crawlers create tables in your Data Catalog. Tables are contained in a database in the Data Catalog. First, choose Add database to create a database. In the pop-up window, enter
test-flights-dbfor the database name, and then choose Create.Next, enter
flightsfor Prefix added to tables. Use the default values for the rest of the options, and choose Next. -
Verify the choices you made in the Add crawler wizard. If you see any mistakes, you can choose Back to return to previous pages and make changes.
After you have reviewed the information, choose Finish to create the crawler.
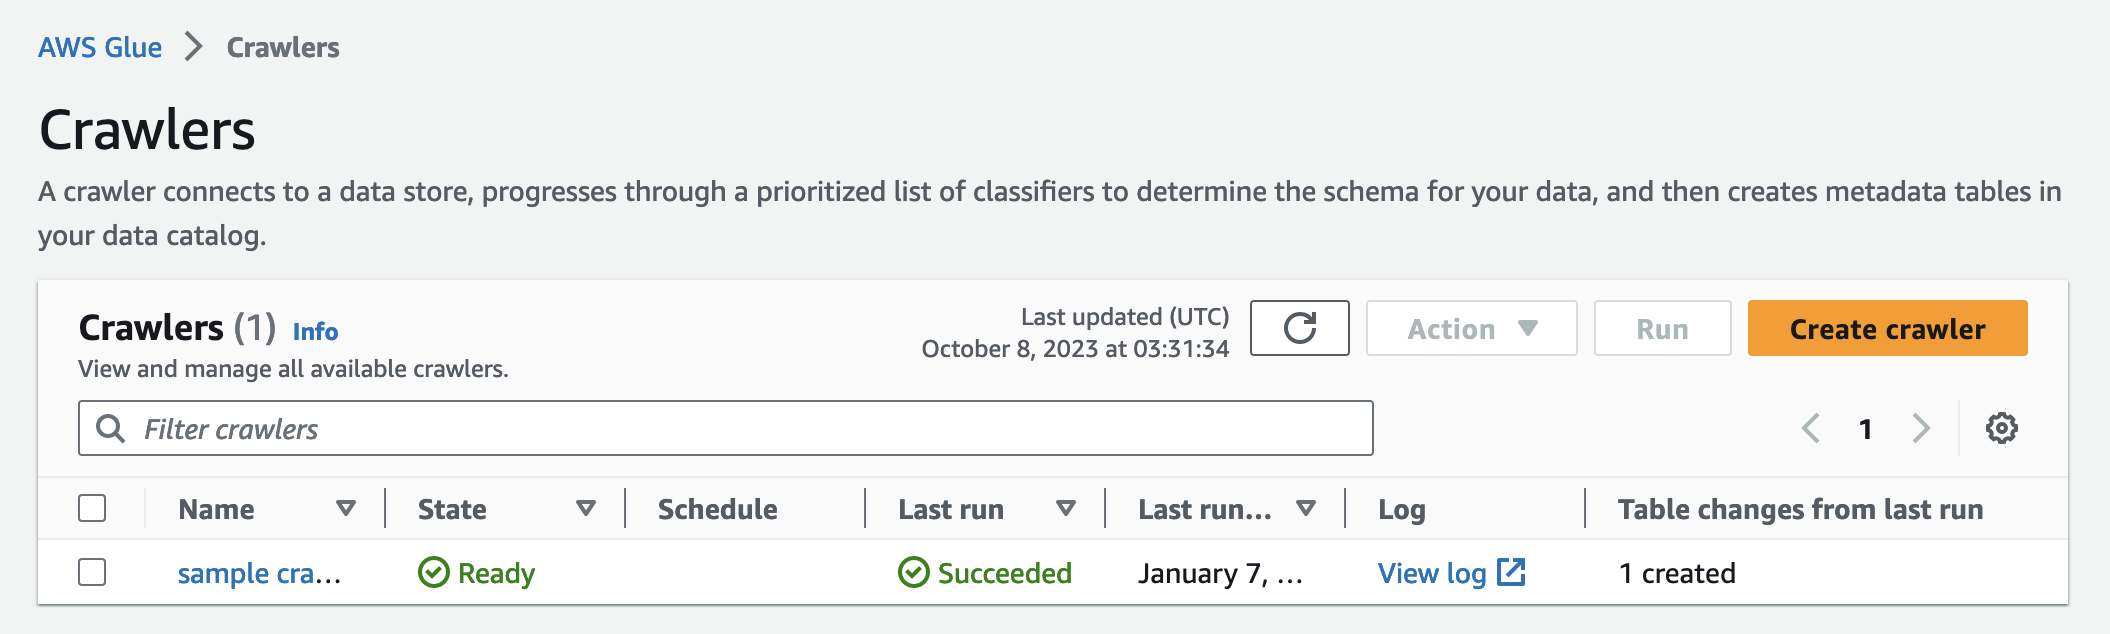
Step 2: Run the crawler
After creating a crawler, the wizard sends you to the Crawlers view page. Because you create the crawler with an on-demand schedule, you're given the option to run the crawler.
To run the crawler
-
The banner near the top of this page lets you know that the crawler was created, and asks if you want to run it now. Choose Run it now? to run the crawler.
The banner changes to show "Attempting to run" and Running" messages for your crawler. After the crawler starts running, the banner disappears, and the crawler display is updated to show a status of Starting for your crawler. After a minute, you can click the Refresh icon to update the status of the crawler that is displayed in the table.
-
When the crawler completes, a new banner appears that describes the changes made by the crawler. You can choose the test-flights-db link to view the Data Catalog objects.
Step 3: View Amazon Glue Data Catalog objects
The crawler reads data at the source location and creates tables in the Data Catalog. A table is the metadata definition that represents your data, including its schema. The tables in the Data Catalog do not contain data. Instead, you use these tables as a source or target in a job definition.
To view the Data Catalog objects created by the crawler
-
In the left-side navigation, under Data catalog, choose Databases. Here you can view the
flights-dbdatabase that is created by the crawler. -
In the left-side navigation, under Data catalog and below Databases, choose Tables. Here you can view the
flightscsvtable created by the crawler. If you choose the table name, then you can view the table settings, parameters, and properties. Scrolling down in this view, you can view the schema, which is information about the columns and data types of the table. -
If you choose View partitions on the table view page, you can see the partitions created for the data. The first column is the partition key.