Integrating Amazon OpenSearch Ingestion pipelines with other services and applications
To successfully ingest data into an Amazon OpenSearch Ingestion pipeline, you must configure your client application (the source) to send data to the pipeline endpoint. Your source might be clients like Fluent Bit logs, the OpenTelemetry Collector, or a simple S3 bucket. The exact configuration differs for each client.
The important differences during source configuration (compared to sending data directly
to an OpenSearch Service domain or OpenSearch Serverless collection) are the Amazon service name (osis) and
the host endpoint, which must be the pipeline endpoint.
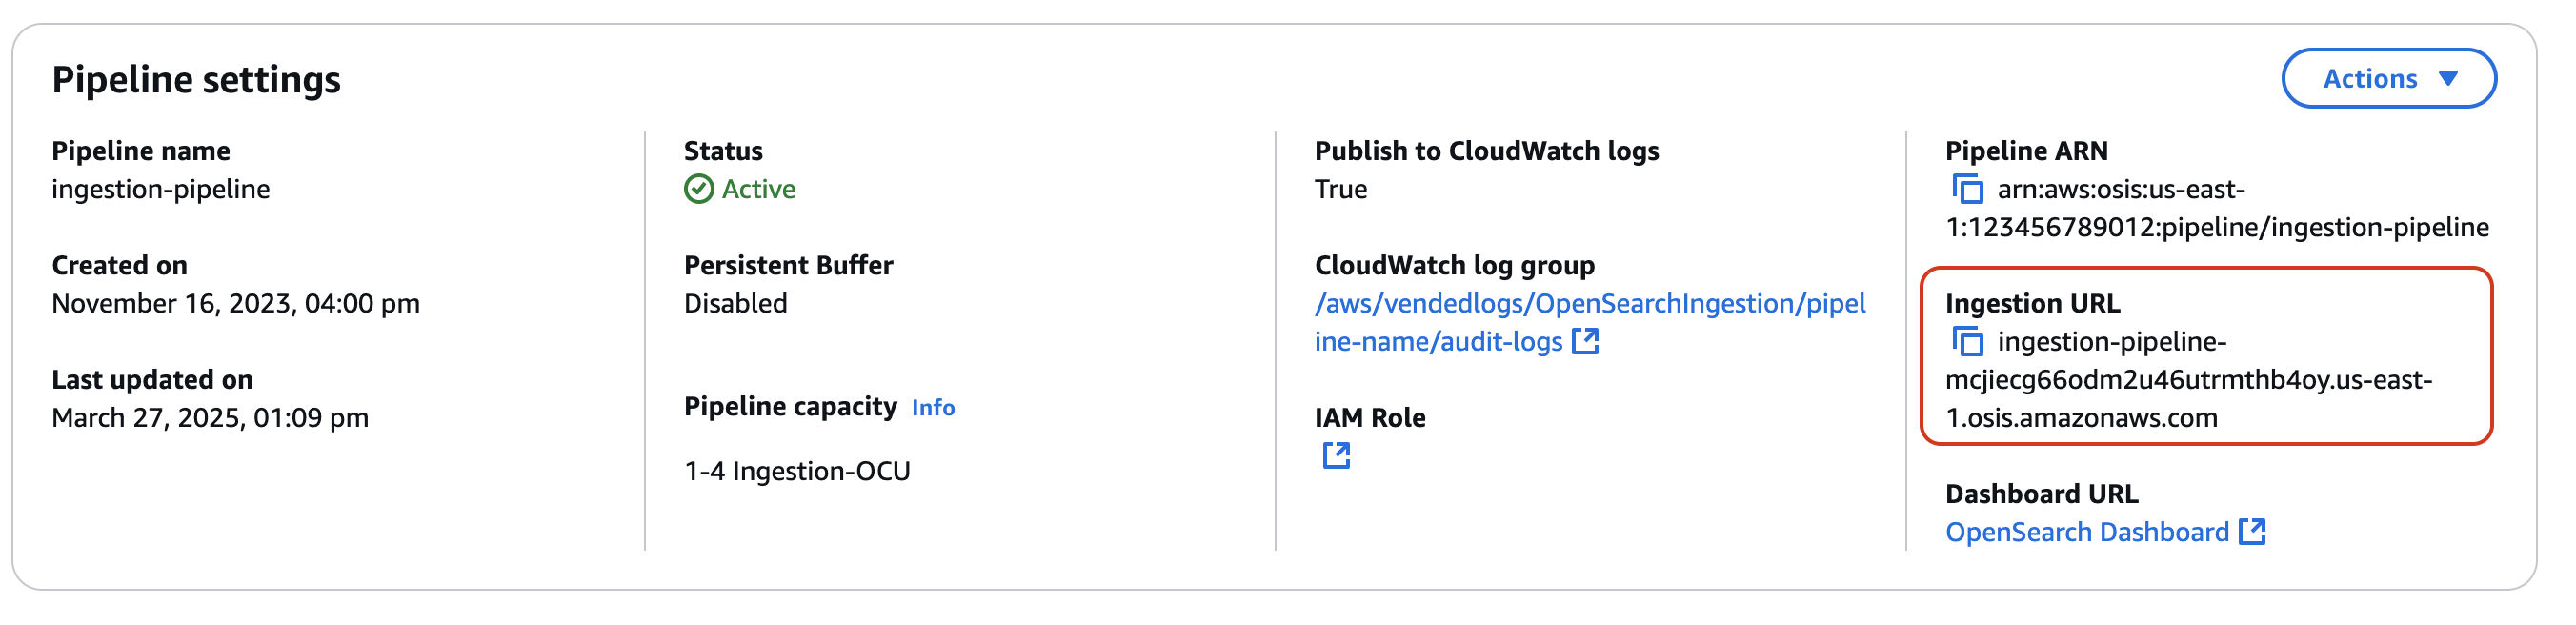
Constructing the ingestion endpoint
To ingest data into a pipeline, send it to the ingestion endpoint. To locate the ingestion URL, navigate to the Pipeline settings page and copy the Ingestion URL.
To construct the full ingestion endpoint for pull-based sources like OTel trace
For example, say that your pipeline configuration has the following ingestion path:

The full ingestion endpoint, which you specify in your client configuration, will take
the following format:
https://.ingestion-pipeline-abcdefg.us-east-1.osis.amazonaws.com/my/test_path
Creating an ingestion role
All requests to OpenSearch Ingestion must be signed with Signature Version 4osis:Ingest action, which allows it to send data
to an OpenSearch Ingestion pipeline.
For example, the following Amazon Identity and Access Management (IAM) policy allows the corresponding role to send data to a single pipeline:
Note
To use the role for all pipelines, replace the ARN in the
Resource element with a wildcard (*).
Providing cross-account ingestion access
Note
You can only provide cross-account ingestion access for public pipelines, not VPC pipelines.
You might need to ingest data into a pipeline from a different Amazon Web Services account, such as an account that houses your source application. If the principal that is writing to a pipeline is in a different account than the pipeline itself, you need to configure the principal to trust another IAM role to ingest data into the pipeline.
To configure cross-account ingestion permissions
-
Create the ingestion role with
osis:Ingestpermission (described in the previous section) within the same Amazon Web Services account as the pipeline. For instructions, see Creating IAM roles. -
Attach a trust policy to the ingestion role that allows a principal in another account to assume it:
-
In the other account, configure your client application (for example, Fluent Bit) to assume the ingestion role. In order for this to work, the application account must grant permissions to the application user or role to assume the ingestion role.
The following example identity-based policy allows the attached principal to assume
ingestion-rolefrom the pipeline account:
The client application can then use the AssumeRole operation
to assume ingestion-role and ingest data into the associated
pipeline.
Next steps
After you export your data to a pipeline, you can query it