View model candidates in the model leaderboard
When you do a Standard build for tabular and time series forecasting models in Amazon SageMaker Canvas, SageMaker AI trains multiple model candidates (different iterations of the model) and by default selects the one with the highest value for the optimization metric. For tabular models, Canvas builds up to 250 different model candidates using various algorithms and hyperparameter settings. For time series forecasting models, Canvas builds 7 different models—one for each of the supported forecasting algorithms and one ensemble model that averages the predictions of the other models to try to optimize accuracy.
The default model candidate is the only version that you can use in Canvas for actions like making predictions, registering to the model registry, or deploying to an endpoint. However, you might want to review all of the model candidates and select a different candidate to be the default model. You can view all of the model candidates and more details about each candidate on the Model leaderboard in Canvas.
To view the Model leaderboard, do the following:
-
Open the SageMaker Canvas application.
-
In the left navigation pane, choose My models.
-
Choose the model that you built.
-
In the top navigation pane, choose the Analyze tab.
-
Within the Analyze tab, choose Model leaderboard.
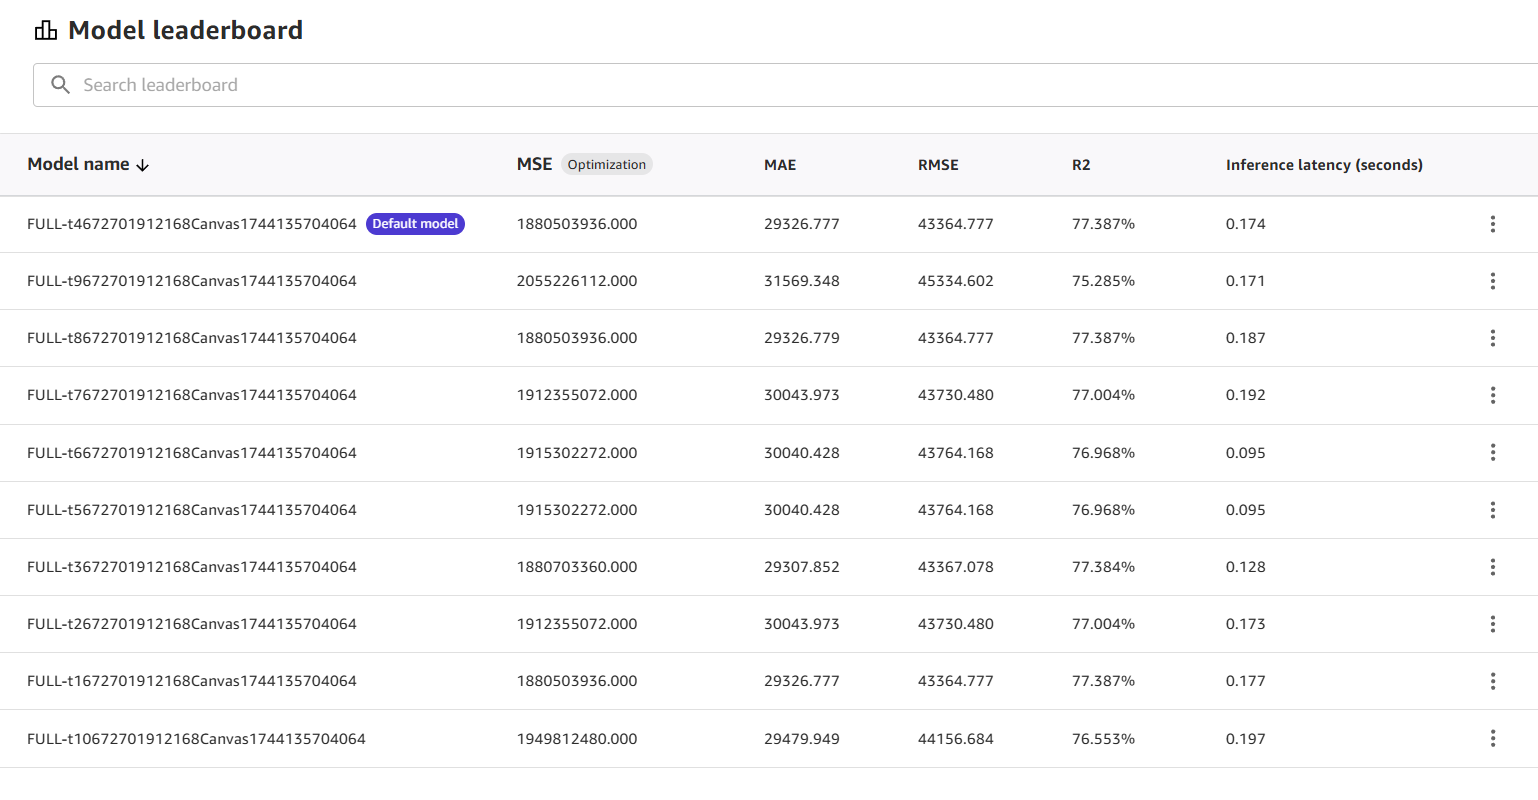
The Model leaderboard page opens, which for tabular models looks like the following screenshot.
For time series forecasting models, you see 7 models, which include one for each of the time series forecasting algorithms supported by Canvas and one ensemble model. For more information about the algorithms, see Advanced time series forecasting model settings.
In the preceding screenshot, you can see that the first model candidate listed is marked as the Default model. This is the model candidate with which you can make predictions or deploy to endpoints.
To view more detailed metrics information about the model candidates to compare them,
you can choose the More options icon (
![]() ) and choose View model details.
) and choose View model details.
Important
Loading the model details for non-default model candidates may take a few minutes
(typically less than 10 minutes), and SageMaker AI Hosting charges apply. For more
information, see SageMaker AI
Pricing
The model candidate opens in the Analyze tab, and the metrics shown are specific to that model candidate. When you’re done reviewing the model candidate’s metrics, you can go back or exit the view to return to the Model leaderboard.
If you’d like to set the Default model to a different candidate,
you can choose the More options icon (
![]() ) and choose Change to default model. Changing
the default model for a model trained using HPO mode might take several minutes.
) and choose Change to default model. Changing
the default model for a model trained using HPO mode might take several minutes.
Note
If your model is already deployed in production, registered to the model registry, or has automations set up, you must delete your deployment, model registration, or automations before changing the default model.