Launch a Code Editor application in Studio
To configure and access your Code Editor integrated development environment through Studio, you must create a Code Editor space. For more information about spaces in Studio, see Amazon SageMaker Studio spaces.

The following procedure shows how to create and run a Code Editor space.
To create and run a Code Editor space
-
Launch the updated Studio experience. For more information, see Launch Amazon SageMaker Studio.
-
Do one of the following:
-
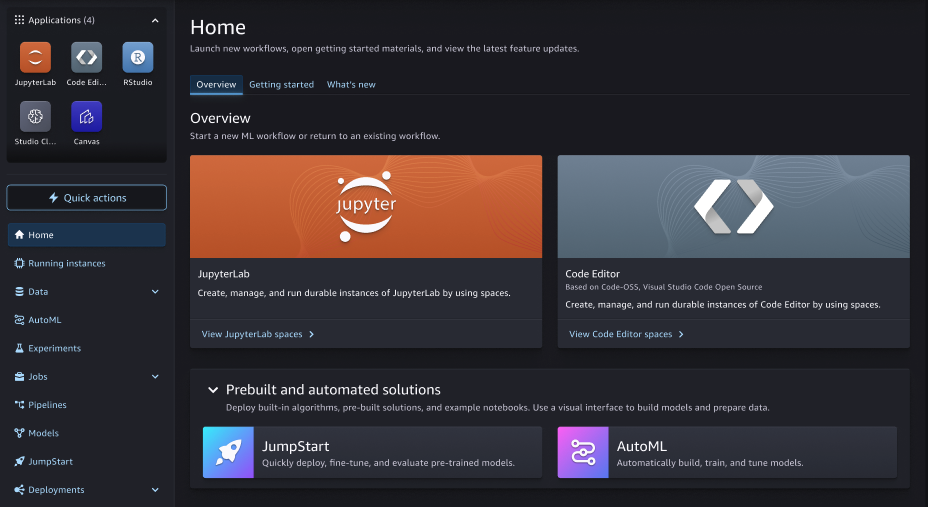
Within the updated Amazon SageMaker Studio UI, select Code Editor from the Applications menu.
-
Within the updated Amazon SageMaker Studio UI, choose View Code Editor spaces in the Overview section of the Studio homepage.
-
-
In the upper-right corner of the Code Editor landing page, choose Create Code Editor space.
-
Enter a name for your Code Editor space. The name must be 1–62 characters in length using letters, numbers, and dashes only.
-
Choose Create space.
-
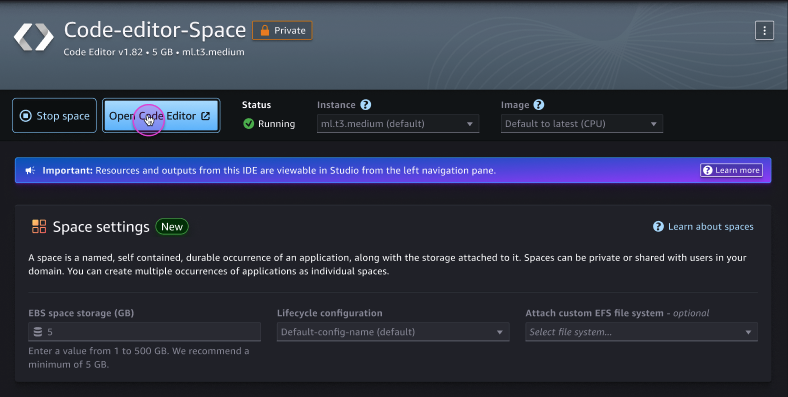
After the space is created, you have some options before you choose to run the space:
-
You can edit the Storage (GB), Lifecycle Configuration, or Attach custom EFS file system settings. Options for these settings are available based on administrator specification.
-
From the Instance dropdown menu, you can choose the instance type most compatible with your use case. From the Image dropdown menu, you can choose a SageMaker Distribution image or a custom image provided by your administrator.
Note
Switching between sagemaker-distribution images changes the underlying version of Code Editor being used, which may cause incompatibilities due to browser caching. You should clear the browser cache when switching between images.
If you use a GPU instance type when configuring your Code Editor application, you must also use a GPU-based image. Within a space, your data is stored in an Amazon EBS volume that persists independently from the life of an instance. You won't lose your data when you change instances.
Important
Custom IAM policies that allow Studio users to create spaces must also grant permissions to list images (
sagemaker: ListImage) to view custom images. To add the permission, see Add or remove identity permissions in the Amazon Identity and Access Management User Guide.Amazon managed policies for Amazon SageMaker AI that give permissions to create SageMaker AI resources already include permissions to list images while creating those resources.
Note
To update space settings, you must first stop your space. If your Code Editor uses an instance with NVMe instance stores, any data stored on the NVMe store is deleted when the space is stopped.
-
-
After updating your settings, choose Run Space in the space detail page.
-
After the status of the space is
Running, choose Open Code Editor to go to your Code Editor session.
