Amazon SageMaker Studio Lab components overview
Amazon SageMaker Studio Lab consists of the following components. The following topics give more details about these components.
Topics
Landing page
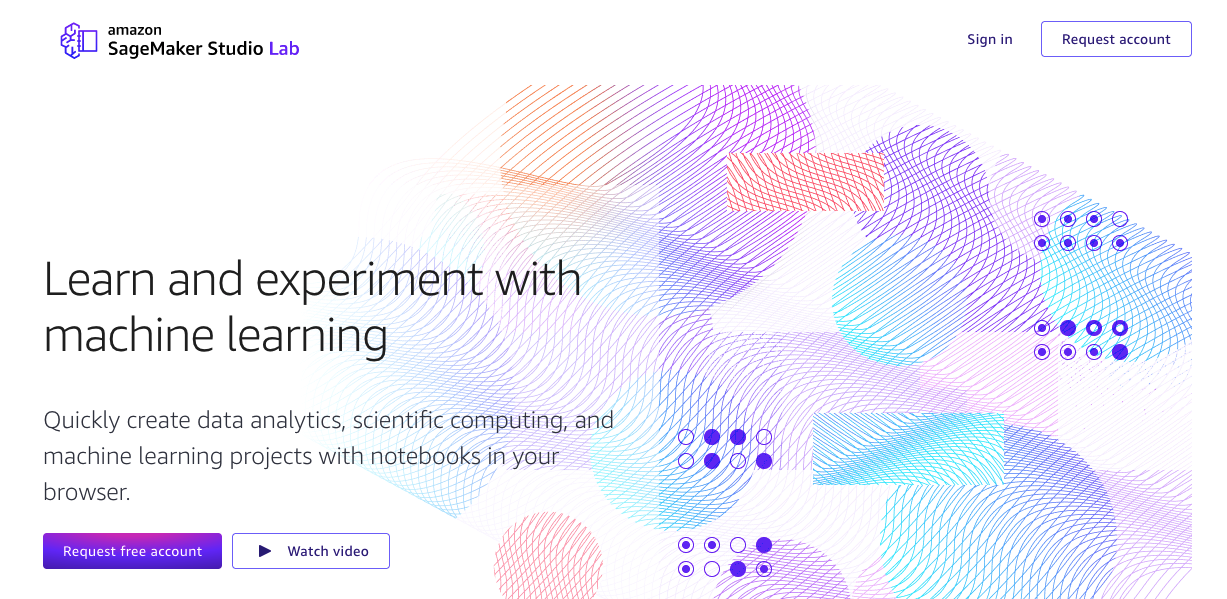
You can request an account and sign in to an existing account on your landing page. To
navigate to the landing page, see the Amazon SageMaker Studio Lab website
The following screenshot shows the Studio Lab landing page interface for requesting a user account and signing in.
Studio Lab account
Your Studio Lab account gives you access to Studio Lab. For more information about creating a user account, see Onboard to Amazon SageMaker Studio Lab.
Project overview page
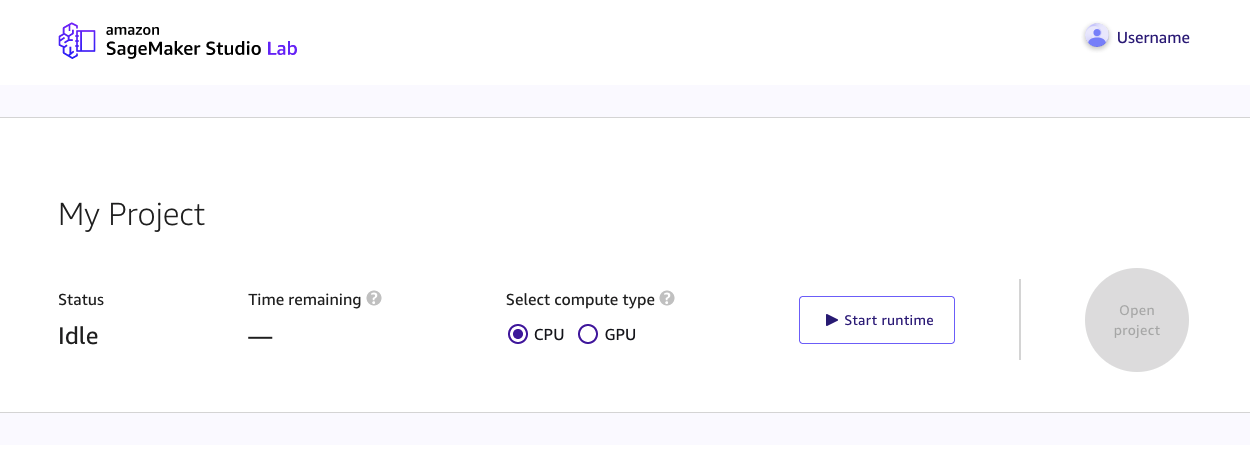
You can launch a compute instance and view information about your project on this page. To
navigate to this page, you must sign in from the Amazon SageMaker Studio Lab website
https://studiolab.sagemaker.aws/users/<YOUR_USER_NAME>
The following screenshot shows a project overview in the Studio Lab user interface.
Preview page
On this page, you can access a read-only preview of a Jupyter notebook. You can not execute the notebook from preview, but you can copy that notebook into your project. For many customers, this may be the first Studio Lab page that customers see, as they may be opening a notebook from GitHub notebook. For more information on how to use GitHub resources, see Use GitHub resources.
To copy the notebook preview to your Studio Lab project:
-
Sign in to your Studio Lab account. For more information about creating a Studio Lab account, see Onboard to Amazon SageMaker Studio Lab.
-
Under Notebook compute instance, choose a compute instance type. For more information about compute instance types, see Compute instance type.
-
Choose Start runtime. You might be asked to solve a CAPTCHA puzzle. For more information on CAPTCHA, see What is a CAPTCHA puzzle?
-
One time setup, for first time starting runtime using your Studio Lab account:
-
Enter a mobile phone number to associate with your Amazon SageMaker Studio Lab account and choose Continue.
For information on supported countries and regions, see Supported countries and regions (SMS channel).
-
Enter the 6-digit code sent to the associated mobile phone number and choose Verify.
-
-
Choose Copy to project.
Project
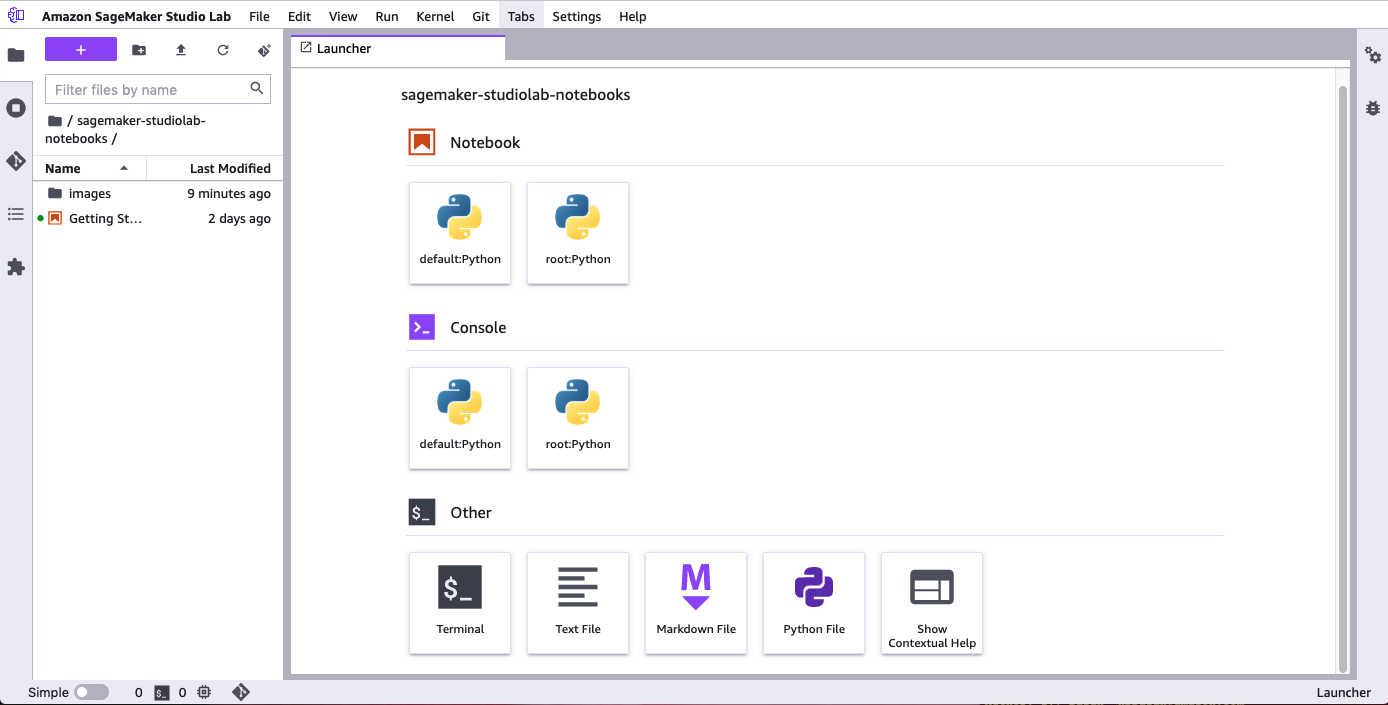
Your project contains all of your files and folders, including your Jupyter notebooks. You have full control over the files in your project. Your project also includes the JupyterLab-based user interface. From this interface, you can interact with your Jupyter notebooks, edit your source code files, integrate with GitHub, and connect to Amazon S3. For more information, see Use the Amazon SageMaker Studio Lab project runtime.
The following screenshot shows a Studio Lab project with the file browser open and the Studio Lab Launcher displayed.
Compute instance type
Your Amazon SageMaker Studio Lab project runtime is based on an EC2 instance. You are allotted 15 GB of storage and 16 GB of RAM. Availability of compute instances is not guaranteed and is subject to demand. If you require additional storage or compute resources, consider switching to Studio.
Amazon SageMaker Studio Lab offers the choice of a CPU (Central Processing Unit) and a GPU (Graphical Processing Unit). The following sections give information about these two options, including selection guidance.
CPU
A central processing unit (CPU) is designed to handle a wide range of tasks efficiently, but is limited in how many tasks it can run concurrently. For machine learning, a CPU is recommended for compute intensive algorithms, such as time series, forecasting, and tabular data.
The CPU compute type has up to 4 hours at a time with a limit of 8 hours in a 24-hour period.
GPU
A graphics processing unit (GPU) is designed to render high-resolution images and video concurrently. A GPU is recommended for deep learning tasks, especially for transformers and computer vision.
The GPU compute type has up to 4 hours at a time with a limit of 4 hours in a 24-hour period.
Compute time
When compute time for Studio Lab reaches its time limit, the instance stops all running computations. Studio Lab does not support time limit increases.
Studio Lab automatically saves your environment when you update your environment and every time you create a new file. Custom-installed extensions and packages persist even after your runtime has ended.
File edits are periodically saved, but are not saved when your runtime ends. To ensure that you do not lose your progress, save your work manually. If you have content in your Studio Lab project that you don’t want to lose, we recommend that you back up your content elsewhere. For more information about exporting your environment and files, see Export an Amazon SageMaker Studio Lab environment to Amazon SageMaker Studio Classic.
During long computation, you do not need to keep your project open. For example, you can start training a model, then close your browser. The instance keeps running for up to the compute type limit in a 24-hour period. You can then sign in later to continue your work.
We recommend that you use checkpointing in your deep learning jobs. You can use saved
checkpoints to restart a job from the previously saved checkpoint. For more information, see
File I/O
Project runtime
The project runtime is the period of time when your compute instance is running.
Session
A user session begins every time you launch your project.