Amazon Snowball Edge is no longer available to new customers. New customers should explore Amazon DataSync
Creating a large data migration plan with Snowball Edge
The Snowball Edge large data migration plan feature enables you to plan, track, monitor, and manage large data migrations from 500 TB to multiple petabytes using multiple Snowball Edge service products.
Use the large data migration plan feature to collect information about data migration goals, such as the size of the data to move to Amazon and the number of Snowball Edge needed to migrate the data simultaneously. Use the plan to create a projected schedule for your data migration project and the recommended job ordering schedule to meet your goals.
Note
Currently, the data migration plan is available for import jobs larger than 500 TB.
Topics
Step 1: Choose your migration details
Note
A large data migration plan is available for data migrations larger than 500 TB. Create job orders individually on Snowball Edge for your data transfer projects that are less than 500 TB. For more information, see Creating a job to order a Snowball Edge device in this guide.
-
Sign in to the Amazon Snow Family Management Console
. If this is your first time using the Amazon Snow Family Management Console in this Amazon Web Services Region, you see the Snowball Edge page. Otherwise, you see the list of existing jobs. -
If this is your first data migration plan, choose Create your large data migration plan from the main page. Otherwise, choose Large data migration plan. Choose Create data migration plan to open the plan creation wizard.
-
In Name your data migration plan, provide a Data migration plan name. The plan name can have up to 64 characters. Valid characters are A-Z, a-z, 0-9, and . - (hyphen). A plan name must not start with
aws:. -
For Total data to be migrated to Amazon, enter the amount of data that you want to migrate to Amazon.
-
In Snow devices, choose a Snowball Edge device.
Note
Supported device options might vary based on device availability in certain Amazon Web Services Regions.
-
For Concurrent devices, enter the number of Snowball Edge to which you can simultaneously copy data at your location. If you're not sure, skip to the next section for information about using the concurrent devices estimator wizard to determine this.
Choose Next.
Using the concurrent devices estimator wizard
The concurrent devices estimator wizard helps you to determine the number of concurrent devices that you can use during large data migrations.
Prerequisites:
You performed a proof of concept to test your data transfer methodology and measured performance with a Snowball Edge device in your environment.
You know about the network and connection to back-end storage.
Step 1: Enter data source information
First, determine the maximum theoretical throughput for copying data from your storage source.
For Total data to be migrated, enter the amount of data that you plan to migrate.
For Unit, choose the unit of measurement (GB or TB) for the amount of data you plan to migrate.
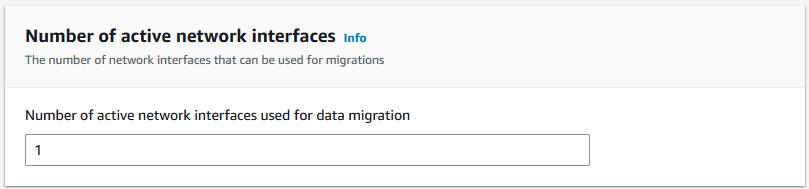
For Number of active network interfaces, enter the number of active network interfaces that you have available for data migration from the storage source.
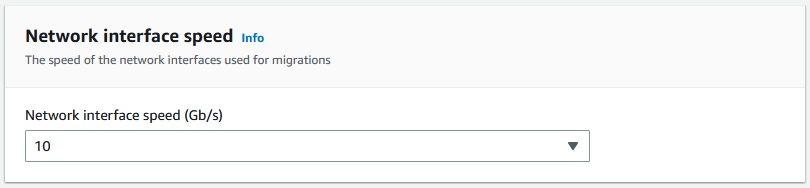
For Network interface speed, choose the speed of the network interface for the storage source. Network speeds are in Gb/s.
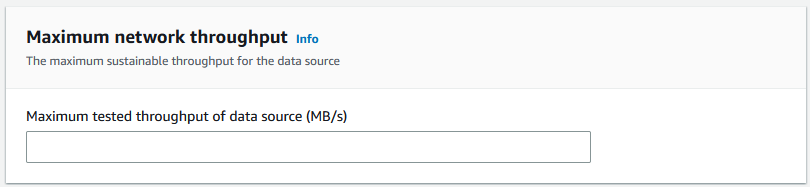
For Maximum network throughput, enter the maximum tested network throughput to your storage source that you determined during the proof of concept. Throughput is in MB/S.
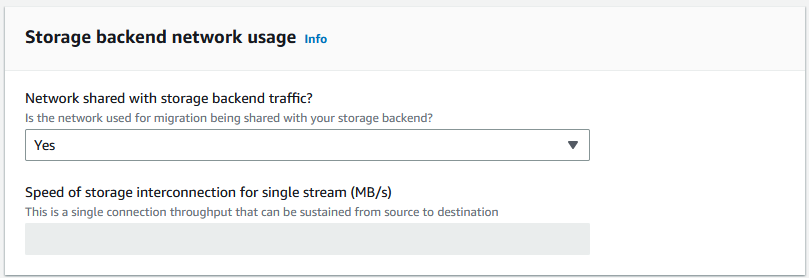
For Storage backend network usage, indicate whether the storage source shares a network with the back-end storage.
Choose Yes if the network is not shared. You don't need to enter the speed of the storage interconnection for a single stream.
Choose No if the network is shared. Enter the speed of the storage interconnection for a single stream in MB/s.
Based on your choice, the wizard updates the Max migration throughput for the data source (MB/s) value at the bottom of the page.
Choose Next.
Step 2: Input migration workstation parameters
You can connect yourSnowball Edge directly to your storage source (a Microsoft Windows server, for example). You might choose instead to connect yourSnowball Edge to one or more workstations to copy data from the storage source.
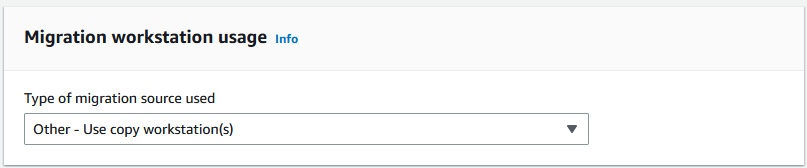
For Migration workstation usage, indicate your workstation usage choice.
Choose None - Use data source directly to transfer data directly from a data source without using a workstation, and then choose Next.
Choose Other - Use copy workstation(s) to use one or more workstations for transferring data.
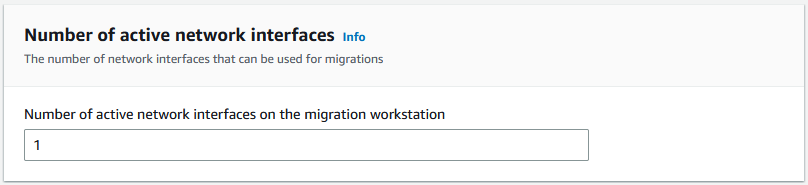
For Number of active network interfaces, enter the number of ports to use for data migration.
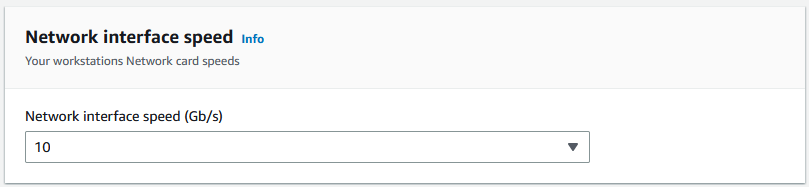
For Network interface speed, choose the speed in Gb/s of the network interfaces.
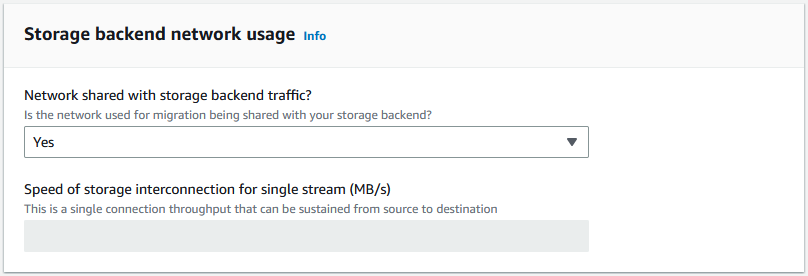
In Storage backend network usage, indicate whether the network that the workstations are on is shared with back-end storage.
Choose Yes if it's shared.
Choose No if it's not shared. Enter the speed of the storage interconnection for a single stream in MB/s.
Based on your input, the wizard displays a recommendation in Number of migration workstations. You can manually change the number if you disagree with the recommendation. This number will appear in Concurrent devices in the large data migration plan.
Step 3: Input average transfer throughput of Snowball Edge
In the Average Snow device transfer throughput field, enter the transfer throughput in MB/s that you saw during your proof of concept.

Based on your average throughput, the wizard updates the Recommended number of concurrent Snow devices and Maximum number of concurrent devices in the migration plan details.
Choose Use this number to continue and return to choosing your migration details. Choose Next and go the next step (Step 2: Choose your shipping, security, and notification preferences).
Note
You can use up to 5 concurrent Snow devices.
Step 2: Choose your shipping, security, and notification preferences
-
In the Shipping Address section, choose an existing address or create a new one.
-
Note
The country in the address must match the destination country for the device, and must be valid for that country.
-
-
In Choose service access type, do one of the following:
-
Allow Snowball Edge to create a new service-linked role for you with all of the necessary permissions to publish CloudWatch metrics and Amazon SNS notifications for your Snowball Edge jobs.
-
Add an existing service role that has the necessary permissions. For an example of how to set up this role, see Example 4: Expected Role Permissions and Trust Policy.
-
-
For Send notifications, choose whether to send notifications. Note that if you choose Do not send notification about data migration plans, you won't receive notifications from this plan, but you will still receive job notifications.
-
For Set notifications,
-
choose Use an existing SNS topic
-
or Create a new SNS topic.
-
Step 3: Review and create your plan
-
Review your information in Plan details and Shipping, security, and notification preferences, and edit if necessary.
-
Choose Create data migration plan to create the plan.