Amazon Snowball Edge is no longer available to new customers. New customers should explore Amazon DataSync
Using the large data migration plan with Snowball Edge
After you create your large data migration plan, you can use the resulting schedule and dashboard to guide you through the rest of the migration process.
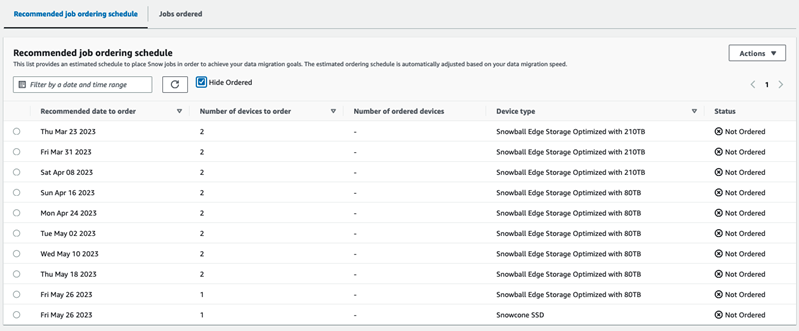
Recommended job ordering schedule
After you create an Snowball Edge large migration plan, you can use the recommended job ordering schedule to create new jobs.
Note
Manual updates that you make to the data size or number of concurrent devices cause the schedule to adjust. The schedule automatically adjusts if a job has not been ordered by the recommended order date or has been ordered before the recommended order date. If a job is returned before the recommended order date, the schedule automatically adjusts.
Placing your next job order
To place you next order, instead of manually creating a job and then adding it to your plan, you have the option to either clone a previously ordered job or create a pre-populated one.
To clone a job:
-
Choose the next order (the first recommendation with a Not Ordered status) from the Recommended job ordering schedule, then choose Clone Job from the Actions menu. The Clone Job window appears.
-
In the Clone Job window, in the Jobs ordered section, choose the job to clone.
-
In the New jobs details section, choose the devices you want to order. For each device chosen, the Job name will automatically populate based on the chosen job. You can overwrite the job name.
-
Choose Confirm to place the job order for the chosen devices. The system clones the job for each device.
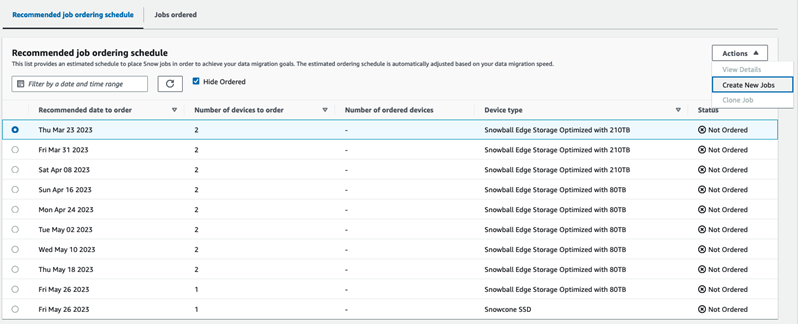
To create new jobs:
-
Choose the next order (the first recommendation with a Not Ordered status) from the Recommended job ordering schedule, then choose Create New Jobs from the Actions menu. The Create new jobs window appears.
-
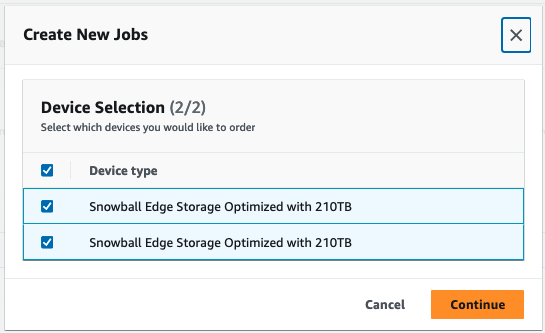
In the Device Selection section, choose the devices you want to order. Choose Continue.
-
The Create new page appears. Most parameters, such as the job type, shipping address, and the device type are set based on the plan. The system creates the job for each device.
You can see whether the job or jobs were successfully created or not. Successfully created jobs are automatically added to the plan.
Jobs ordered list
Each plan displays a job ordered list. This is empty at first. When you start to order jobs, you can add jobs to your plan by selecting Add job from the Actions menu. Jobs that you add here are tracked on the monitoring dashboard.
Similarly, you may remove the job from the job ordered list by selecting Remove job from the Actions menu.
We recommend using the job ordering schedule provided in the plan for a smooth data migration.
Monitoring dashboard
After you add jobs to your plan, you can see metrics on the dashboard as the jobs return to Amazon for ingestion. These metrics can help you to track your progress:
-
Data migrated to Amazon – The amount of data that's been migrated to Amazon so far..
-
Average data migrated per job – The average amount of data per job in terabytes.
-
Total Snow Jobs – The number of Snowball Edge jobs ordered compared to the remaining jobs to be ordered.
-
Average duration for a migration job – The average duration of a job in days.
-
Snow Job Status – The number of jobs in each status.