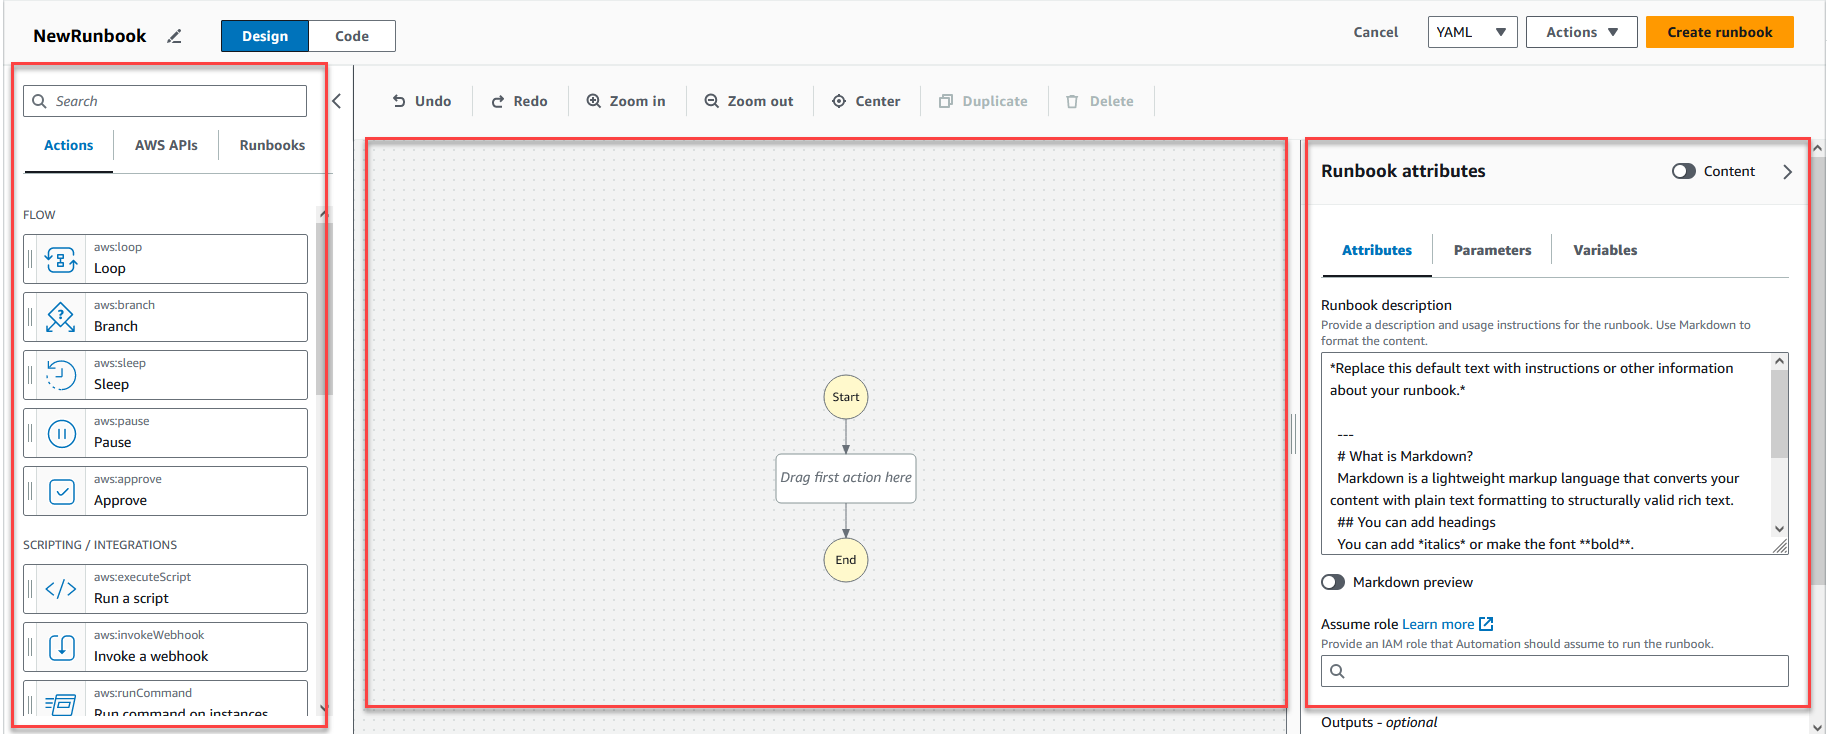
Overview of the visual design experience interface
The visual design experience for Systems Manager Automation is a low-code visual workflow designer that helps you create automation runbooks.
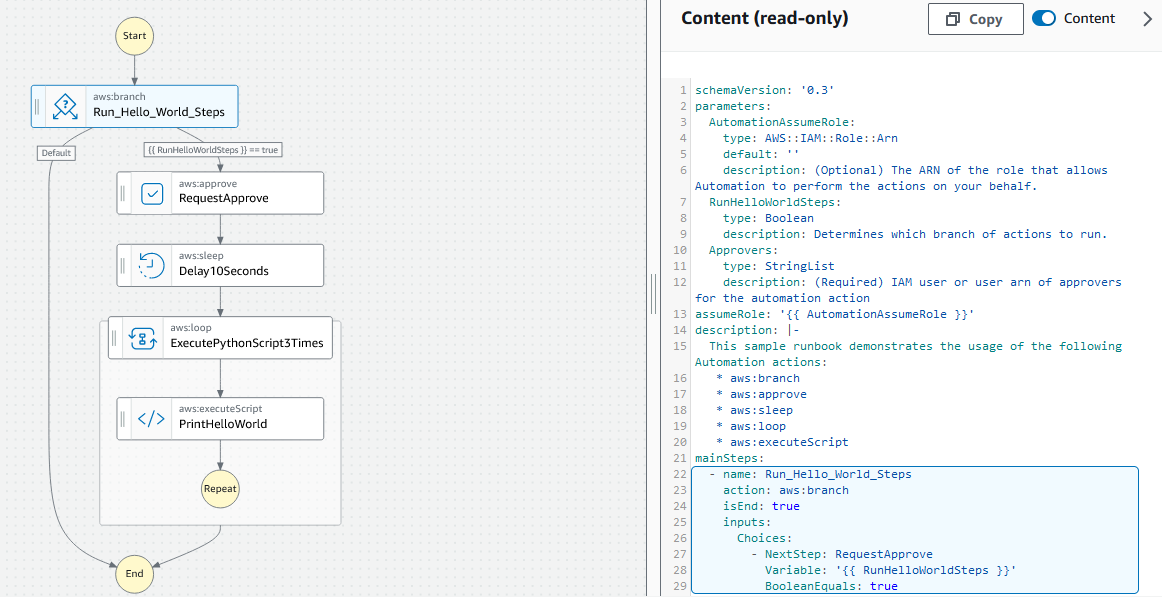
Get to know the visual design experience with an overview of the interface components:
-
The Actions browser contains the Actions, Amazon APIs, and Runbooks tabs.
-
The canvas is where you drag and drop actions into your workflow graph, change the order of actions, and select actions to configure or view.
-
The Form panel is where you can view and edit the properties of any action that you selected on the canvas. Select the Content toggle to view the YAML or JSON for your runbook, with the currently selected action highlighted.
Info links open a panel with contextual information when you need help. These panels also include links to related topics in the Systems Manager Automation documentation.
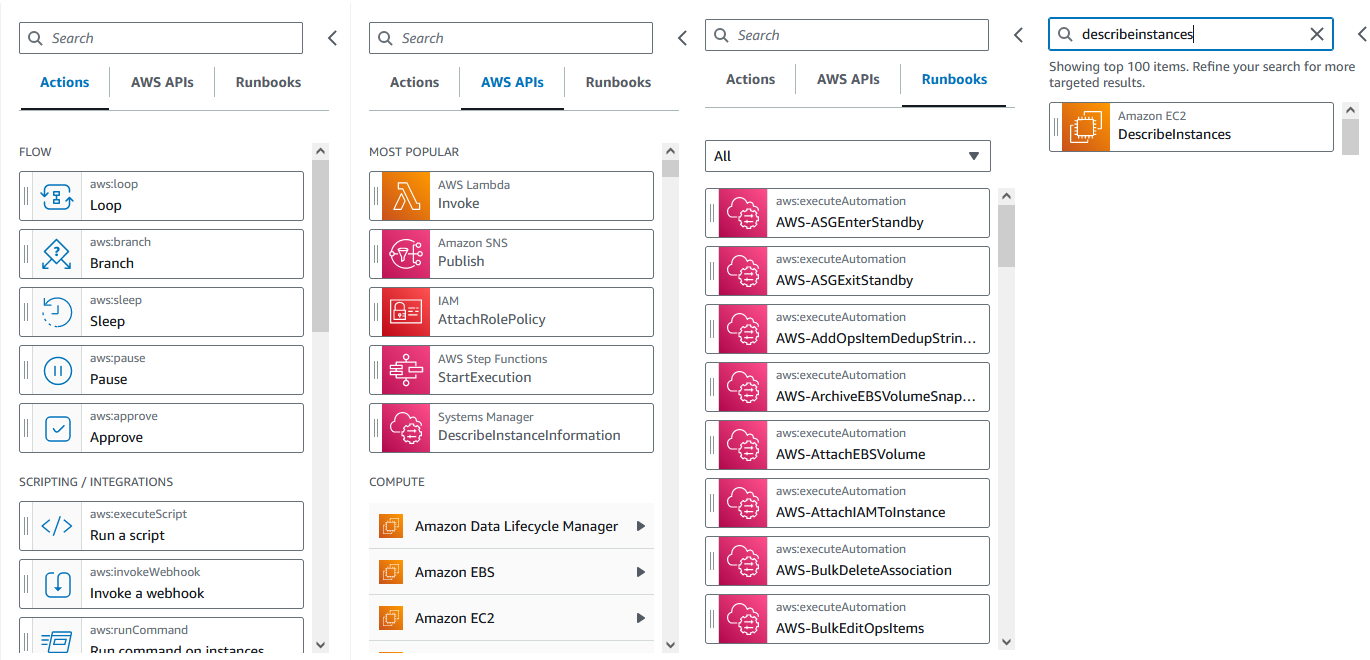
Actions browser
From the Actions browser, you can select actions to drag and drop into your workflow graph. You can search all actions using the search field at the top of the Actions browser. The Actions browser contains the following tabs:
-
The Actions tab provides a list of automation actions that you can drag and drop into your runbook's workflow graph in the canvas.
-
The Amazon APIs tab provides a list of Amazon APIs that you can drag and drop into your runbook's workflow graph in the canvas.
-
The Runbooks tab provides several ready-to-use, reusable runbooks as building blocks that you can use for a variety of use cases. For example, you can use runbooks to perform common remediation tasks on Amazon EC2 instances in your workflow without having to re-create the same actions.
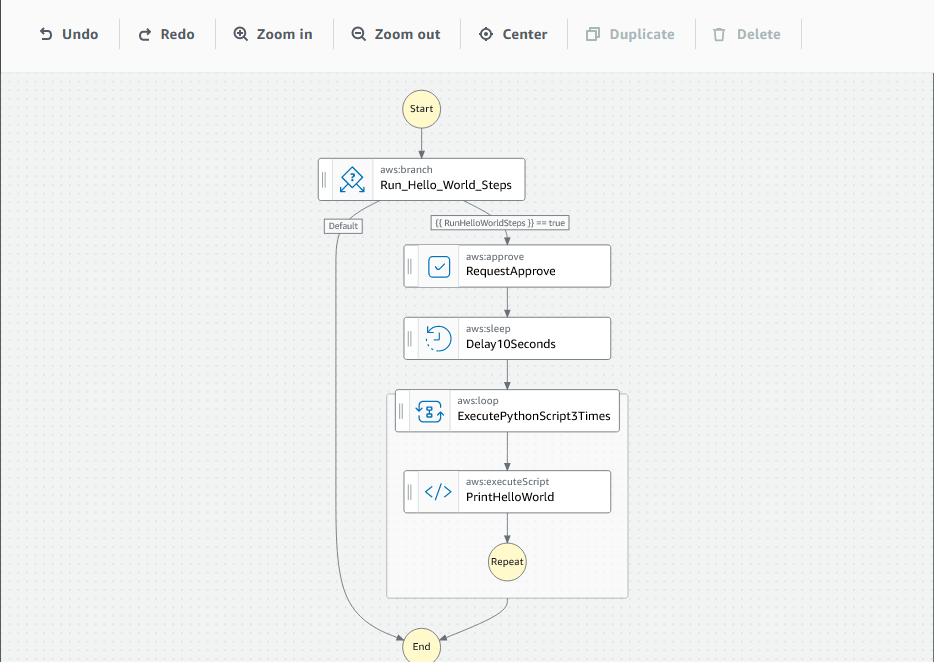
Canvas
After you choose an action to add to your automation, drag it to the canvas and drop it into your workflow graph. You can also drag and drop actions to move them to different places in your runbook's workflow. If your workflow is complex, you might not be able to view all of it in the canvas panel. Use the controls at the top of the canvas to zoom in or out. To view different parts of a workflow, you can drag the workflow graph in the canvas.
Drag an action from the Actions browser, and drop it into your runbook's workflow graph. A line shows where it will be placed in your workflow. To change the order of an action, you can drag it to a different place in your workflow. The new action has been added to your workflow, and its code is auto-generated.
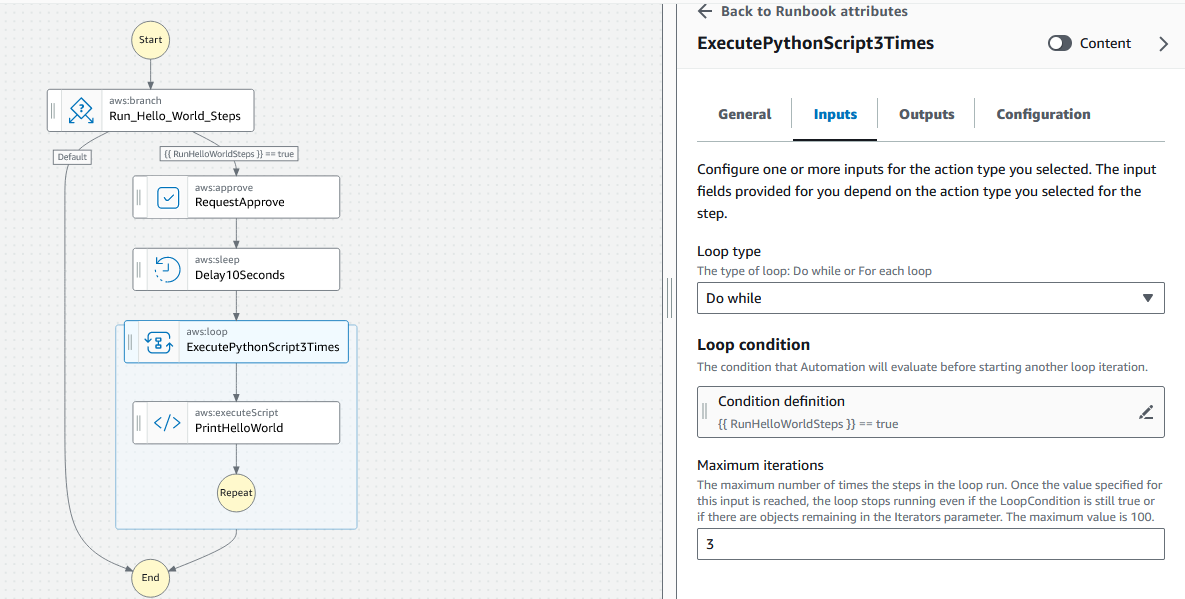
Form
After you add an action to your runbook workflow, you can configure it to meet your use case. Choose the action that you want to configure, and you will see its parameters and options in the Form panel. You can also see the YAML or JSON code by choosing the Content toggle. The code associated with the action you have selected is highlighted.
Keyboard shortcuts
The visual design experience supports the keyboard shortcuts shown in the following table.
| Keyboard shortcut | Function |
|---|---|
| Ctrl+Z | Undo the last operation. |
| Ctrl+Shift+Z | Redo the last operation. |
| Alt+C | Center the workflow in the canvas. |
| Backspace | Remove all selected states. |
| Delete | Remove all selected states. |
| Ctrl+D | Duplicate the selected state. |