Creating video subtitles
Amazon Transcribe supports WebVTT (*.vtt) and SubRip (*.srt) output for use as video subtitles. You can select one or both file types when setting up your batch video transcription job. When using the subtitle feature, your selected subtitle file(s) and a regular transcript file (containing additional information) are produced. Subtitle and transcription files are output to the same destination.
Subtitles are displayed at the same time text is spoken, and remain visible until there is a natural pause or the speaker finishes talking. Note that if you enable subtitles in your transcription request and your audio contains no speech, a subtitle file is not created.
Important
Amazon Transcribe uses a default start index of 0 for subtitle output, which differs
from the more widely used value of 1. If you require a start index of 1, you
can specify this in the Amazon Web Services Management Console or in your API request using the OutputStartIndex parameter.
Using the incorrect start index can result in compatibility errors with other services, so be sure to
verify which start index you require before creating your subtitles. If you're uncertain which value to
use, we recommend choosing 1. Refer to Subtitles for more information.
Features supported with subtitles:
-
Content redaction — Any redacted content is reflected as '
PII' in both your subtitle and regular transcript output files. The audio is not altered. -
Vocabulary filters — Subtitle files are generated from the transcription file, so any words you filter in your standard transcription output are also filtered in your subtitles. Filtered content is displayed as whitespace or
***in your transcript and subtitle files. The audio is not altered. -
Speaker diarization — If there are multiple speakers in a given subtitle segment, dashes are used to distinguish each speaker. This applies to both WebVTT and SubRip formats; for example:
-- Text spoken by Person 1
-- Text spoken by Person 2
Subtitle files are stored in the same Amazon S3 location as your transcription output.
Generating subtitle files
You can create subtitle files using the Amazon Web Services Management Console, Amazon CLI, or Amazon SDKs; see the following examples:
-
Sign in to the Amazon Web Services Management Console
. -
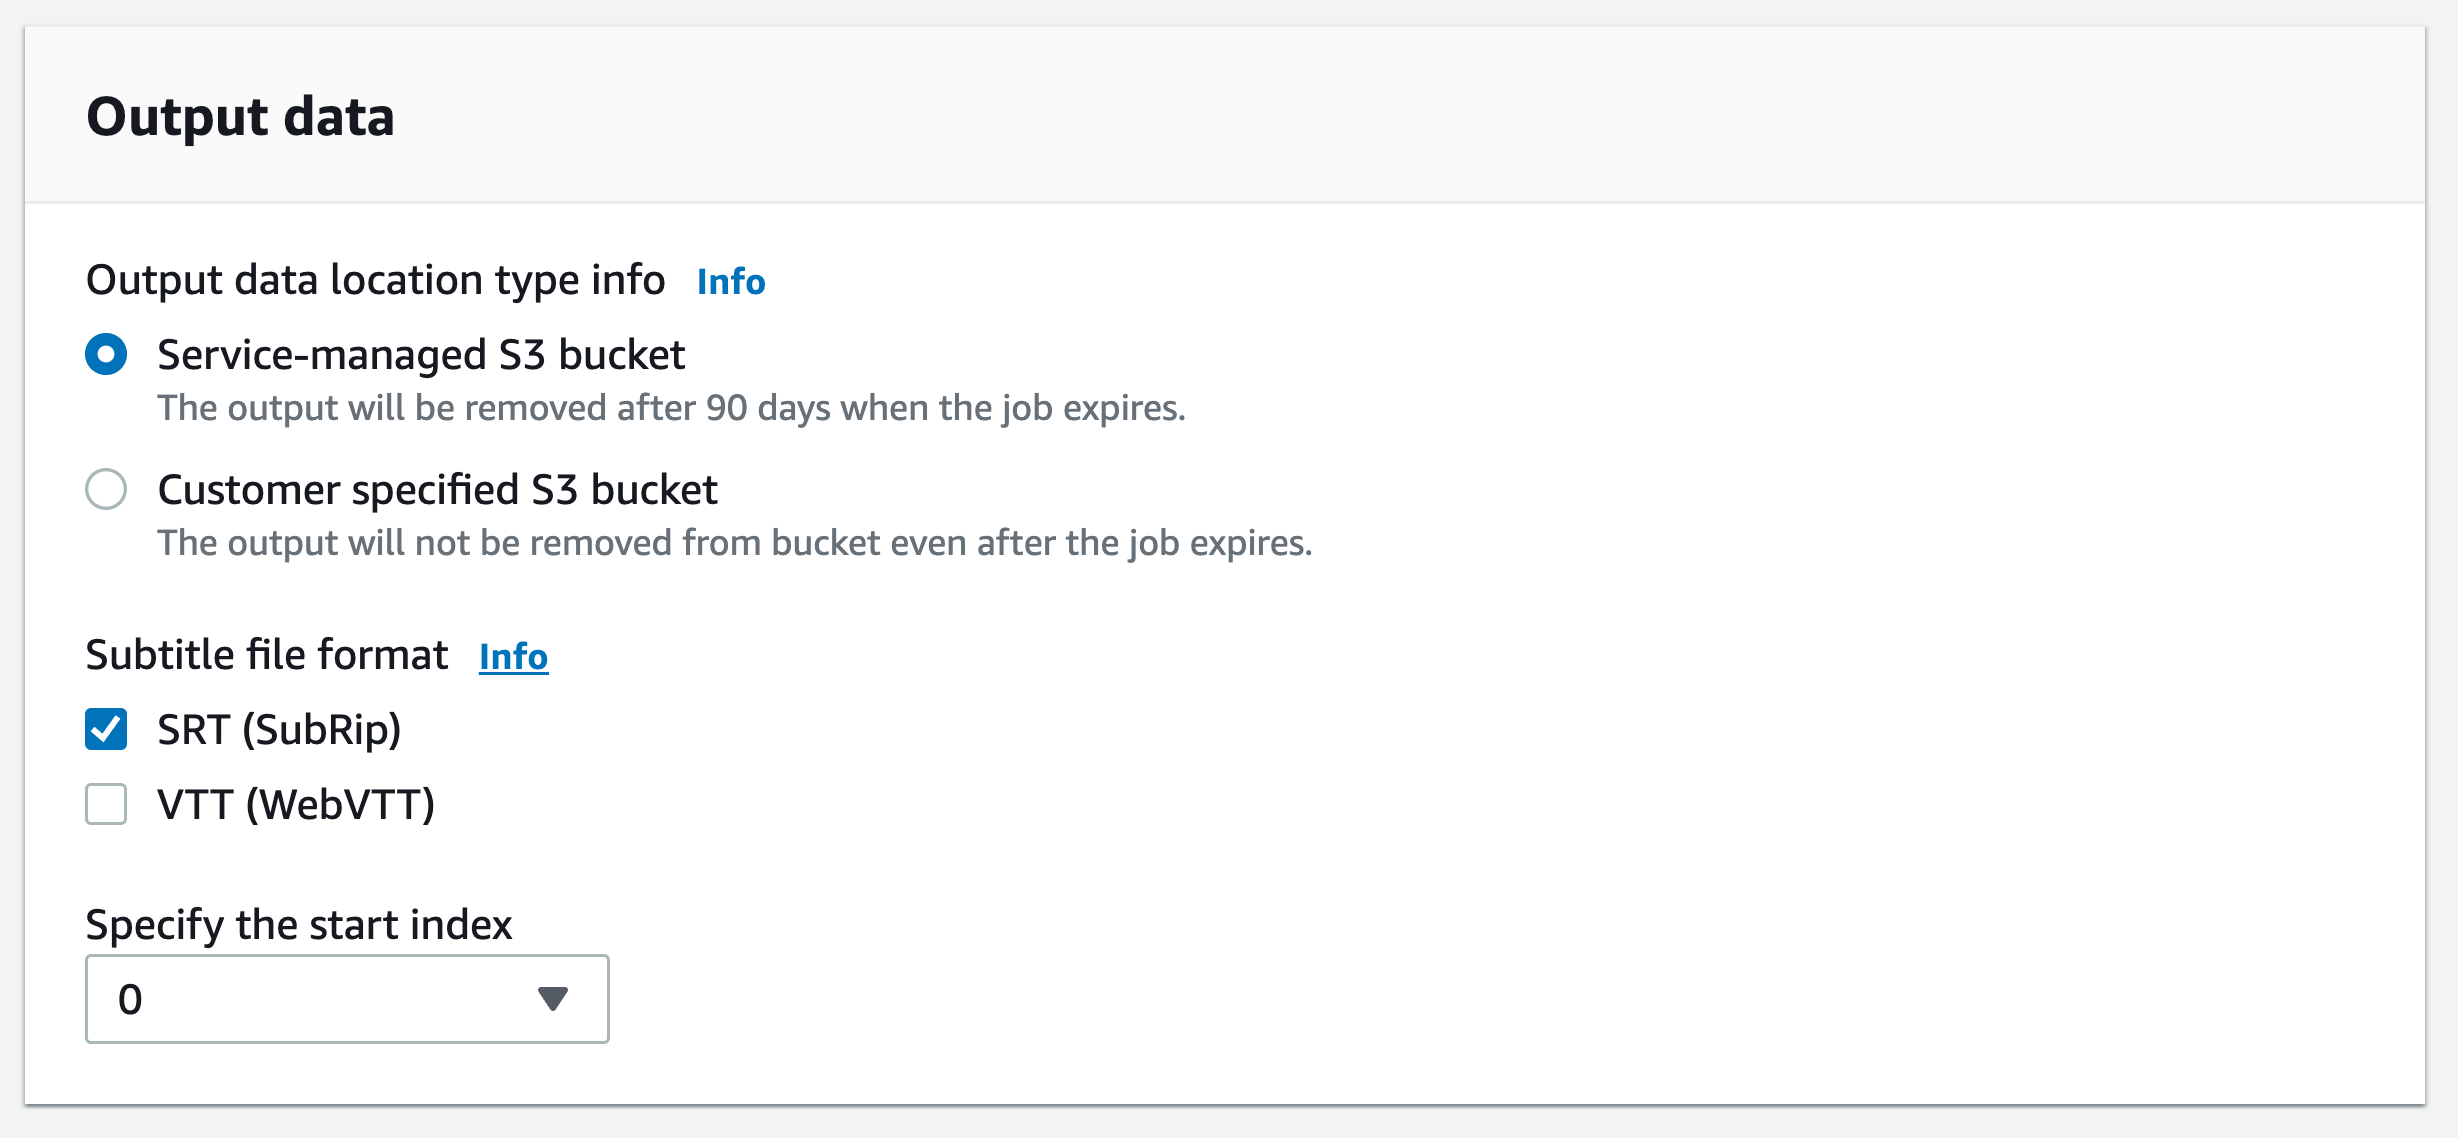
In the navigation pane, choose Transcription jobs, then select Create job (top right). This opens the Specify job details page. Subtitle options are located in the Output data panel.
-
Select the formats you want for your subtitles files, then choose a value for your start index. Note that the Amazon Transcribe default is
0, but1is more widely used. If you're uncertain which value to use, we recommend choosing1, as this may improve compatibility with other services.
-
Fill in any other fields you want to include on the Specify job details page, then select Next. This takes you to the Configure job - optional page.
-
Select Create job to run your transcription job.
This example uses the start-transcription-jobSubtitles parameter. For more information, see
StartTranscriptionJob and
Subtitles.
aws transcribe start-transcription-job \ --regionus-west-2\ --transcription-job-namemy-first-transcription-job\ --media MediaFileUri=s3://amzn-s3-demo-bucket/my-input-files/my-media-file.flac\ --output-bucket-nameamzn-s3-demo-bucket\ --output-keymy-output-files/ \ --language-codeen-US\ --subtitles Formats=vtt,srt,OutputStartIndex=1
Here's another example using the start-transcription-job
aws transcribe start-transcription-job \ --regionus-west-2\ --cli-input-json file://my-first-subtitle-job.json
The file my-first-subtitle-job.json contains the following request body.
{ "TranscriptionJobName": "my-first-transcription-job", "Media": { "MediaFileUri": "s3://amzn-s3-demo-bucket/my-input-files/my-media-file.flac" }, "OutputBucketName": "amzn-s3-demo-bucket", "OutputKey": "my-output-files/", "LanguageCode": "en-US", "Subtitles": { "Formats": [ "vtt","srt" ], "OutputStartIndex":1} }
This example uses the Amazon SDK for Python (Boto3) to add subtitles using the
Subtitles argument for the
start_transcription_jobStartTranscriptionJob and
Subtitles.
For additional examples using the Amazon SDKs, including feature-specific, scenario, and cross-service examples, refer to the Code examples for Amazon Transcribe using Amazon SDKs chapter.
from __future__ import print_function import time import boto3 transcribe = boto3.client('transcribe', 'us-west-2') job_name = "my-first-transcription-job" job_uri = "s3://amzn-s3-demo-bucket/my-input-files/my-media-file.flac" transcribe.start_transcription_job( TranscriptionJobName = job_name, Media = { 'MediaFileUri': job_uri }, OutputBucketName = 'amzn-s3-demo-bucket', OutputKey = 'my-output-files/', LanguageCode = 'en-US', Subtitles = { 'Formats': [ 'vtt','srt' ], 'OutputStartIndex':1} ) while True: status = transcribe.get_transcription_job(TranscriptionJobName = job_name) if status['TranscriptionJob']['TranscriptionJobStatus'] in ['COMPLETED', 'FAILED']: break print("Not ready yet...") time.sleep(5) print(status)