Re-platforming IBM MQ to Amazon MQ
The following procedure shows how you can migrate an IBM MQ to an equivalent Amazon MQ without impacting App 1 or App 2:
-
Create an active/standby broker in us-east-1 and another in us-east-2 named as AMQ_ORANGE and AMQ_APPLE.
-
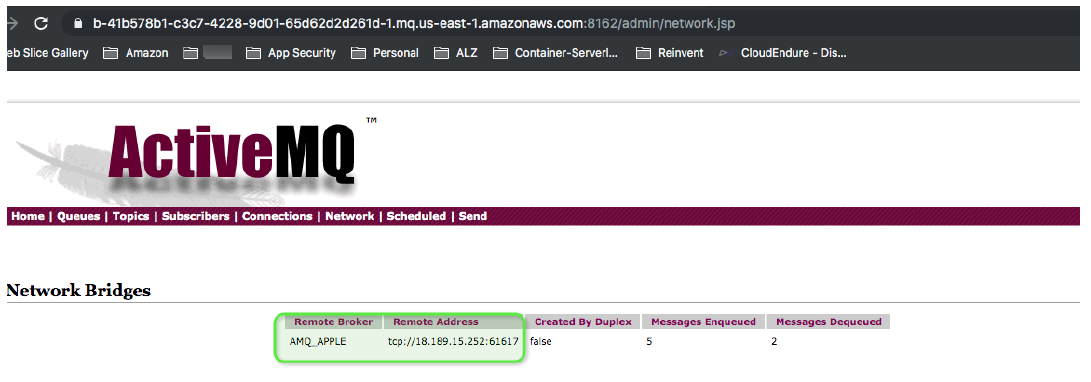
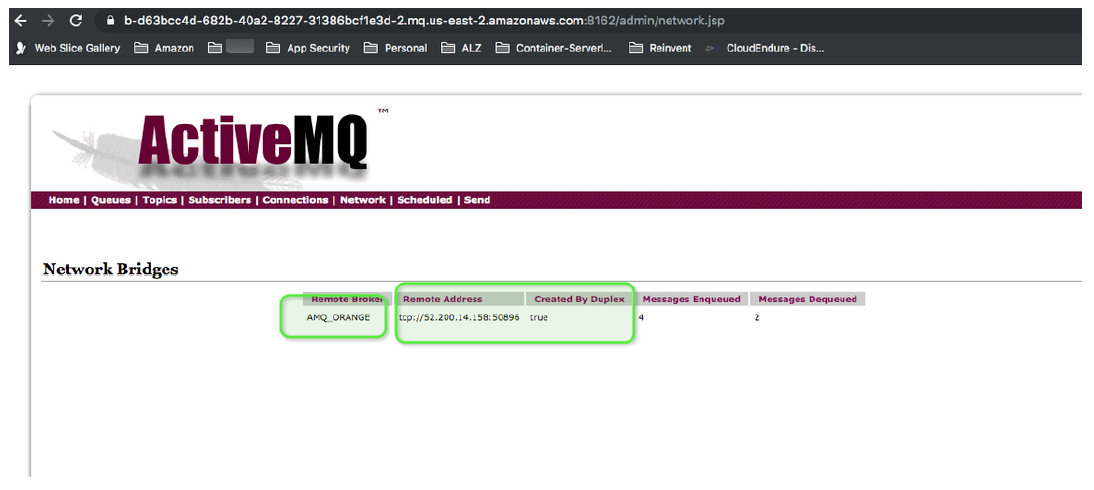
Create a Network Bridge between 2 brokers by adding a duplex network connector definition to one of the queues:
<networkConnectors>
    <networkConnector duplex="true" name="connector_AMQ_ORANGE_to_AMQ_APPLE" uri="masterslave:(ssl://b-d63bcc4d-682b-40a2-8227-31386bcf1e3d-1.mq.us-east-2.amazonaws.com:61617,ssl://b-d63bcc4d-682b-40a2-8227-31386bcf1e3d-2.mq.us-east-2.amazonaws.com:61617)" userName="amqadmin"/>
</networkConnectors>
After the reboot of AMQ_ORANGE, there should be a Network Bridge created between both brokers as illustrated below:
Note
Steps 1 and 2 can be replicated using a Amazon CloudFormation template. For more information about using Amazon CloudFormation to set up Amazon MQ brokers, see the Amazon MQ Amazon CloudFormation Template Reference.
-
Log in to IBM MQ Queue Manager Host and list the queues/topics definitions. In QM_ORANGE, you can list the queues and topics from IBM MQ using the following command:
$sudo dmpmqcfg -m QM_ORANGE -t queue -o 1line | grep -v "SYSTEM" | grep -v "AUTHREC" | grep -v "*" | gawk -F: '{ print $1 }‘The output:
DEFINE QREMOTE('Q1') RQMNAME('QM_APPLE') RNAME('Q1') XMITQ('QM_APPLE') REPLACE
DEFINE QLOCAL('Q2') DISTL(NO) MAXDEPTH(5000) REPLACE
DEFINE QLOCAL('QM_APPLE') GET(DISABLED) MAXDEPTH(5000) USAGE(XMITQ) REPLACE
In the example above,
Q1is the link to the remote queue,QM_APPLEis the transit queue, andQ2is the local queue. We only need local queueQ2for the Amazon MQ setup, which can be defined in the broker configuration as<queue physicalName="Q2"/>Q1is a local queue onQM_APPLEandQ2is a local queue inQM_ORANGE. You can configure these resources accordingly in AMQ_APPLE and AMQ_ORANGE by using the following configuration<destinations> <queue physicalName="localQ1"/> </destinations>Similairly, get the list of queues and topics from
QM_APPLE. -
Manually create a dead letter queue strategy in the AMQ configuration file.
The defaultdead letter queue in ActiveMQ is called
ActiveMQ.DLQ. All un-deliverable messages will get routed to this queue. To streamline this process, you can set up anindividualDeadLetterStrategyin the destination policy map of theactivemq.xmlconfiguration file, allowing you to specify a specific dead letter queue prefix for a given queue or topic. You can apply this strategy using a wild-card so that all queues can be set up with their own dead-letter queues, as is shown in the example below:<broker> <destinationPolicy> <policyMap> <policyEntries> <!-- Set the following policy on all queues using the '>' wildcard --> <policyEntry queue=">"> <deadLetterStrategy> <!-- Use the prefix 'DLQ.' for the destination name, and make the DLQ a queue rather than a topic --> <individualDeadLetterStrategy queuePrefix="DLQ." useQueueForQueueMessages="true"/> </deadLetterStrategy> </policyEntry> </policyEntries> </policyMap> </destinationPolicy> </broker>Note
Dead-Letter queue expiration - By default, ActiveMQ will never expire messages sent to a Dead-Letter Queue (DLQ). However, beginning with ActiveMQ 5.12, the
deadLetterStrategysupports an expiration attribute whose value is given in milliseconds as shown below:<broker> <destinationPolicy> <policyMap> <policyEntries> <policyEntry queue="QueueWhereItIsOkToExpireDLQEntries"> <deadLetterStrategy> <.... expiration="300000"/> </deadLetterStrategy> </policyEntry> </policyEntries> </policyMap> </destinationPolicy> </broker> -
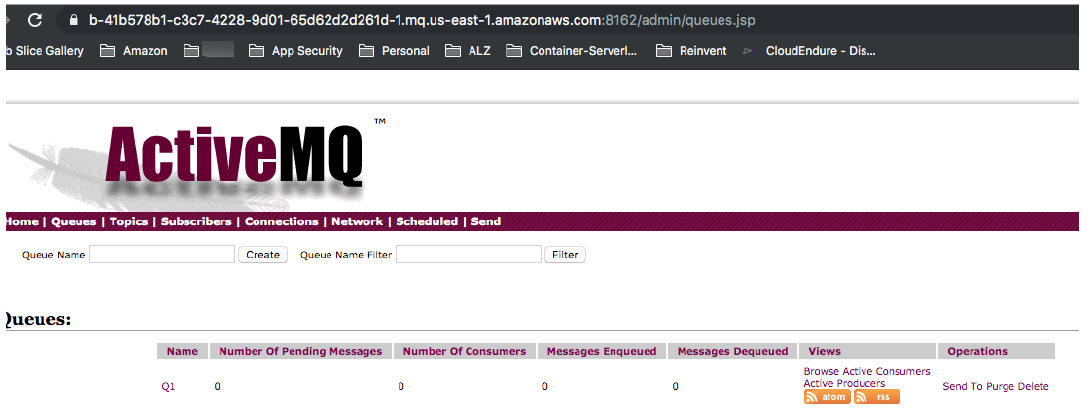
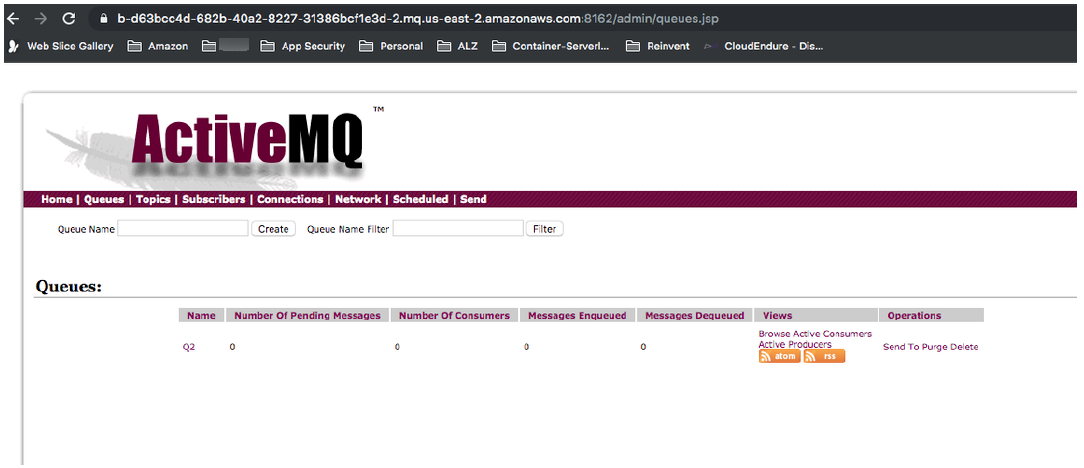
Create local queue
Q1on AMQ_ORANGE andQ2on AMQ_APPLE as shown in the following: