Other application options
You might have an existing application UI that you want to integrate with Amazon Cognito authentication. You might even have your own existing authentication pages with a less-functional directory setup than Amazon Cognito user pools. You can add or replace an authentication component to an application of this type with Amazon Cognito integrations in Amazon SDKs for a variety of programming languages. Some examples follow.
If you create a user pool for this purpose in the Amazon Cognito console, it might not be necessary to have a user pool domain that hosts interactive sign-in pages and OpenID Connect (OIDC) services. The process of user pool creation in the console automatically generates a domain for you. You can delete this domain from the Domain tab of your user pool. Other options include programmatic creation of Amazon Cognito resources for you application with API requests in Amazon SDKs and with the automated-setup options in the Amazon Amplify CLI. For more information, see Integrating Amazon Cognito authentication and authorization with web and mobile apps.
Set up an example React single page application
In this tutorial, you'll create a React single page application where you can test user
sign-up, confirmation, and sign-in. React is a JavaScript-based library for web and mobile
apps, with a focus on the user interface (UI). This example application demonstrates some
basic functions of Amazon Cognito user pools. If you're already experienced in web app development with React,
download the example app from GitHub
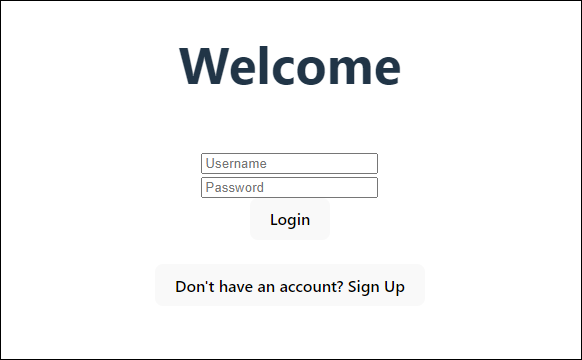
The following screenshot is of the initial authentication page in the application that you'll create.
To set up this application, your user pool must meet the following requirements:
-
Users can sign in with their email address. Cognito user pool sign-in options: Email.
-
Usernames are case insensitive. User name requirements: Make user name case sensitive is not selected.
-
Multi-factor authentication (MFA) isn't required. MFA enforcement: Optional MFA.
-
Your user pool verifies attributes for user-profile confirmation with an email message. Attributes to verify: Send email message, verify email address.
-
Email is the only required attribute. Required attributes: email.
-
Users can sign themselves up in your user pool. Self-registration: Enable self-registration is selected.
-
Your initial app client is a public client that permits sign-in with username and password. App type: Public client, Authentication flows:
ALLOW_USER_PASSWORD_AUTH.
Create an application
To build this application, you must set up a developer environment. The developer environment requirements are:
-
Node.js is installed and updated.
-
Node package manager (npm) is installed and updated to at least version 10.2.3.
-
The environment is accessible on TCP port 5173 in a web browser.
To create an example React web application
-
Sign in to your developer environment and navigate to the parent directory for your application.
cd~/path/to/project/folder/ -
Create a new React service.
npm create vite@latest frontend-client -- --template react-ts -
Clone the
cognito-developer-guide-react-exampleproject folderfrom the Amazon code examples repository on GitHub. cd~/some/other/pathgit clone https://github.com/awsdocs/aws-doc-sdk-examples.gitcp -r ./aws-doc-sdk-examples/javascriptv3/example_code/cognito-identity-provider/scenarios/cognito-developer-guide-react-example/frontend-client~/path/to/project/folder/ -
Navigate to the
srcdirectory in your project.cd~/path/to/project/folder/frontend-client/src -
Edit
config.jsonand replace the following values:-
Replace
YOUR_AWS_REGIONwith an Amazon Web Services Region code. For example:us-east-1. -
Replace
YOUR_COGNITO_USER_POOL_IDwith the ID of the user pool that you have designated for testing. For example:us-east-1_EXAMPLE. The user pool must be in the Amazon Web Services Region that you entered in the previous step. -
Replace
YOUR_COGNITO_APP_CLIENT_IDwith the ID of the app client that you have designated for testing. For example:1example23456789. The app client must be in the user pool from the previous step.
-
-
If you want to access your example application from an IP other than
localhost, editpackage.jsonand change the line"dev": "vite",to"dev": "vite --host 0.0.0.0",. -
Install your application.
npm install -
Launch the application.
npm run dev -
Access the application in a web browser at
http://localhost:5173orhttp://[IP address]:5173. -
Sign up a new user with a valid email address.
-
Retrieve the confirmation code from your email message. Enter the confirmation code into the application.
-
Sign in with your username and password.
Creating a React developer environment with Amazon Lightsail
A quick way to get started with this application is to create a virtual cloud server with Amazon Lightsail.
With Lightsail, you can quickly create a small server instance that comes preconfigured with the prerequisites for this example application. You can SSH to your instance with a browser-based client, and connect to the web server at a public or private IP address.
To create a Lightsail instance for this example application
-
Go to the Lightsail console
. If prompted, enter your Amazon credentials. -
Choose Create instance.
-
For Select a platform, choose Linux/Unix.
-
For Select a blueprint, choose Node.js.
-
Under Identify your instance, give your development environment a friendly name.
-
Choose Create instance.
-
After Lightsail has created your instance, select it and from the Connect tab, choose Connect using SSH.
-
An SSH session opens in a browser window. Run
node -vandnpm -vto confirm that your instance was provisioned with Node.js and the minimum npm version of 10.2.3. -
Proceed to configure your React application.
Set up an example Android app with Flutter
In this tutorial, you'll create a mobile application in Android Studio where you can
emulate a device and test user sign-up, confirmation, and sign-in. This example application
creates a basic Amazon Cognito user pools mobile client for Android in Flutter. If you're already experienced
in mobile app development with Flutter, download the example app from GitHub
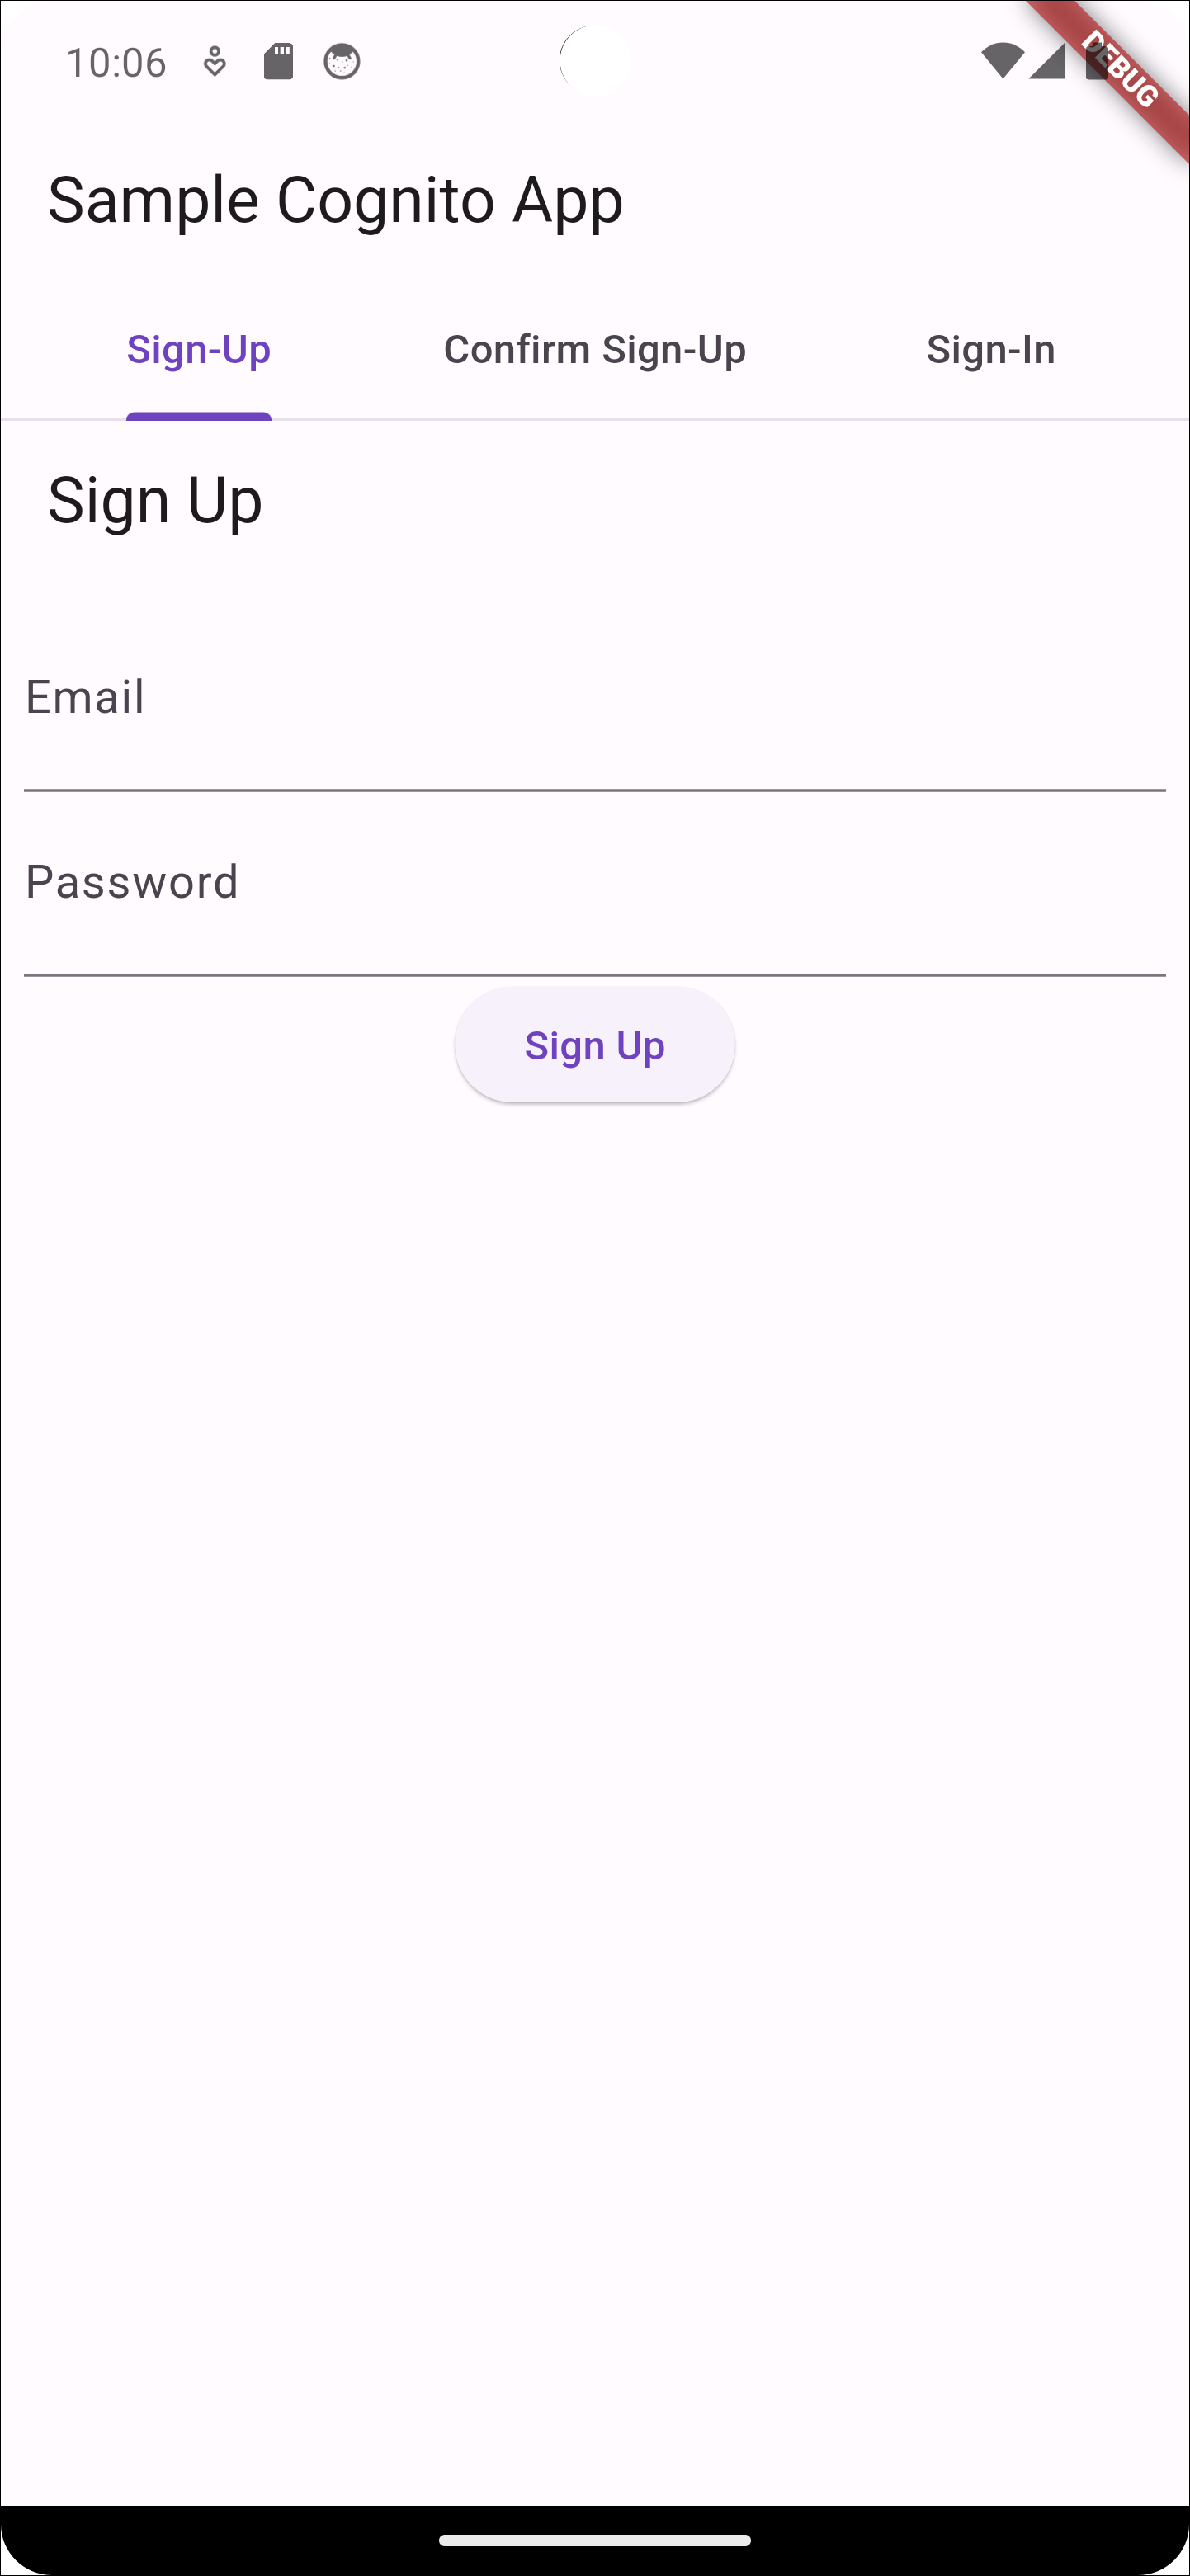
The following screenshot shows the app running on a virtual Android device.
To set up this application, you user pool must meet the following requirements:
-
Users can sign in with their email address. Cognito user pool sign-in options: Email.
-
Usernames are case insensitive. User name requirements: Make user name case sensitive is not selected.
-
Multi-factor authentication (MFA) isn't required. MFA enforcement: Optional MFA.
-
Your user pool verifies attributes for user-profile confirmation with an email message. Attributes to verify: Send email message, verify email address.
-
Email is the only required attribute. Required attributes: email.
-
Users can sign themselves up in your user pool. Self-registration: Enable self-registration is selected.
-
Your initial app client is a public client that permits sign-in with username and password. App type: Public client, Authentication flows:
ALLOW_USER_PASSWORD_AUTH.
Create an application
To create an example Android app
-
Install Android studio
and command-line tools . -
In Android Studio, install the Flutter plugin
. -
Create a new Android Studio project from the contents of the
cognito_flutter_mobile_appdirectory in this example app. -
Edit
assets/config.jsonand replace<<YOUR USER POOL ID>>and<< YOUR CLIENT ID>>with the IDs of your user pool and app client.
-
-
Install Flutter
. -
Add Flutter to your PATH variable.
-
Accept licenses with the following command.
flutter doctor --android-licenses -
Verify your Flutter environment and install any missing components.
flutter doctor-
If any components are missing, run
flutter doctor -vto learn how to fix the issue.
-
-
Change to the directory of your new Flutter project and install dependencies.
-
Run
flutter pub add amazon_cognito_identity_dart_2.
-
-
Run
flutter pub add flutter_secure_storage.
-
-
Create a virtual Android device.
-
In the Android studio GUI, create a new device with the device manager
. -
In the CLI, run
flutter emulators --create --name
                  android-device
.
-
-
Launch your virtual Android device.
-
In the Android Studio GUI, select the start
 icon next to your virtual device.
 -
In the CLI, run
flutter emulators --launch android-device.
-
-
Launch your app on your virtual device.
-
In the Android Studio GUI, select the deploy
 icon.
icon. -
In the CLI, run
flutter run.
-
-
Navigate to your running virtual device in Android Studio.
-
Sign up a new user with a valid email address.
-
Retrieve the confirmation code from your email message. Enter the confirmation code into the application.
-
Sign in with your username and password.