Setting the time zone
DCV allows you to set the time zone for your session to display either the time zone you are currently or the time zone of where the remote desktop you are using is located.
This is referred to as time zone redirection.
Once this feature is either enabled or disabled the DCV client will save this settting for each time the user signs on to the client.
When collaborating sessions, the first client to connect to the session, known as the primary connection, will set the time zone for the session even if the primary connection leaves the session. For more information, see Collaborating on a Amazon DCV session.
To use this feature, your administrator will have to enable it. If you do not have the option to change your displayed time zone and would like to do so, contact your administrator. For more information, see Modifying Configuration Parameters in the Amazon DCV Administrator Guide.
To set your time zone, do one of the following depending on your client:
For Windows
Go to the Settings icon.
Select Time Zone Redirection from the drop down menu.
Note
It will indicate if the feature is Enabled or Disabled under the menu item.

For macOS
Go to the DCV Viewer icon from the toolbar at the top.
Select Preferences from the drop-down menu.
Select the General tab.
Check the box for Enable timezone redirection.

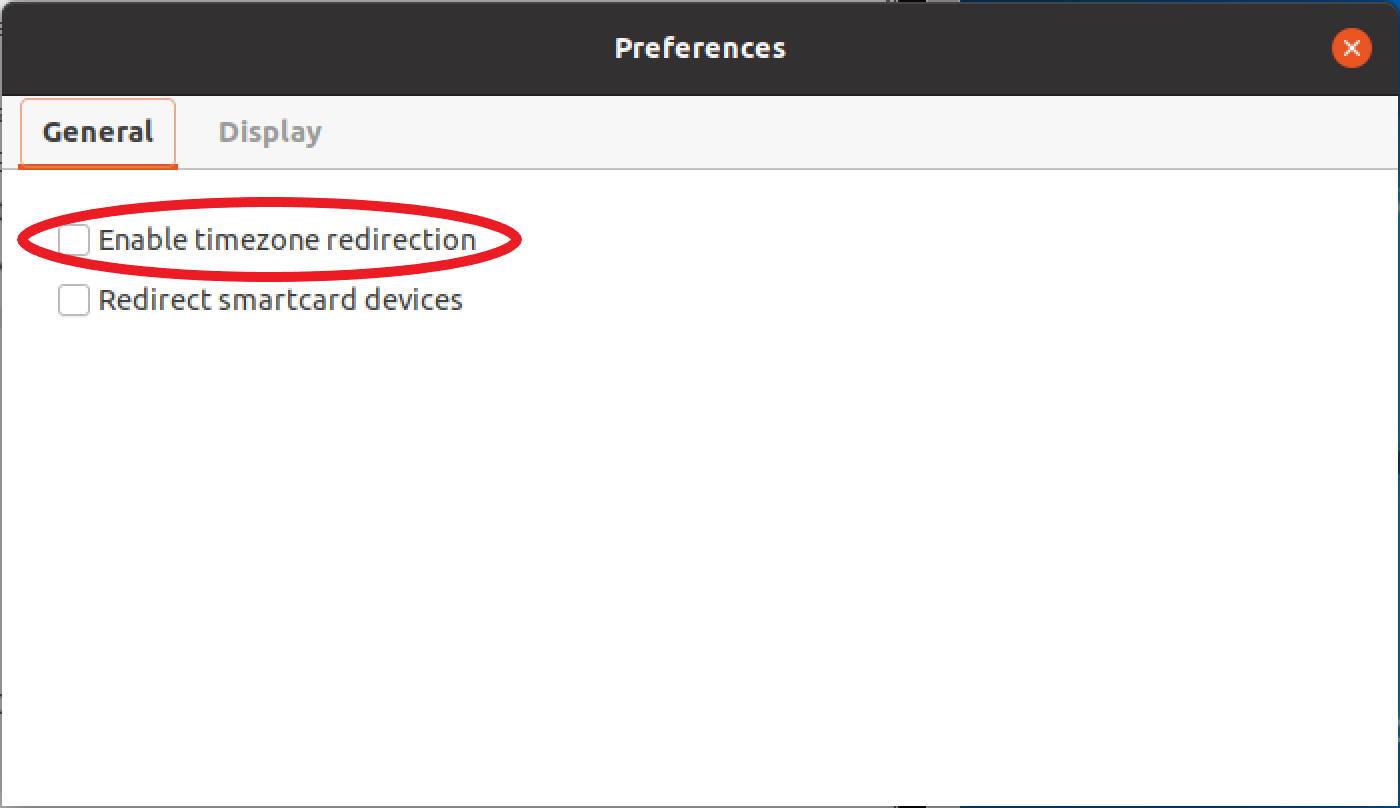
For Linux
Go to the Settings icon.
Select Preferences from the drop-down menu.
Select the General tab in the Preferences windows.
Check the box for Timezone Redirection.
For web based clients
Go to Preferences.
Click on the switch for Time Zone Redirection.
