Using self-hosted Jupyter notebooks
You can host and manage Jupyter or JupyterLab notebooks on an Amazon EC2 instance or on your own Amazon EKS cluster as a self-hosted Jupyter notebook. You can then run interactive workloads with your self-hosted Jupyter notebooks. The following sections walk through the process to set up and deploy a self-hosted Jupyter notebook on an Amazon EKS cluster.
Creating a self-hosted Jupyter notebook on an EKS cluster
Create a security group
Before you can create an interactive endpoint and run a self-hosted Jupyter or JupyterLab notebook, you must create a security group to control the traffic between your notebook and the interactive endpoint. To use the Amazon EC2 console or Amazon EC2 SDK to create the security group, refer to the steps in Create a security group in the Amazon EC2 User Guide. You should create the security group in the VPC where you want to deploy your notebook server.
To follow the example in this guide, use the same VPC as your Amazon EKS cluster. If you want to host your notebook in a VPC that is different from the VPC for your Amazon EKS cluster, you might need to create a peering connection between those two VPCs. For steps to create a peering connection between two VPCs, see Create a VPC peering connection in the Amazon VPC Getting Started Guide.
You need the ID for the security group to create an Amazon EMR on EKS interactive endpoint in the next step.
Create an Amazon EMR on EKS interactive endpoint
After you create security group for your notebook, use the steps provided in Creating an interactive endpoint for your virtual cluster to create an interactive endpoint. You must provide the security group ID that you created for your notebook in Create a security group.
Insert the security ID in place of
your-notebook-security-group-id in the following configuration
override settings:
--configuration-overrides '{
    "applicationConfiguration": [
        {
            "classification": "endpoint-configuration",
            "properties": {
                "notebook-security-group-id": "your-notebook-security-group-id"
            }
        }
    ],
    "monitoringConfiguration": {
    ...'
Retrieve the gateway server URL of your interactive endpoint
After you create an interactive endpoint, retrieve the gateway server URL with the
describe-managed-endpoint command in the Amazon CLI. You need this URL to connect
your notebook to the endpoint. The gateway server URL is a private endpoint.
aws emr-containers describe-managed-endpoint \ --regionregion\ --virtual-cluster-idvirtualClusterId\ --idendpointId
Initially, your endpoint is in the CREATING state. After a few minutes, it transitions to the ACTIVE state. When the endpoint is ACTIVE, it's ready to use.
Take note of the serverUrl attribute that the aws emr-containers
describe-managed-endpoint command returns from the active endpoint. You need this
URL to connect your notebook to the endpoint when you deploy your self-hosted Jupyter or
JupyterLab notebook.
Retrieve an auth token to connect to the interactive endpoint
To connect to an interactive endpoint from a Jupyter or JupyterLab notebook, you must
generate a session token with the GetManagedEndpointSessionCredentials API. The
token acts as proof of authentication to connect to the interactive endpoint server.
The following command is explained in more detail with an output example below.
aws emr-containers get-managed-endpoint-session-credentials \ --endpoint-identifierendpointArn\ --virtual-cluster-identifiervirtualClusterArn\ --execution-role-arnexecutionRoleArn\ --credential-type "TOKEN" \ --duration-in-secondsdurationInSeconds\ --regionregion
endpointArn-
The ARN of your endpoint. You can find the ARN in the result of a
describe-managed-endpointcall. virtualClusterArn-
The ARN of the virtual cluster.
executionRoleArn-
The ARN of the execution role.
durationInSeconds-
The duration in seconds for which the token is valid. The default duration is 15 minutes (
900), and the maximum is 12 hours (43200). region-
The same region as your endpoint.
Your output should resemble the following example. Take note of the
session-token
{
    "id": "credentialsId",
    "credentials": {
        "token": "session-token"
    },
    "expiresAt": "2022-07-05T17:49:38Z"
}
Example: Deploy a JupyterLab notebook
Once you've completed the steps above, you can try this example procedure to deploy a JupyterLab notebook into the Amazon EKS cluster with your interactive endpoint.
-
Create a namespace to run the notebook server.
-
Create a file locally,
notebook.yaml, with the following contents. The file contents are described below.apiVersion: v1 kind: Pod metadata: name: jupyter-notebook namespace:namespacespec: containers: - name: minimal-notebook image: jupyter/all-spark-notebook:lab-3.1.4 # open source image ports: - containerPort: 8888 command: ["start-notebook.sh"] args: ["--LabApp.token=''"] env: - name: JUPYTER_ENABLE_LAB value: "yes" - name: KERNEL_LAUNCH_TIMEOUT value: "400" - name: JUPYTER_GATEWAY_URL value: "serverUrl" - name: JUPYTER_GATEWAY_VALIDATE_CERT value: "false" - name: JUPYTER_GATEWAY_AUTH_TOKEN value: "session-token"If you are deploying Jupyter notebook to a Fargate-only cluster, label the Jupyter pod with a
rolelabel as shown in the following example:... metadata: name: jupyter-notebook namespace: default labels: role:example-role-name-labelspec: ...namespace-
The Kubernetes namespace that the notebook deploys into.
serverUrl-
The
serverUrlattribute that thedescribe-managed-endpointcommand returned in Retrieve the gateway server URL of your interactive endpoint . session-token-
The
session-tokenattribute that theget-managed-endpoint-session-credentialscommand returned in Retrieve an auth token to connect to the interactive endpoint. KERNEL_LAUNCH_TIMEOUT-
The amount of time in seconds that the interactive endpoint waits for the kernel to come to RUNNING state. Ensure sufficient time for kernel launch to complete by setting the kernel launch timeout to an appropriate value (maximum 400 seconds).
KERNEL_EXTRA_SPARK_OPTS-
Optionally, you can pass additional Spark configurations for the Spark kernels. Set this environment variable with the values as the Spark configuration property as shown in the following example:
- name: KERNEL_EXTRA_SPARK_OPTS
  value: "--conf spark.driver.cores=2
          --conf spark.driver.memory=2G
          --conf spark.executor.instances=2
          --conf spark.executor.cores=2
          --conf spark.executor.memory=2G
          --conf spark.dynamicAllocation.enabled=true
          --conf spark.dynamicAllocation.shuffleTracking.enabled=true
          --conf spark.dynamicAllocation.minExecutors=1
          --conf spark.dynamicAllocation.maxExecutors=5
          --conf spark.dynamicAllocation.initialExecutors=1
          "
-
Deploy the pod spec to your Amazon EKS cluster:
kubectl apply -f notebook.yaml -nnamespaceThis will start up a minimal JupyterLab notebook connected to your Amazon EMR on EKS interactive endpoint. Wait until the pod is RUNNING. You can check its status with the following command:
kubectl get pod jupyter-notebook -nnamespaceWhen the pod is ready, the
get podcommand returns output similar to this:NAME READY STATUS RESTARTS AGE jupyter-notebook 1/1 Running 0 46s -
Attach the notebook security group to the node where the notebook is scheduled.
-
First, identify the node where
jupyter-notebookpod is scheduled with thedescribe podcommand.kubectl describe pod jupyter-notebook -nnamespace Open the Amazon EKS console at https://console.amazonaws.cn/eks/home#/clusters
. -
Navigate to the Compute tab for your Amazon EKS cluster and select the node identified by the
describe podcommand. Select the instance ID for the node. -
From the Actions menu, select Security > Change security groups to attach the security group that you created in Create a security group.
-
If you are deploying Jupyter notebook pod on Amazon Fargate, create a
SecurityGroupPolicyto apply to the Jupyter notebook pod with the role label:cat >my-security-group-policy.yaml <<EOF apiVersion: vpcresources.k8s.aws/v1beta1 kind: SecurityGroupPolicy metadata: name:example-security-group-policy-namenamespace: default spec: podSelector: matchLabels: role:example-role-name-labelsecurityGroups: groupIds: -your-notebook-security-group-idEOF
-
-
Now, port-forward so that you can locally access the JupyterLab interface:
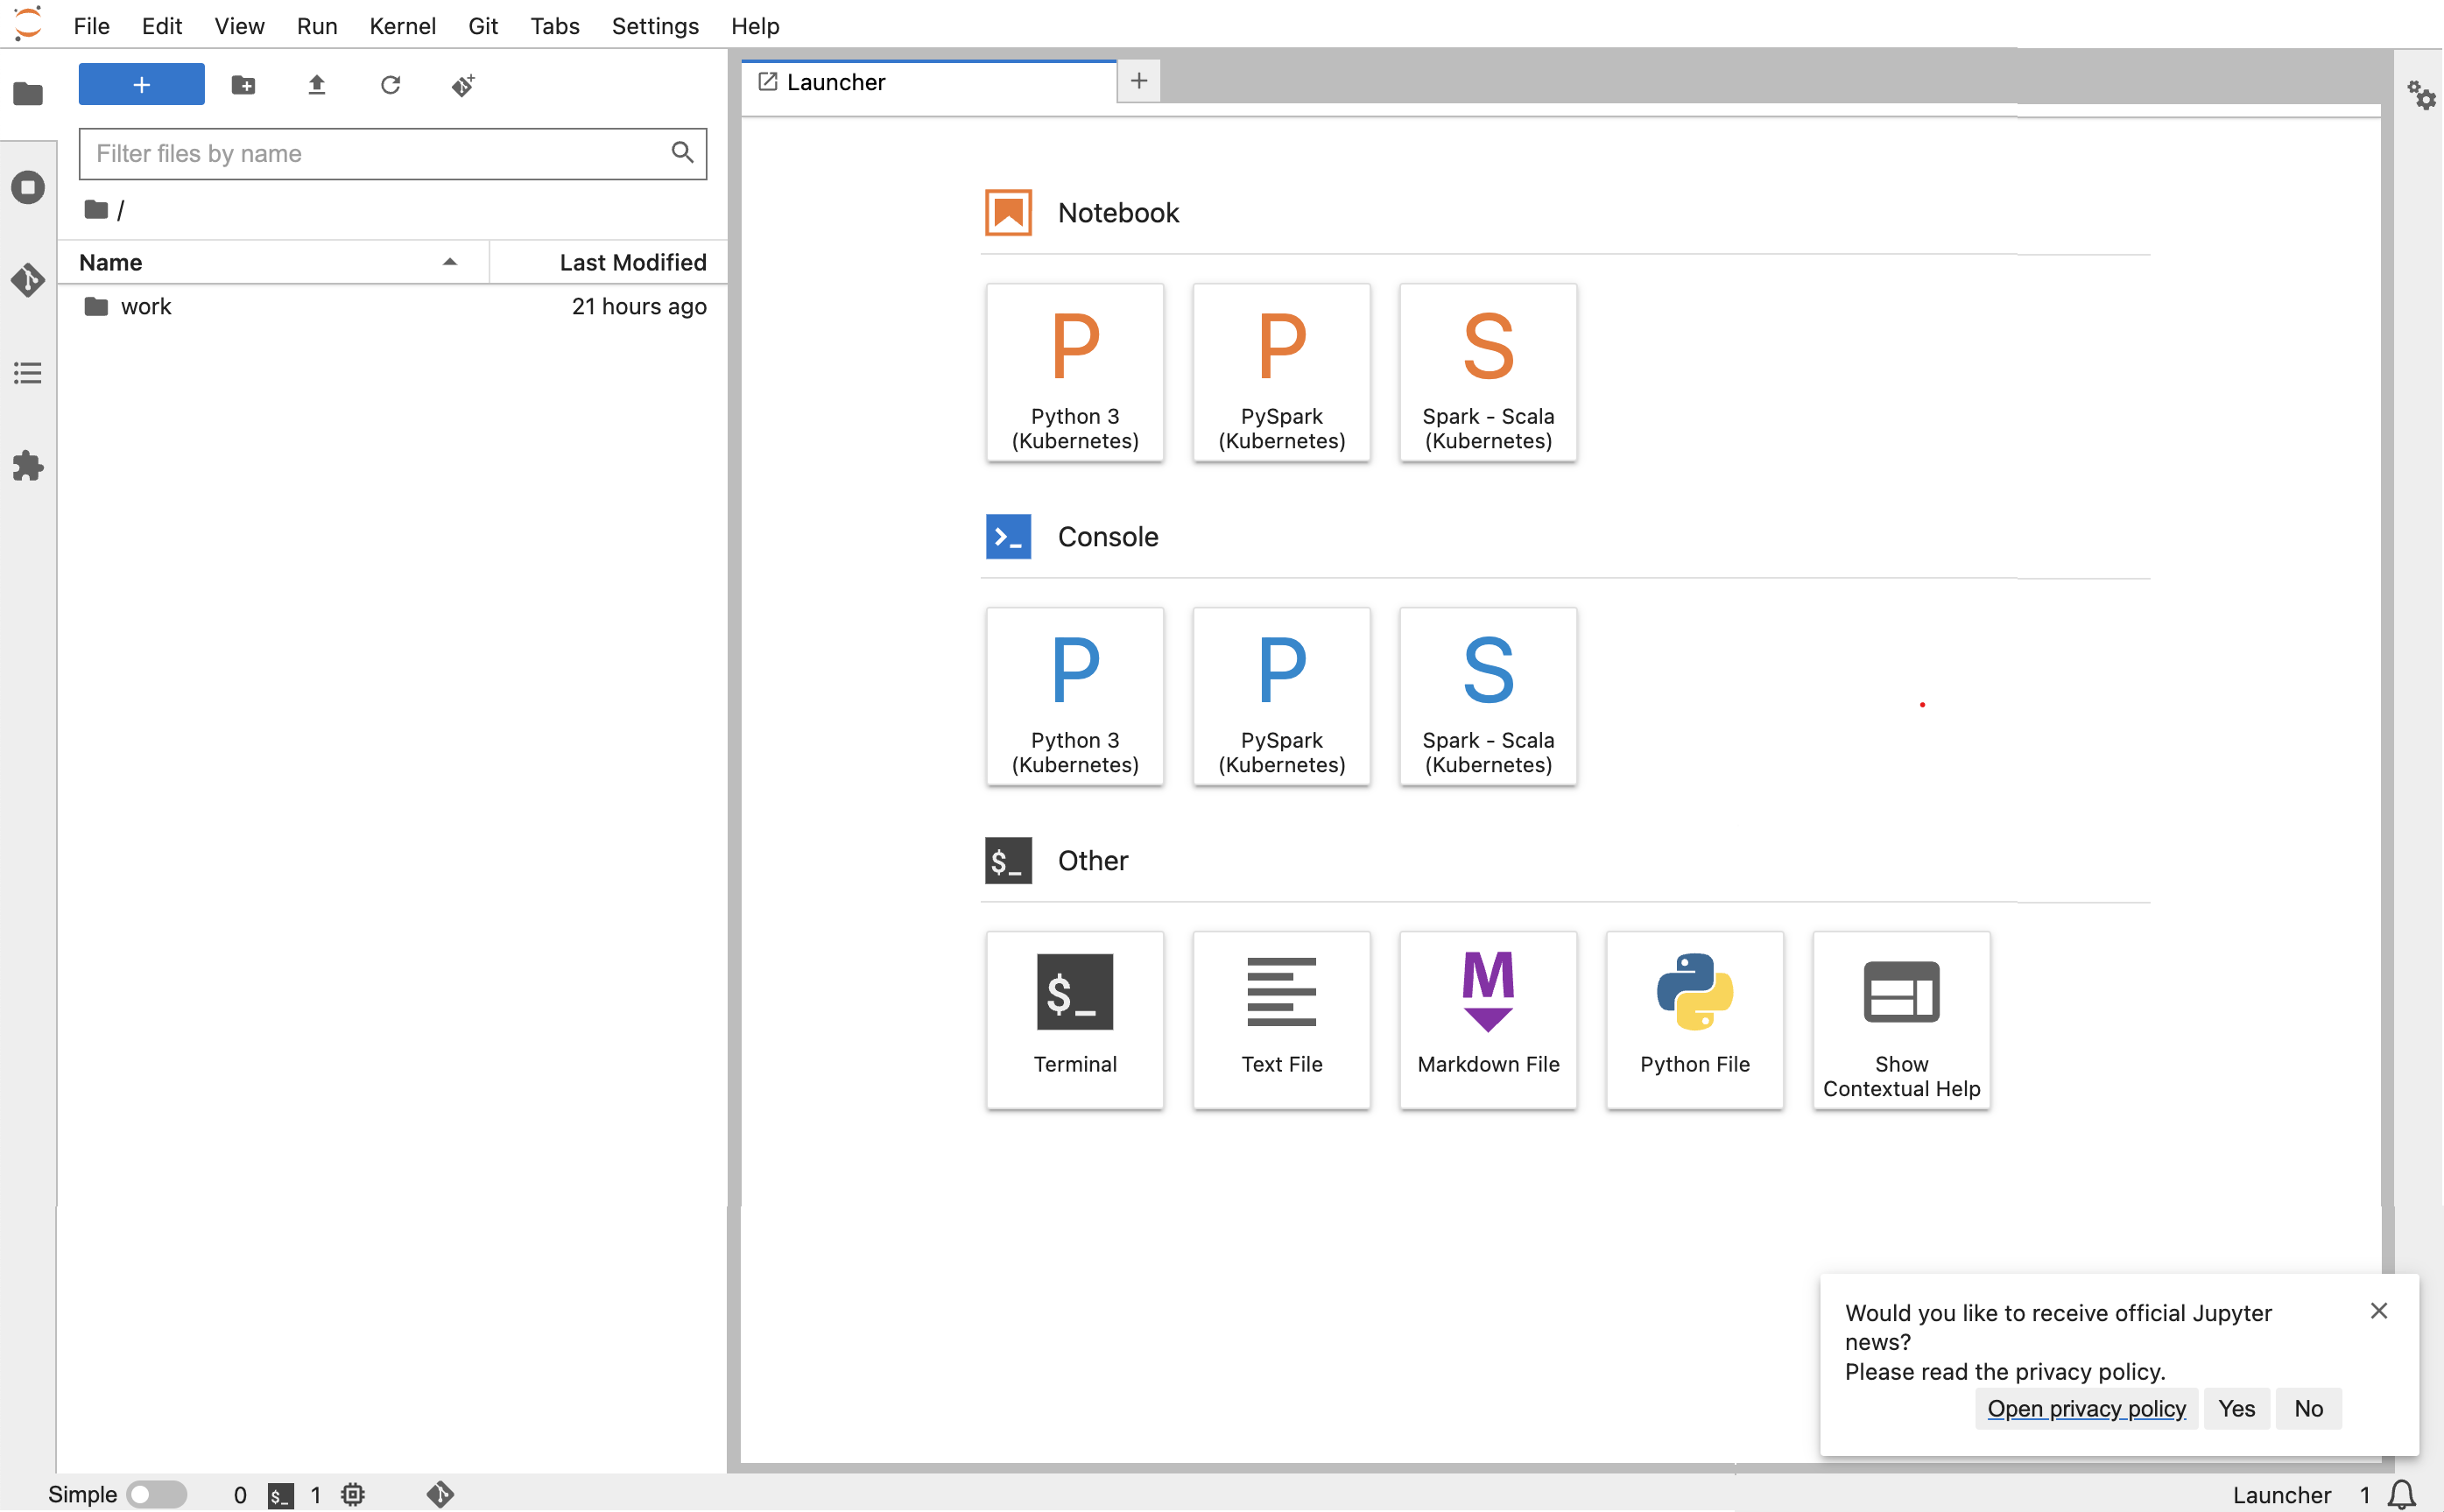
kubectl port-forward jupyter-notebook 8888:8888 -nnamespaceOnce that is running, navigate to your local browser and visit
localhost:8888to see the JupyterLab interface:
-
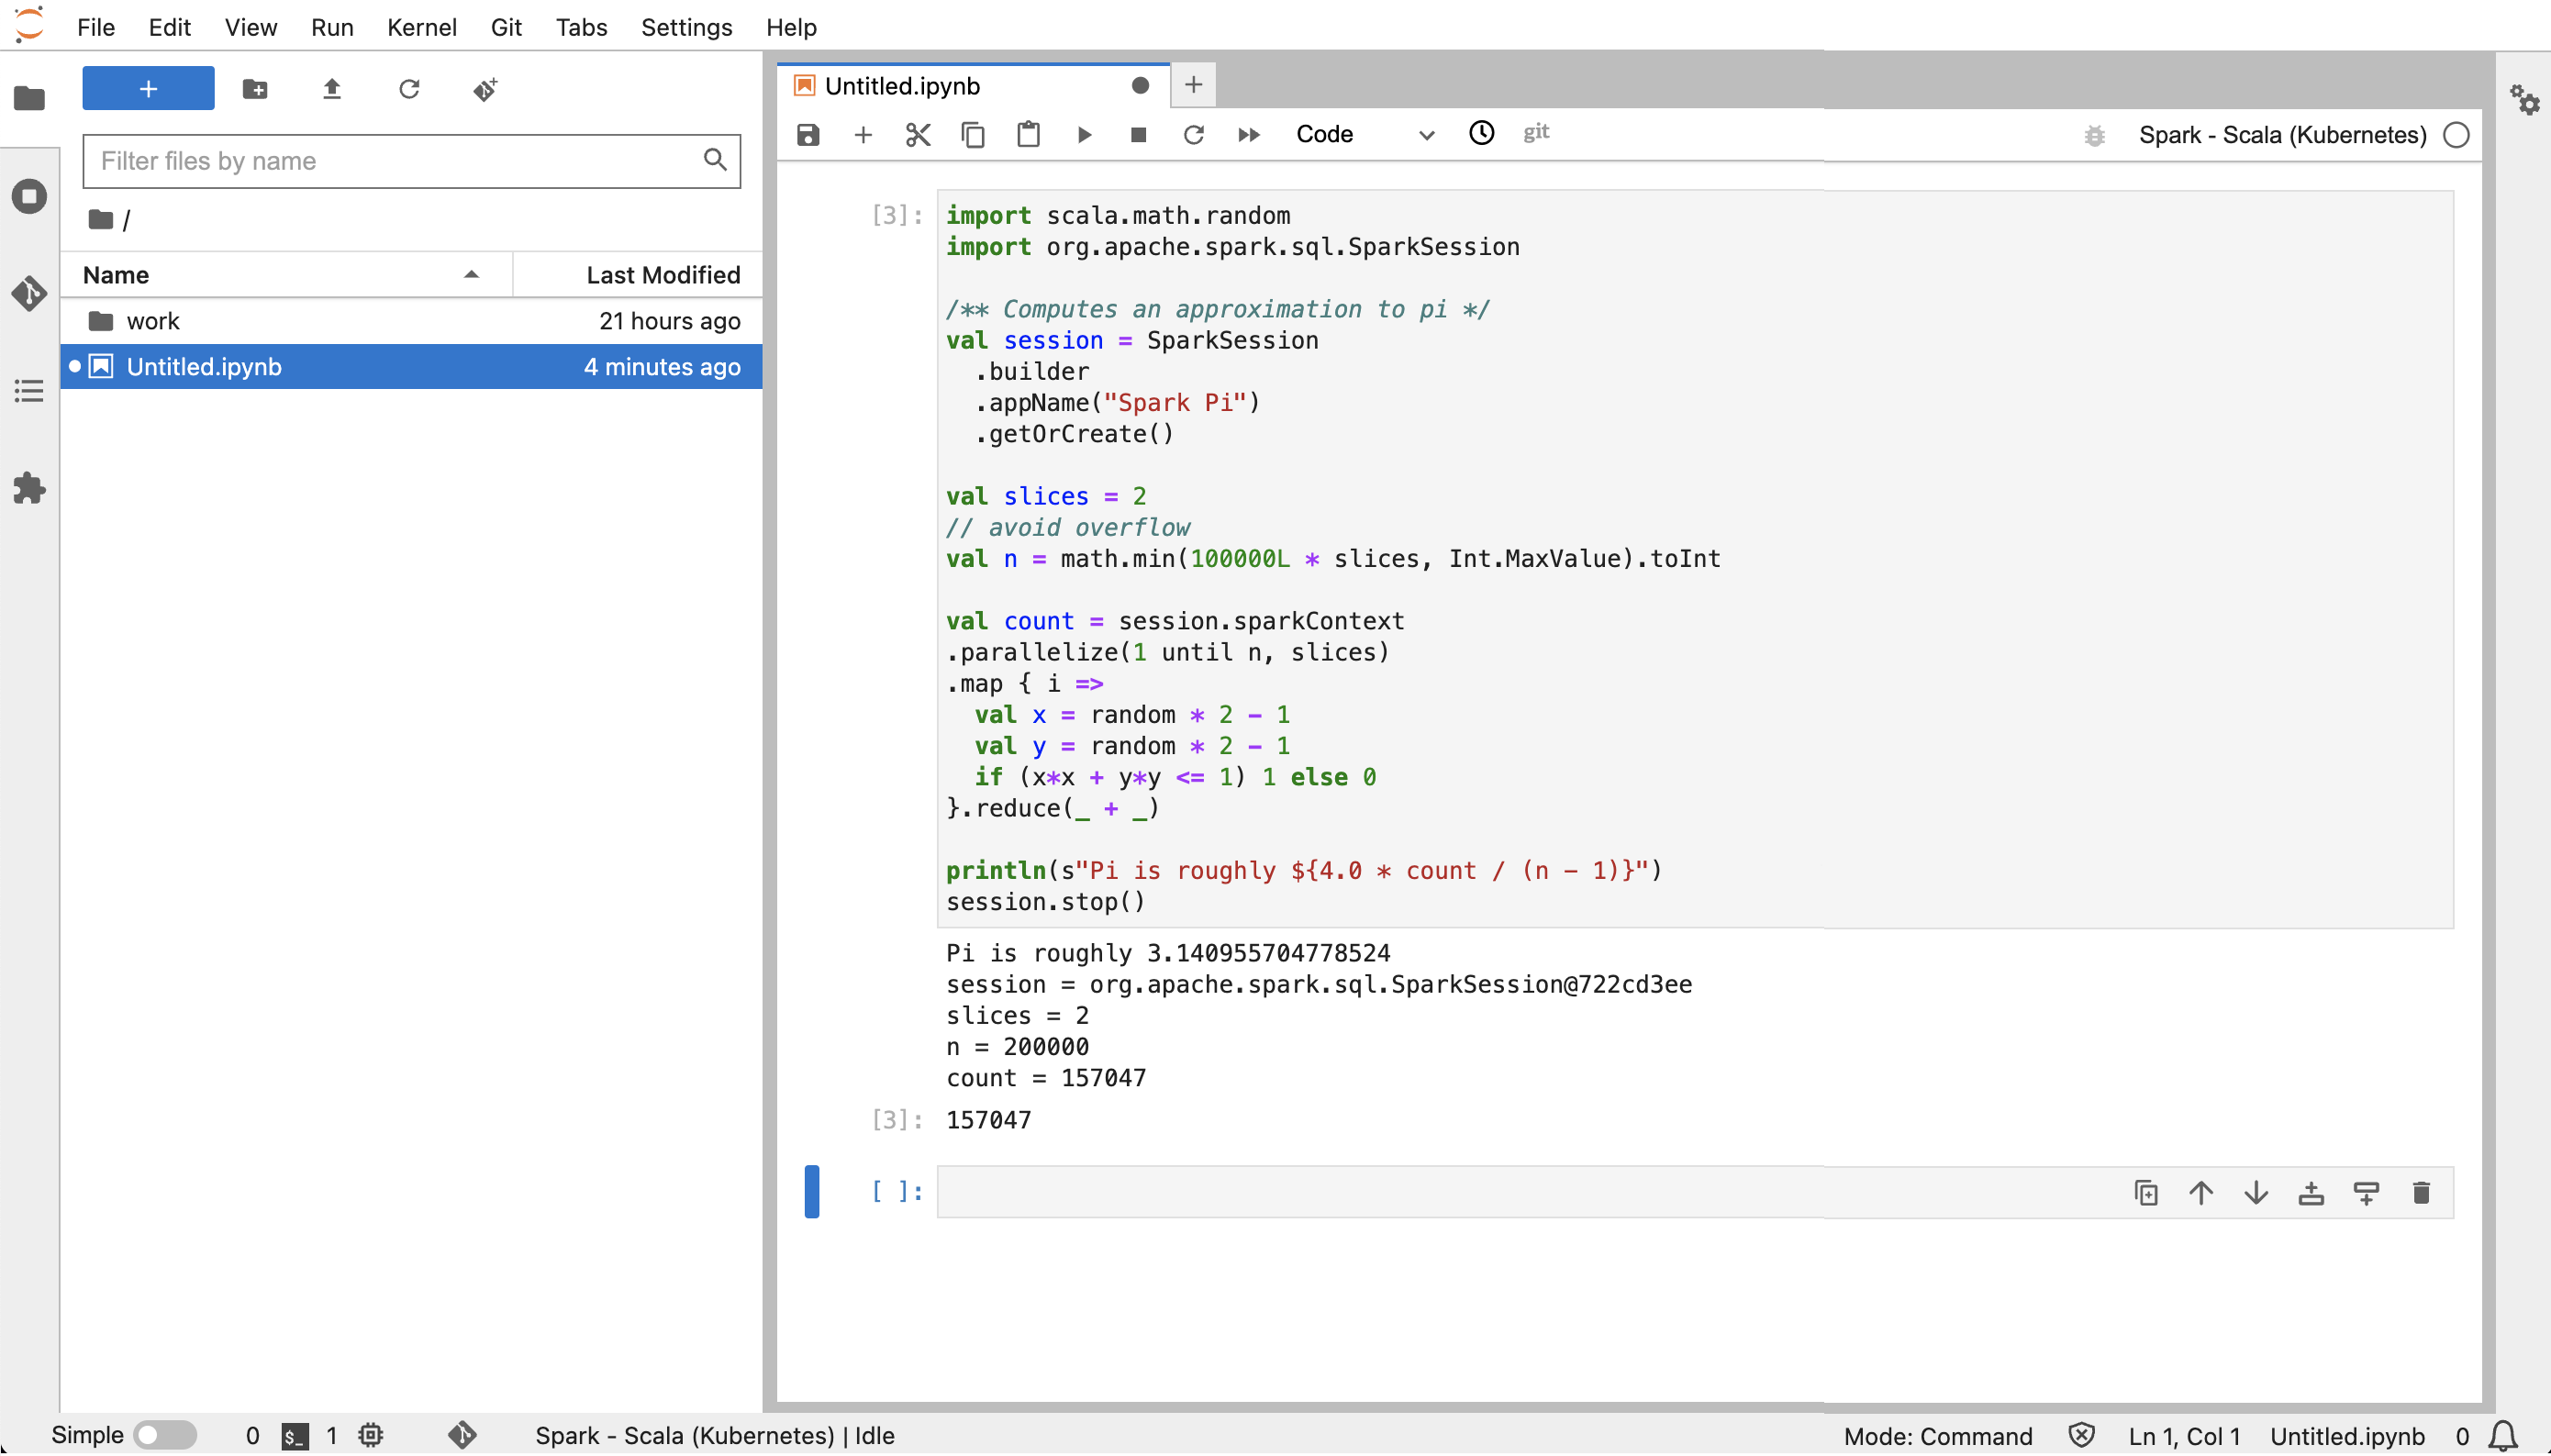
From JupyterLab, create a new Scala notebook. Here is a sample code snippet that you can run to approximate the value of Pi:
import scala.math.random
import org.apache.spark.sql.SparkSession

/** Computes an approximation to pi */
val session = SparkSession
  .builder
  .appName("Spark Pi")
  .getOrCreate()

val slices = 2
// avoid overflow
val n = math.min(100000L * slices, Int.MaxValue).toInt

val count = session.sparkContext
.parallelize(1 until n, slices)
.map { i =>
  val x = random * 2 - 1
  val y = random * 2 - 1
  if (x*x + y*y <= 1) 1 else 0
}.reduce(_ + _)

println(s"Pi is roughly ${4.0 * count / (n - 1)}")
session.stop()
Delete a self-hosted Jupyter notebook
When you're ready to delete your self-hosted notebook, you can also delete the interactive endpoint and security group, too. Perform the actions in the following order:
-
Use the following command to delete the
jupyter-notebookpod:kubectl delete pod jupyter-notebook -nnamespace -
Then, delete your interactive endpoint with the
delete-managed-endpointcommand. For steps to delete an interactive endpoint, see Delete an interactive endpoint. Initially, your endpoint will be in the TERMINATING state. Once all resources have been cleaned up, it transitions to the TERMINATED state. -
If you don’t plan to use the notebook security group that you created in Create a security group for other Jupyter notebook deployments, you can delete it. See Delete a security group in the Amazon EC2 User Guide for more information.