Getting started with a Domain dataset group (console)
In this exercise, you use the Amazon Personalize console to create a Domain dataset group and a recommender that returns movie recommendations for a given user.
Before you start this exercise, review the Getting started prerequisites.
When you finish the getting started exercise, to avoid incurring unnecessary charges, delete the resources that you created. For more information, see Requirements for deleting Amazon Personalize resources.
In this procedure you create Domain dataset group for the VIDEO_ON_DEMAND domain, create an Item interactions dataset with the default schema for the VIDEO_ON_DEMAND domain, and import the item interactions data you created in Creating the training data (Domain dataset group).
To create a Domain dataset group
-
Open the Amazon Personalize console at https://console.amazonaws.cn/personalize/home
and sign in to your account. -
In the navigation pane, choose Create dataset group.
-
In Dataset group details, specify a name for your dataset group.
-
For Domain, choose Video on demand. The domain you choose determines the default schema you use when importing data. It also determines what use cases are available for recommenders. Your screen should look similar to the following.

-
Choose Create dataset group. The Overview page appears. Proceed to Step 2: Import data.
In this procedure you create an Item interactions dataset with the default VIDEO_ON_DEMAND domain schema. Then you import the item interactions data you created in Creating the training data (Domain dataset group).
To import data
-
On the Overview page, in Step 1. Create datasets and import data, choose Create dataset and choose Item interactions dataset.
-
Choose Import data directly into Amazon Personalize datasets and choose Next.
-
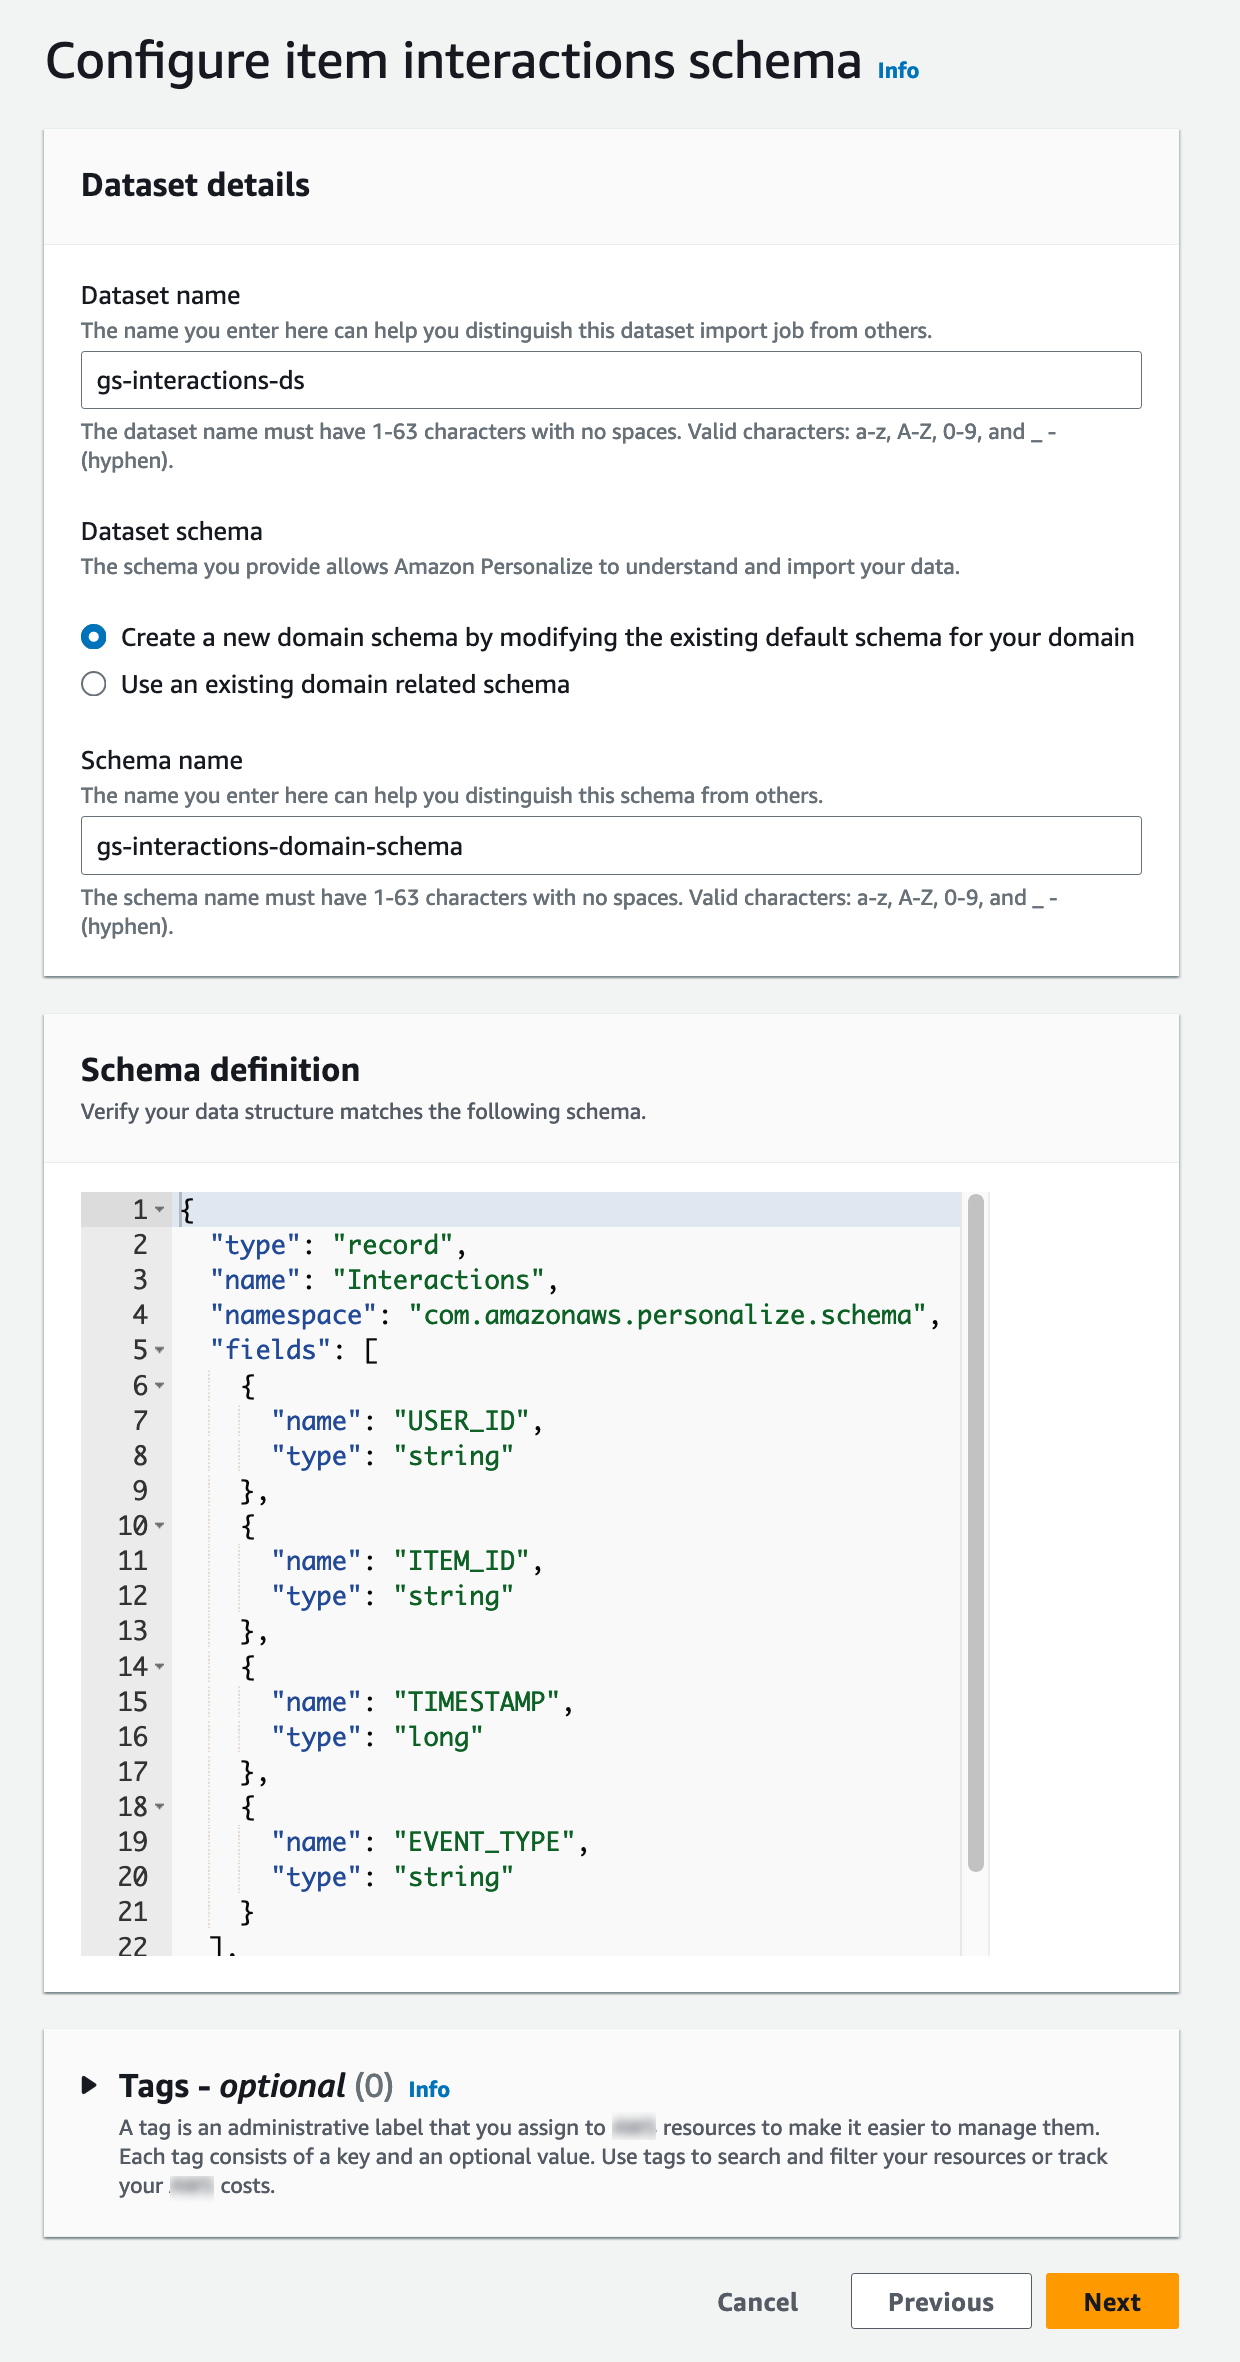
On the Configure item interactions schema page, for Dataset name provide a name for your Item interactions dataset.
-
For Dataset schema, choose Create a new domain schema by modifying the existing default schema for your domain and enter a name for the schema. The Schema definition updates to display the default schema for the VIDEO_ON_DEMAND domain. Leave the schema unchanged. Your screen should look similar to the following.
-
Choose Next. The Configure item interactions dataset import job page appears.
-
On the Configure item interactions dataset import job page, leave the Data import source unchanged as Import data from S3.
-
For Dataset import job name, give your import job a name.
-
In Data import source, specify where your data is stored in Amazon Simple Storage Service (S3). Use the following syntax:
s3://amzn-s3-demo-bucket/<folder path>/<CSV filename> -
In IAM role, for IAM service role choose Enter a custom IAM role ARN and enter the Amazon Resource Name (ARN) of the role you created in Creating an IAM role for Amazon Personalize. Your screen should look similar to the following.

-
Choose Start import to import data. The Overview page for your Domain dataset group appears. Note the status of the import in the Set up datasets section. When the status is
Interaction data activeproceed to Step 3: Create a recommender.
In this procedure, you create a recommender for the Top picks for you use case for the VIDEO_ON_DEMAND domain.
To create a recommender
-
On the Overview page for your Domain dataset group, in Step 3 choose the Use video on demand recommenders tab and choose Create recommenders.
-
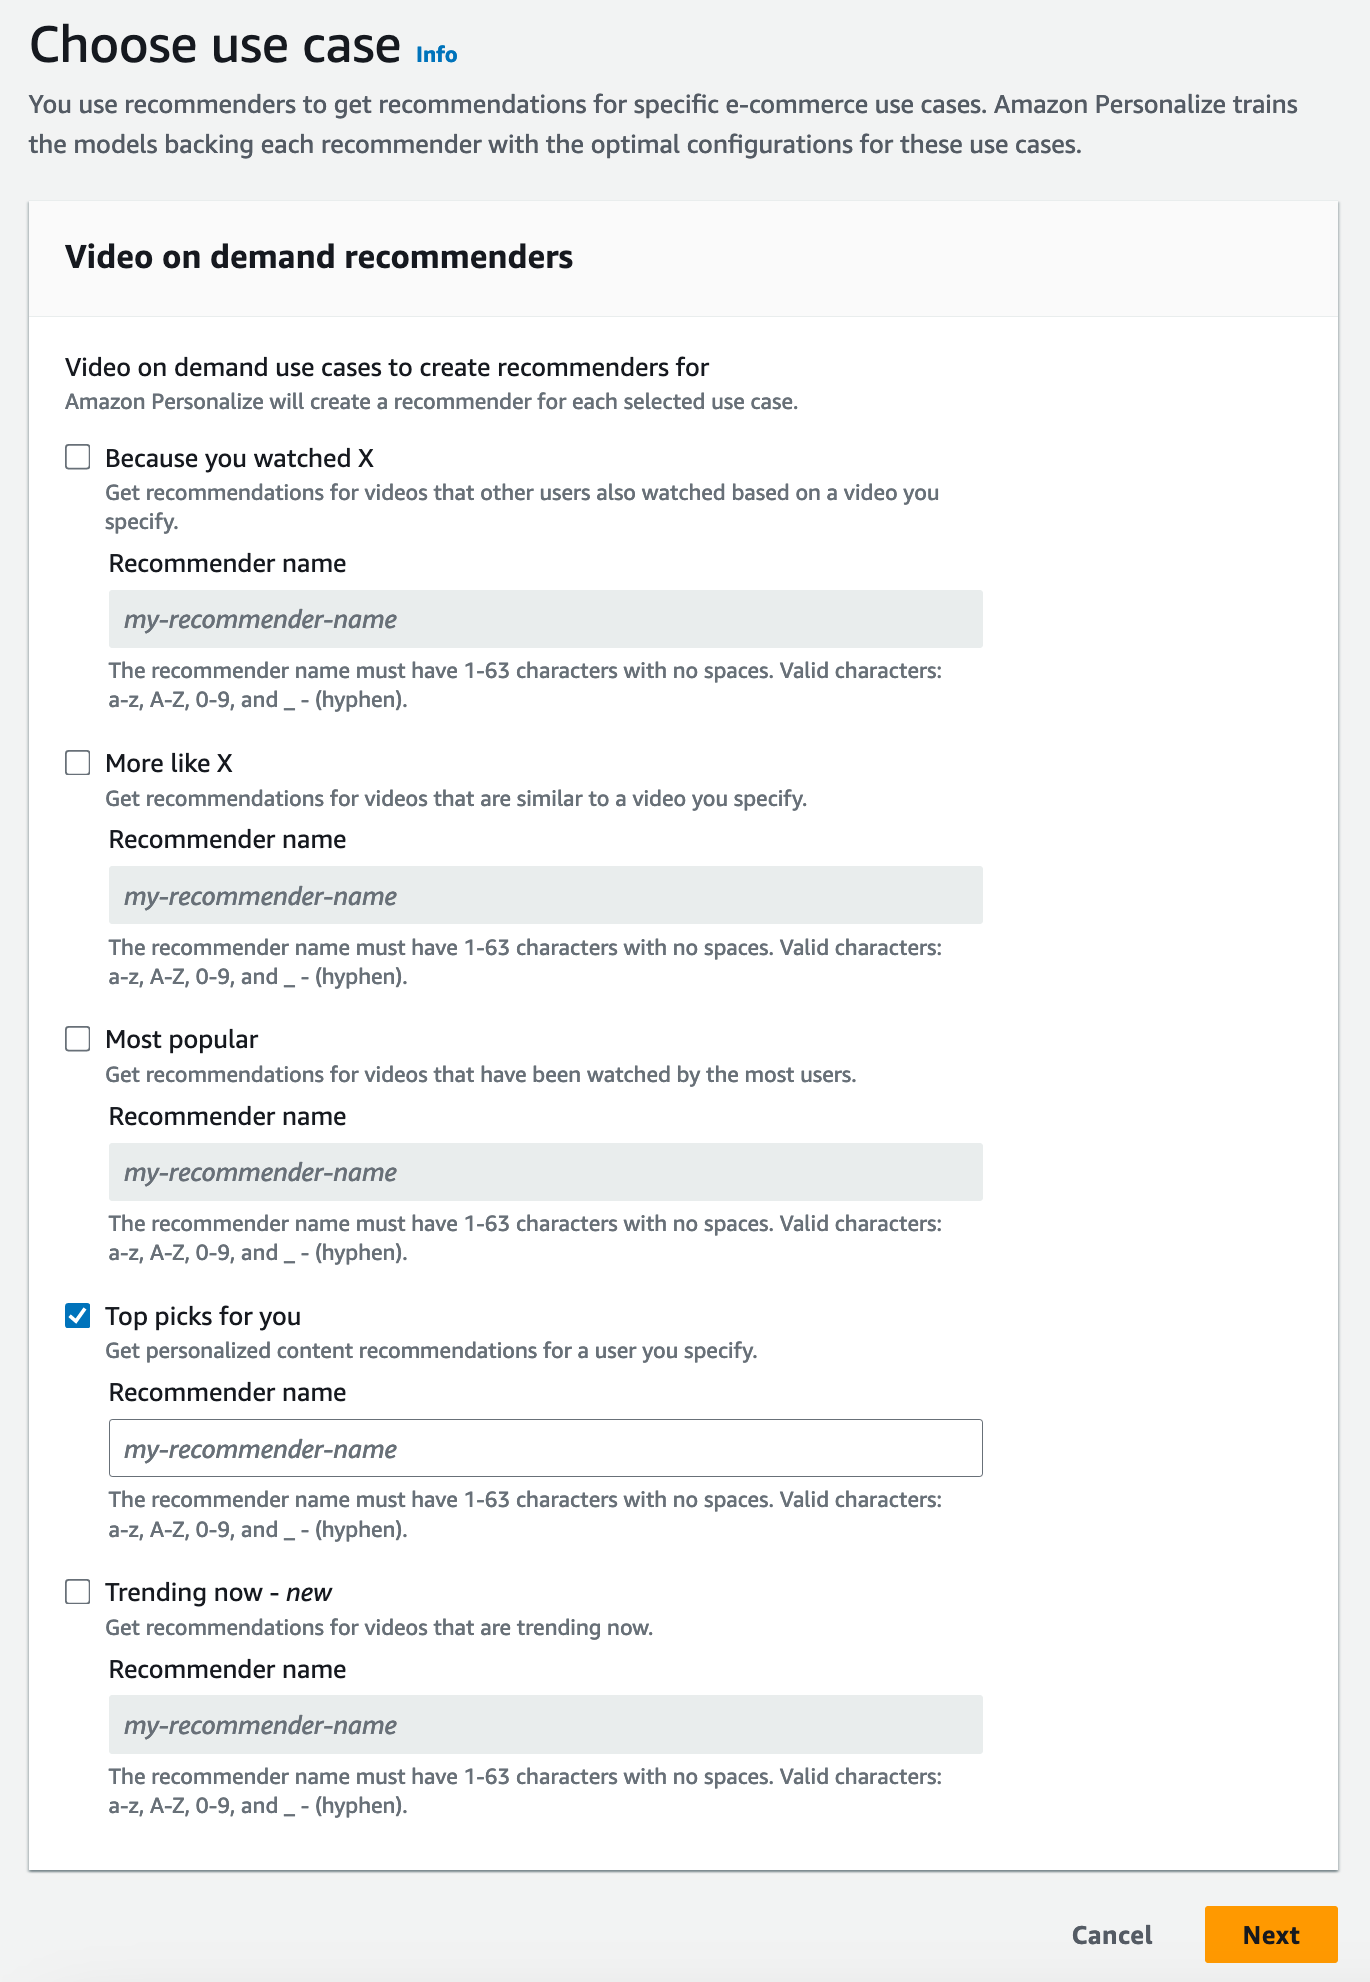
On the Choose use case page, choose Top picks for you and provide a Recommender name. Your screen should appear similar to the following.
-
Choose Next.
-
Leave the fields on the Advanced configuration page unchanged and choose Next.
-
Review the recommender details and choose Create recommenders to create your recommender.
You can monitor the status of each recommender on the Recommenders page. When your recommender status is Active, you can use it to get recommendations in Step 4: Get recommendations.
In this procedure you use the recommender that you created in the previous step to get recommendations.
To get recommendations
-
On the Overview page for your Domain dataset group, in the navigation pane choose Recommenders.
-
On the Recommenders page, choose your recommender.
-
At the top right, choose Test.
-
In Recommendation parameters, enter a user ID. Leave the other fields unchanged.
-
Choose Get recommendations. A table containing the user’s top 25 recommended items appears. Your screen should look similar to the following.
