Setting up trusted identity propagation with Amazon Redshift Query Editor V2
The following procedure walks you through how to achieve trusted identity propagation from Amazon Redshift Query Editor V2 to Amazon Redshift.
Prerequisites
Before you can get started with this tutorial, you'll need to set up the following:
-
Enable IAM Identity Center. Organization instance is recommended. For more information, see Prerequisites and considerations.
-
Provision the users and groups from your source of identities into IAM Identity Center.
Enabling trusted identity propagation includes tasks performed by an IAM Identity Center administrator in the IAM Identity Center console and tasks performed by an Amazon Redshift administrator in the Amazon Redshift console.
Tasks performed by the IAM Identity Center administrator
The following tasks needed to be complete by the IAM Identity Center administrator:
Create an IAM role in the account where the Amazon Redshift cluster or Serverless instance exists with the following permission policy. For more information, see IAM Role creation.
-
The following policy examples includes the necessary permissions to complete this tutorial. To use this policy, replace the
italicized placeholder
                                                text
in the example policy with your own information. For additional directions, see Create a policy or Edit a policy.Permission policy:
Trust policy:
-
Create a permission set in the Amazon Organizations management account where IAM Identity Center is enabled. You’ll use it in the next step to allow federated users to access Redshift Query Editor V2.
-
Go to the IAM Identity Center console, under Multi-Account permissions, choose Permission sets.
-
Choose Create permission set.
-
Choose Custom permission set and then choose Next.
-
Under Amazon managed policies, choose
AmazonRedshiftQueryEditorV2ReadSharing. -
Under Inline policy, add the following policy:
-
Select Next and then provide a name for the permission set name. For example,
Redshift-Query-Editor-V2. -
Under Relay state – optional, set default relay state to the Query Editor V2 URL, using the format:
https://.your-region.console.aws.amazon.com/sqlworkbench/home -
Review the settings and choose Create.
-
Navigate to the IAM Identity Center Dashboard and copy the Amazon Web Services access portal URL from the Setting Summary section.
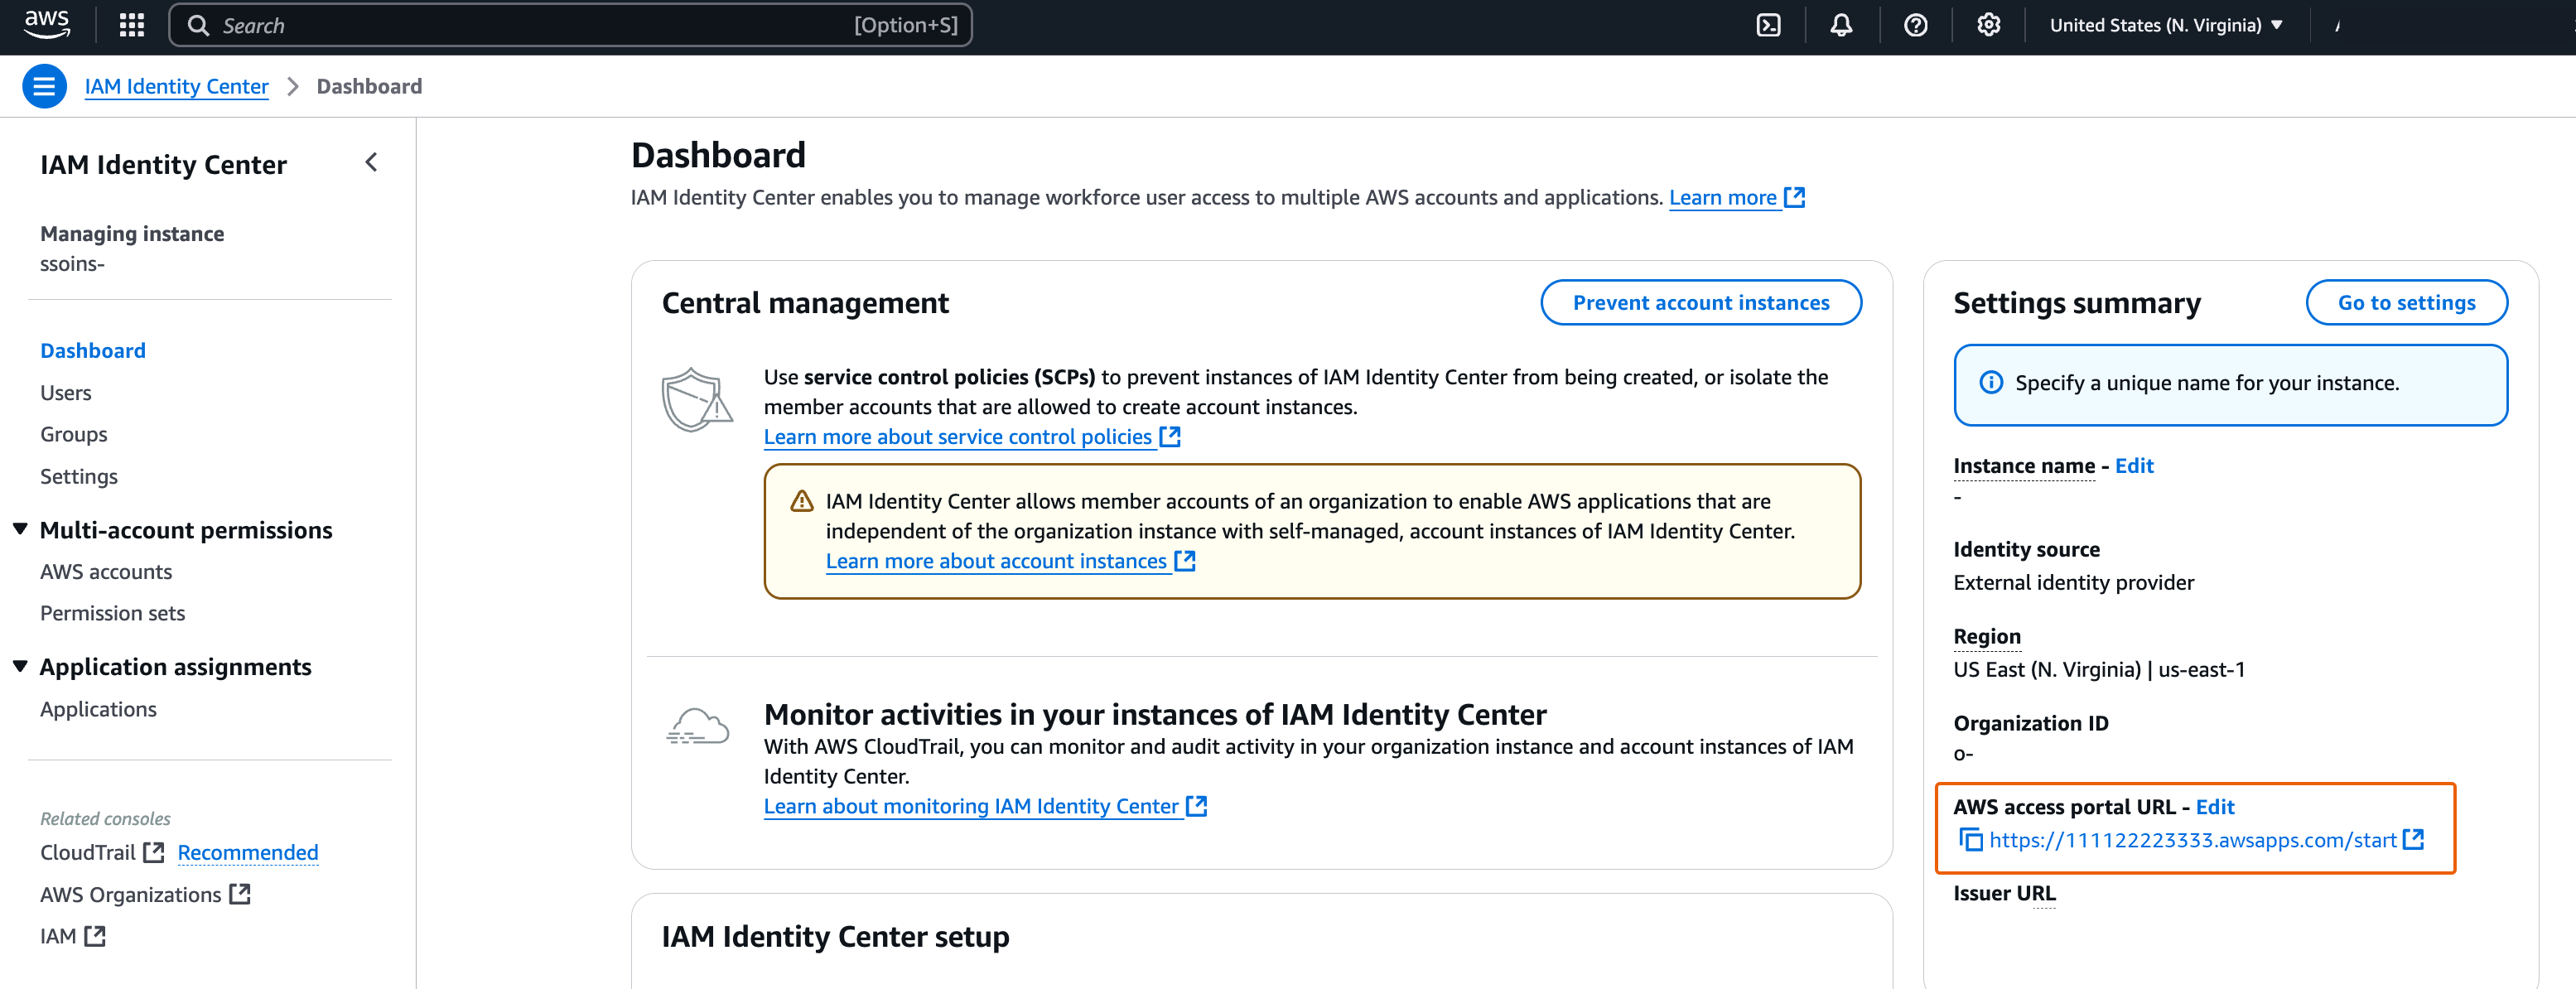
-
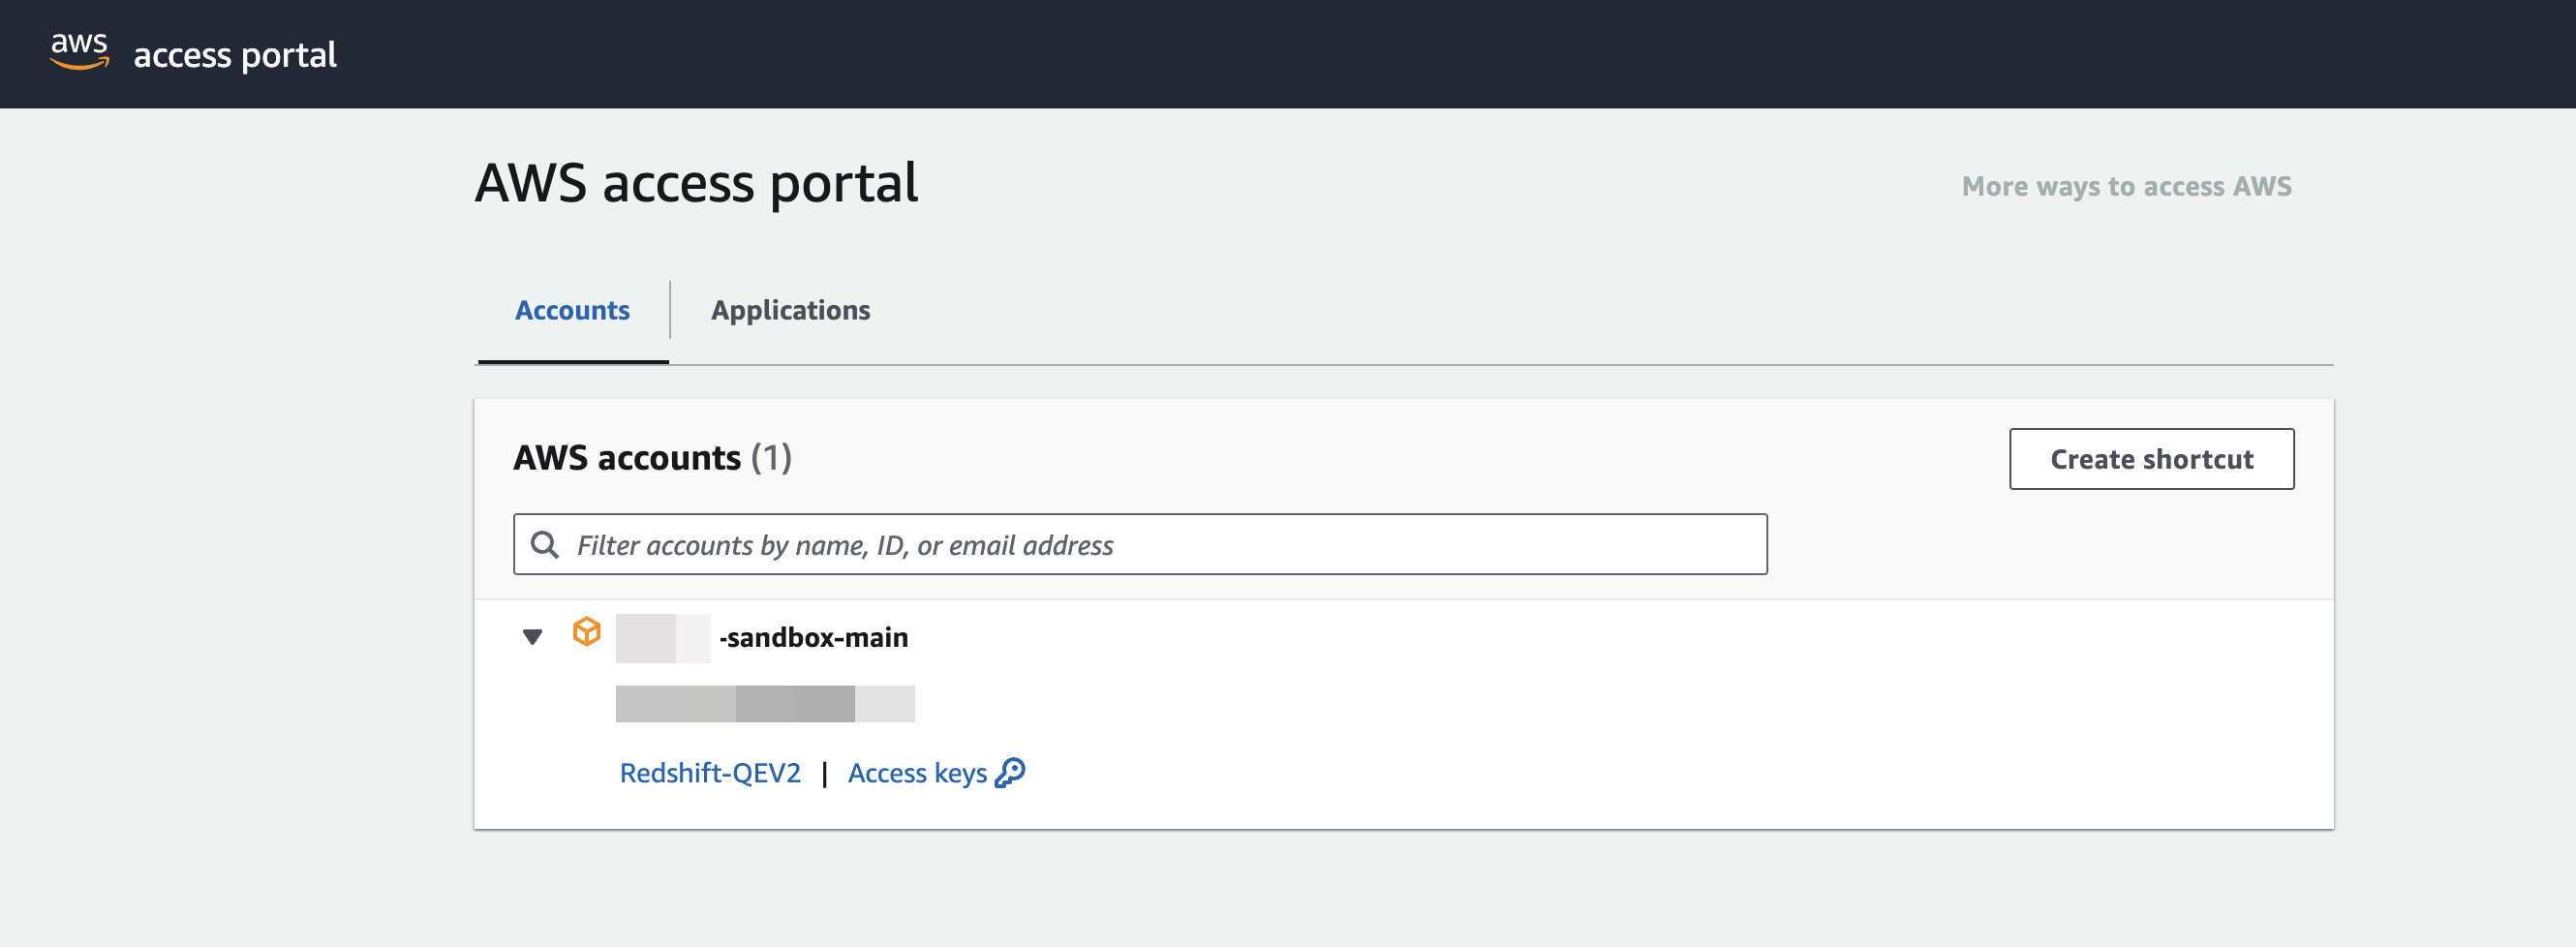
Open a new Incognito Browser Window and paste the URL.
This will take you to your Amazon Web Services access portal, ensuring you are signing in with an IAM Identity Center user.
For more information about permission set, see Manage Amazon Web Services accounts with permission sets.
-
Enable federated users access to Redshift Query Editor V2.
-
In the Amazon Organizations management account, open the IAM Identity Center console.
-
In the navigation pane, under Multi-account permissions, choose Amazon Web Services accounts.
-
On the Amazon Web Services accounts page, select the Amazon Web Services account that you want to assign access to.
-
Choose Assign users or groups.
-
On the Assign users and groups page, choose the users and or groups that you want to create the permission set for. Then, choose Next.
-
On the Assign permission sets page, choose the permission set you created in the previous step. Then, choose Next.
-
On the Review and submit assignments page, review your selections and choose Submit.
-
Tasks performed by an Amazon Redshift administrator
Enabling trusted identity propagation to Amazon Redshift requires an Amazon Redshift cluster
administrator or Amazon Redshift Serverless administrator to perform a number of
tasks in the Amazon Redshift console. For more information, see Integrate Identity Provider (IdP) with Amazon Redshift Query Editor V2 and SQL
Client using IAM Identity Center for seamless Single Sign-On