Tutorial: Writing an ETL script in Amazon Glue for Ray
Important
Amazon Glue for Ray is no longer open to new customers. Existing customers can continue to use the service as normal. For more information, see Amazon Glue for Ray end of support.
Ray gives you the ability to write and scale distributed tasks natively in Python. Amazon Glue for Ray offers serverless Ray environments that you can access from both jobs and interactive sessions (Ray interactive sessions are in preview). The Amazon Glue job system provides a consistent way to manage and run your tasks—on a schedule, from a trigger, or from the Amazon Glue console.
Combining these Amazon Glue tools creates a powerful toolchain that you can use for extract, transform, and load (ETL) workloads, a popular use case for Amazon Glue. In this tutorial, you will learn the basics of putting together this solution.
We also support using Amazon Glue for Spark for your ETL workloads. For a tutorial on writing a Amazon Glue for Spark script, see Tutorial: Writing an Amazon Glue for Spark script. For more information about available engines, see Amazon Glue for Spark and Amazon Glue for Ray. Ray is capable of addressing many different kinds of tasks in analytics, machine learning (ML), and application development.
In this tutorial, you will extract, transform, and load a CSV dataset that is hosted in Amazon Simple Storage Service (Amazon S3).
You will begin with the New York City Taxi and Limousine Commission (TLC) Trip Record Data Dataset, which is stored in a public Amazon S3 bucket. For more
information about this dataset, see the Registry of Open Data on Amazon
You will transform your data with predefined transforms that are available in the Ray Data library. Ray Data is a dataset preparation library designed by Ray and included by default in Amazon Glue for Ray environments. For more information about libraries included by default, see Modules provided with Ray jobs. You will then write your transformed data to an Amazon S3 bucket that you control.
Prerequisites – For this tutorial, you need an Amazon account with access to Amazon Glue and Amazon S3.
Step 1: Create a bucket in Amazon S3 to hold your output data
You will need an Amazon S3 bucket that you control to serve as a sink for data created in this tutorial. You can create this bucket with the following procedure.
Note
If you want to write your data to an existing bucket that you control, you can skip this step. Take
note of yourBucketName, the existing bucket's name, to use in later
steps.
To create a bucket for your Ray job output
-
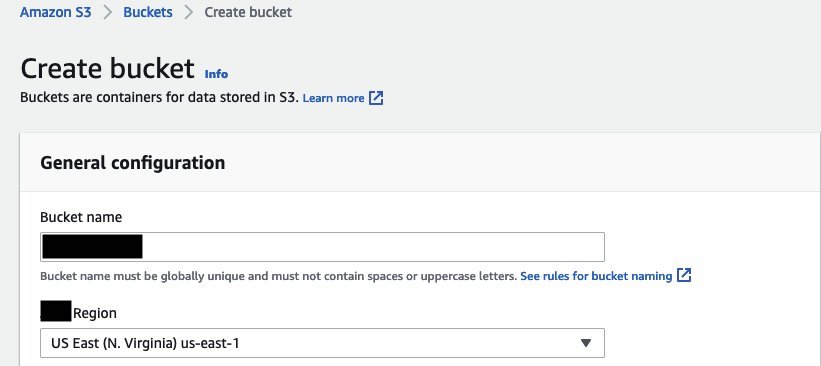
Create a bucket by following the steps in Creating a bucket in the Amazon S3 User Guide.
-
When choosing a bucket name, take note of
yourBucketName, which you will refer to in later steps. -
For other configuration, the suggested settings provided in the Amazon S3 console should work fine in this tutorial.
As an example, the bucket creation dialog box might look like this in the Amazon S3 console.
-
Step 2: Create an IAM role and policy for your Ray job
Your job will need an Amazon Identity and Access Management (IAM) role with the following:
-
Permissions granted by the
AWSGlueServiceRolemanaged policy. These are the basic permissions that are necessary to run an Amazon Glue job. -
Readaccess level permissions for thenyc-tlc/*Amazon S3 resource. -
Writeaccess level permissions for theyourBucketName/* -
A trust relationship that allows the
glue.amazonaws.comprincipal to assume the role.
You can create this role with the following procedure.
To create an IAM role for your Amazon Glue for Ray job
Note
You can create an IAM role by following many different procedures. For more information or options about how to provision IAM resources, see the Amazon Identity and Access Management documentation.
-
Create a policy that defines the previously outlined Amazon S3 permissions by following the steps in Creating IAM policies (console) with the visual editor in the IAM User Guide.
-
When selecting a service, choose Amazon S3.
-
When selecting permissions for your policy, attach the following sets of actions for the following resources (mentioned previously):
-
Read access level permissions for the
nyc-tlc/*Amazon S3 resource. -
Write access level permissions for the
yourBucketName/*
-
-
When selecting the policy name, take note of
YourPolicyName, which you will refer to in a later step.
-
-
Create a role for your Amazon Glue for Ray job by following the steps in Creating a role for an Amazon service (console) in the IAM User Guide.
-
When selecting a trusted Amazon service entity, choose
Glue. This will automatically populate the necessary trust relationship for your job. -
When selecting policies for the permissions policy, attach the following policies:
-
AWSGlueServiceRole -
YourPolicyName
-
-
When selecting the role name, take note of
YourRoleName, which you will refer to in later steps.
-
Step 3: Create and run an Amazon Glue for Ray job
In this step, you create an Amazon Glue job using the Amazon Web Services Management Console, provide it with a sample script, and run the job. When you create a job, it creates a place in the console for you to store, configure, and edit your Ray script. For more information about creating jobs, see Managing Amazon Glue Jobs in the Amazon Console.
In this tutorial, we address the following ETL scenario: you would like to read the
January 2022 records from the New York City TLC Trip Record dataset, add a new column
(tip_rate) to the dataset by combining data in existing columns, then remove a
number of columns that aren't relevant to your current analysis, and then you would like to write the
results to yourBucketName. The following Ray script performs these steps:
import ray
import pandas
from ray import data

ray.init('auto')

ds = ray.data.read_csv("s3://nyc-tlc/opendata_repo/opendata_webconvert/yellow/yellow_tripdata_2022-01.csv")

# Add the given new column to the dataset and show the sample record after adding a new column
ds = ds.add_column( "tip_rate", lambda df: df["tip_amount"] / df["total_amount"])

# Dropping few columns from the underlying Dataset
ds = ds.drop_columns(["payment_type", "fare_amount", "extra", "tolls_amount", "improvement_surcharge"])

ds.write_parquet("s3://yourBucketName/ray/tutorial/output/")
To create and run an Amazon Glue for Ray job
-
In the Amazon Web Services Management Console, navigate to the Amazon Glue landing page.
-
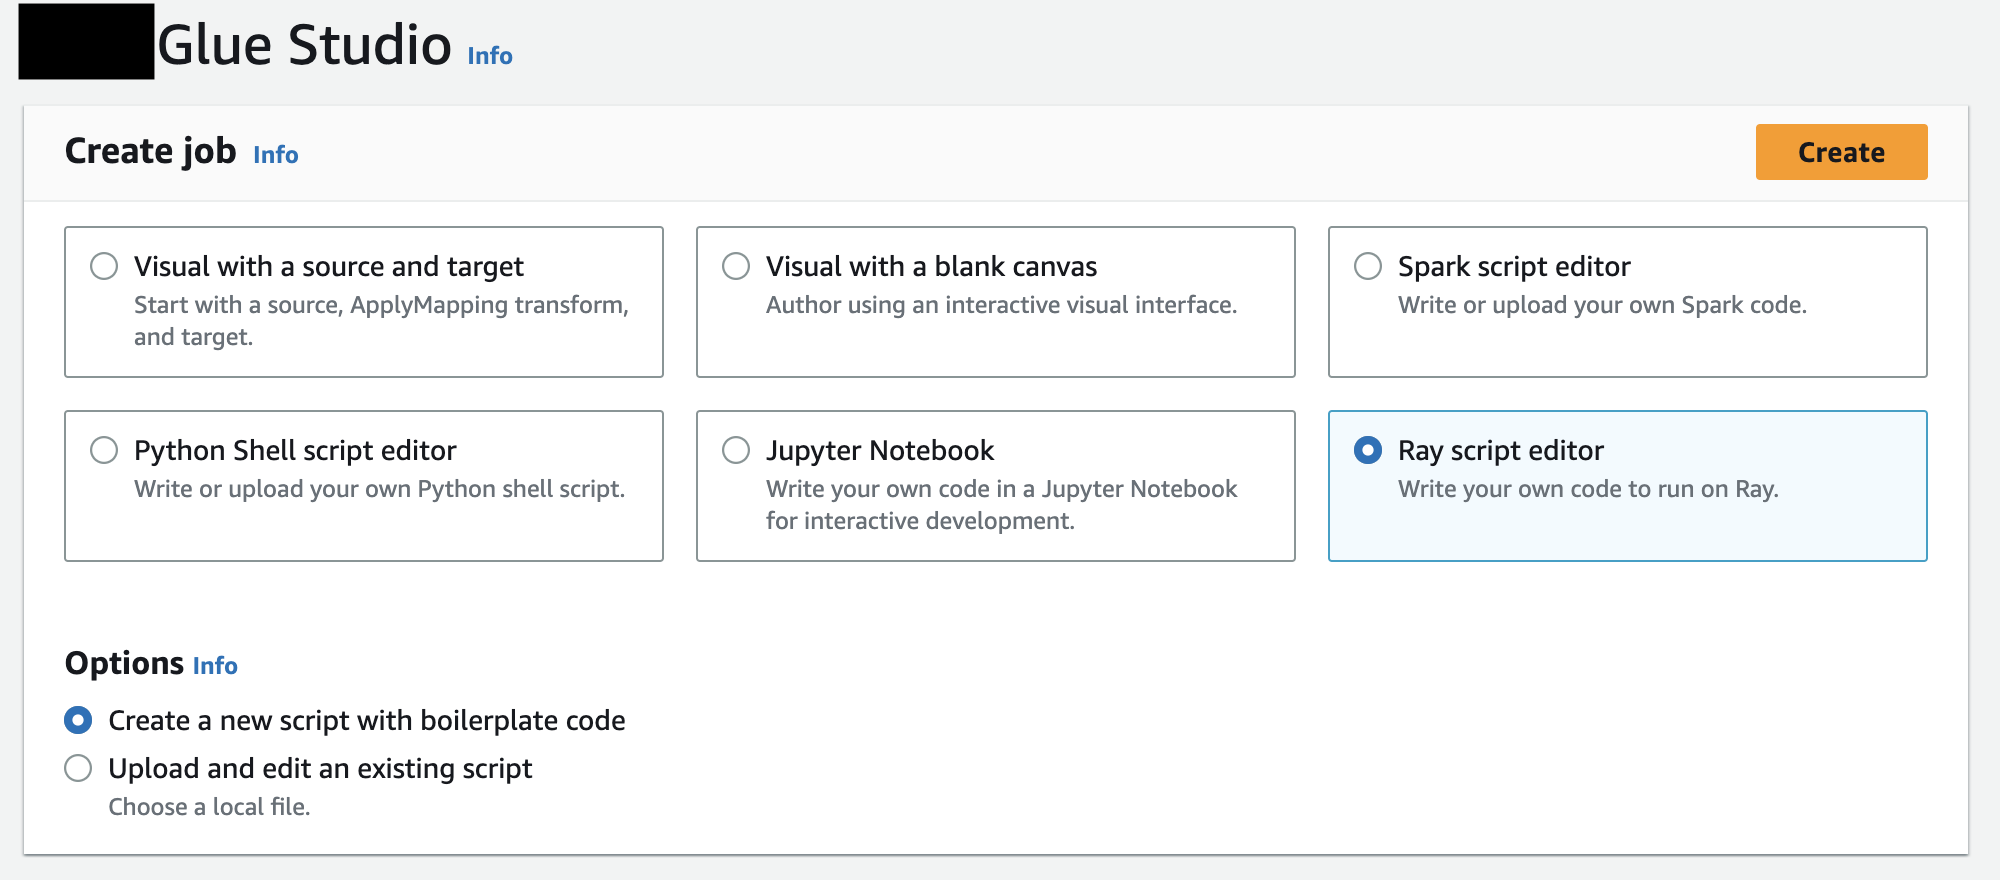
In the side navigation pane, choose ETL Jobs.
-
In Create job, choose Ray script editor, and then choose Create, as in the following illustration.
-
Paste the full text of the script into the Script pane, and replace any existing text.
-
Navigate to Job details and set the IAM Role property to
YourRoleName. -
Choose Save, and then choose Run.
Step 4: Inspect your output
After running your Amazon Glue job, you should validate that the output matches the expectations of this scenario. You can do so with the following procedure.
To validate whether your Ray job ran successfully
-
On the job details page, navigate to Runs.
-
After a few minutes, you should see a run with a Run status of Succeeded.
-
Navigate to the Amazon S3 console at https://console.amazonaws.cn/s3/
and inspect yourBucketName. You should see files written to your output bucket. -
Read the Parquet files and verify their contents. You can do this with your existing tools. If you don't have a process for validating Parquet files, you can do this in the Amazon Glue console with an Amazon Glue interactive session, using either Spark or Ray (in preview).
In an interactive session, you have access to Ray Data, Spark, or pandas libraries, which are provided by default (based on your choice of engine). To verify your file contents, you can use common inspection methods that are available in those libraries—methods like
count,schema, andshow. For more information about interactive sessions in the console, see Using notebooks with Amazon Glue Studio and Amazon Glue.Because you have confirmed that files have been written to the bucket, you can say with relative certainty that if your output has problems, they are not related to IAM configuration. Configure your session with
yourRoleNameto have access to the relevant files.
If you don't see the expected outcomes, examine the troubleshooting content in this guide to identify and remediate the source of the error. You can find the troubleshooting content in the Troubleshooting Amazon Glue chapter. For specific errors that are related to Ray jobs, see Troubleshooting Amazon Glue for Ray errors from logs in the troubleshooting chapter.
Next steps
You have now seen and performed an ETL process using Amazon Glue for Ray from end to end. You can use the following resources to understand what tools Amazon Glue for Ray provides to transform and interpret your data at scale.
-
For more information about Ray's task model, see Using Ray Core and Ray Data in Amazon Glue for Ray. For more experience in using Ray tasks, follow the examples in the Ray Core documentation. See Ray Core: Ray Tutorials and Examples (2.4.0)
in the Ray documentation. -
For guidance about available data management libraries in Amazon Glue for Ray, see Connecting to data in Ray jobs. For more experience using Ray Data to transform and write datasets, follow the examples in the Ray Data documentation. See Ray Data: Examples (2.4.0)
. -
For more information about configuring Amazon Glue for Ray jobs, see Working with Ray jobs in Amazon Glue.
-
For more information about writing Amazon Glue for Ray scripts, continue reading the documentation in this section.