Use Debugger built-in actions for rules
Use Debugger built-in actions to respond to issues found by Debugger rule. The Debugger rule_configs class provides tools to configure a list of
actions, including automatically stopping training jobs and sending notifications using
Amazon Simple Notification Service (Amazon SNS) when the Debugger rules find training issues. The following topics takes you
through the steps to accomplish these tasks.
Topics
Set up Amazon SNS, create an SMDebugRules topic, and subscribe to the topic
This section walks you through how to set up an Amazon SNS
SMDebugRules topic, subscribe to it, and confirm the
subscription to receive notifications from the Debugger rules.
Note
For more information about billing for Amazon SNS, see Amazon SNS pricing
To create a SMDebugRules topic
Sign in to the Amazon Web Services Management Console and open the Amazon SNS console at https://console.amazonaws.cn/sns/v3/home
. -
In the left navigation pane, choose Topics.
-
On the Topics page, choose Create topic.
-
On the Create topic page, in the Details section, do the following:
-
For Type, choose Standard for topic type.
-
In Name, enter
SMDebugRules.
-
-
Skip all other optional settings and choose Create topic. If you want to learn more about the optional settings, see Creating an Amazon SNS topic.
To subscribe to the SMDebugRules topic
Open the Amazon SNS console at https://console.amazonaws.cn/sns/v3/home
. -
In the left navigation pane, choose Subscriptions.
-
On the Subscriptions page, choose Create subscription.
-
On the Create subscription page, in the Details section, do the following:
-
For Topic ARN, choose the SMDebugRules topic ARN. The ARN should be in format of
arn:aws:sns:<region-id>:111122223333:SMDebugRules. -
For Protocol, choose Email or SMS.
-
For Endpoint, enter the endpoint value, such as an email address or a phone number that you want to receive notifications.
Note
Make sure you type the correct email address and phone number. Phone numbers must include
+, a country code, and phone number, with no special characters or spaces. For example, the phone number +1 (222) 333-4444 is formatted as+12223334444.
-
-
Skip all other optional settings and choose Create subscription. If you want to learn more about the optional settings, see Subscribing to an Amazon SNS topic.
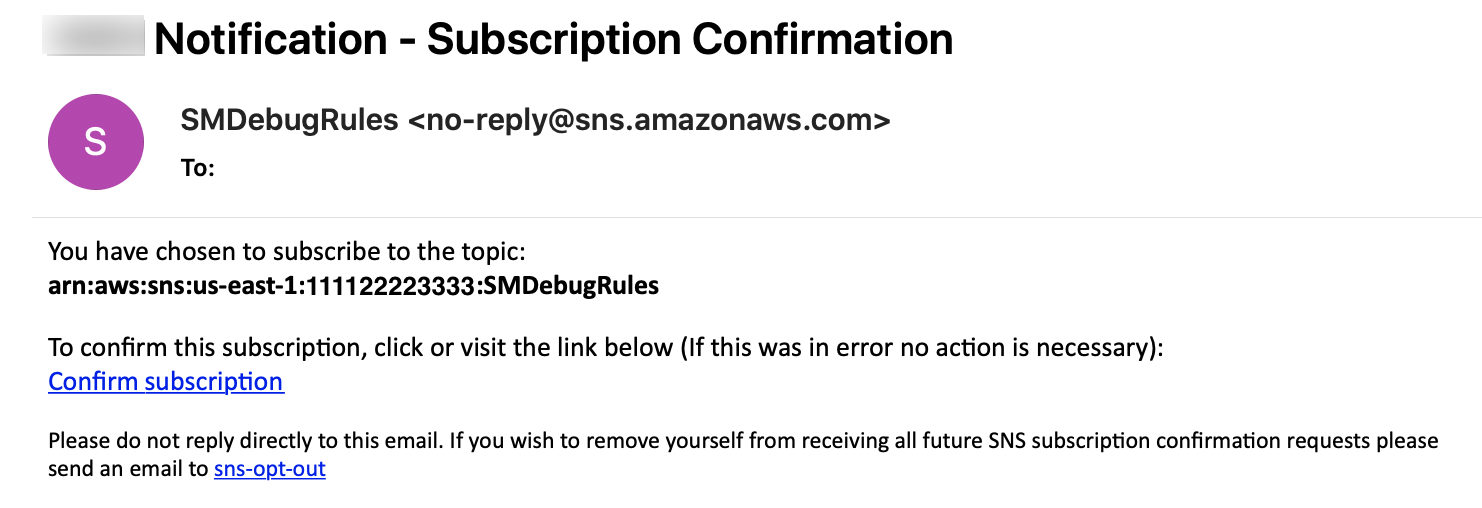
After you subscribe to the SMDebugRules topic, you receive the following confirmation message in email or by phone:
For more information about Amazon SNS, see Mobile text messaging (SMS) and Email notifications in the Amazon SNS Developer Guide.
Set up your IAM role to attach required policies
In this step, you add the required policies to your IAM role.
To add the required policies to your IAM role
Sign in to the Amazon Web Services Management Console and open the IAM console at https://console.amazonaws.cn/iam/
. -
In the left navigation pane, choose Policies, and choose Create policy.
-
On the Create policy page, do the following to create a new sns-access policy:
-
Choose the JSON tab.
-
Paste the JSON strings formatted in bold in the following code into the
"Statement", replacing the 12-digit Amazon account ID with your Amazon account ID. -
At the bottom of the page, choose Review policy.
-
On the Review policy page, for Name, enter
sns-access. -
At the bottom of the page, choose Create policy.
-
-
Go back to the IAM console, and choose Roles in the left navigation pane.
-
Look up the IAM role that you use for SageMaker AI model training and choose that IAM role.
-
On the Permissions tab of the Summary page, choose Attach policies.
-
Search for the sns-access policy, select the check box next to the policy, and then choose Attach policy.
For more examples of setting up IAM policies for Amazon SNS, see Example cases for Amazon SNS access control.
Configure Debugger rules with the built-in actions
After successfully finishing the required settings in the preceding steps, you can
configure the Debugger built-in actions for debugging rules as shown in the following
example script. You can choose which built-in actions to use while building the
actions list object. The rule_configs is a helper
module that provides high-level tools to configure Debugger built-in rules and
actions. The following built-in actions are available for Debugger:
-
rule_configs.StopTraining()– Stops a training job when the Debugger rule finds an issue. -
rule_configs.Email("– Sends a notification via email when the Debugger rule finds an issue. Use the email address that you used when you set up your SNS topic subscription.abc@abc.com") -
rule_configs.SMS("– Sends a notification via text message when the Debugger rule finds an issue. Use the phone number that you used when you set up your SNS topic subscription.+1234567890")Note
Make sure you type the correct email address and phone number. Phone numbers must include
+, a country code, and a phone number, with no special characters or spaces. For example, the phone number +1 (222) 333-4444 is formatted as+12223334444.
You can use all of the built-in actions or a subset of actions by wrapping up
using the rule_configs.ActionList() method, which takes the built-in
actions and configures a list of actions.
To add all of the three built-in actions to a single rule
If you want to assign all of the three built-in actions to a single rule, configure a Debugger built-in action list while constructing an estimator. Use the following template to construct the estimator, and Debugger will stop training jobs and send notifications through email and text for any rules that you use to monitor your training job progress.
from sagemaker.debugger import Rule, rule_configs # Configure an action list object for Debugger rulesactions= rule_configs.ActionList(rule_configs.StopTraining(),rule_configs.Email("abc@abc.com"),rule_configs.SMS("+1234567890")) # Configure rules for debugging with the actions parameterrules= [ Rule.sagemaker( base_config=rule_configs.built_in_rule(), # Required rule_parameters={"paramter_key":value}, # Optional actions=actions) ] estimator = Estimator(...rules =rules) estimator.fit(wait=False)
To create multiple built-in action objects to assign different actions to a single rule
If you want to assign the built-in actions to be triggered at different threshold
values of a single rule, you can create multiple built-in action objects as shown in
the following script. To avoid a conflict error by running the same rule, you must
submit different rule job names (specify different strings for the rules'
name attribute) as shown in the following example script template.
This example shows how to set up StalledTrainingRule to take two different actions: send an email
to abc@abc.com when a training job stalls for 60
seconds, and stop the training job if stalling for 120 seconds.
from sagemaker.debugger import Rule, rule_configs import time base_job_name_prefix= 'smdebug-stalled-demo-' + str(int(time.time())) # Configure an action object for StopTrainingaction_stop_training= rule_configs.ActionList( rule_configs.StopTraining() ) # Configure an action object for Emailaction_email= rule_configs.ActionList( rule_configs.Email("abc@abc.com") ) # Configure a rule with the Email built-in action to trigger if a training job stalls for 60 secondsstalled_training_job_rule_email= Rule.sagemaker( base_config=rule_configs.stalled_training_rule(), rule_parameters={ "threshold": "60", "training_job_name_prefix": base_job_name_prefix }, actions=action_email) stalled_training_job_rule_text.name="StalledTrainingJobRuleEmail" # Configure a rule with the StopTraining built-in action to trigger if a training job stalls for 120 secondsstalled_training_job_rule= Rule.sagemaker( base_config=rule_configs.stalled_training_rule(), rule_parameters={ "threshold": "120", "training_job_name_prefix": base_job_name_prefix }, actions=action_stop_training) stalled_training_job_rule.name="StalledTrainingJobRuleStopTraining" estimator = Estimator(...rules = [stalled_training_job_rule_email,stalled_training_job_rule] ) estimator.fit(wait=False)
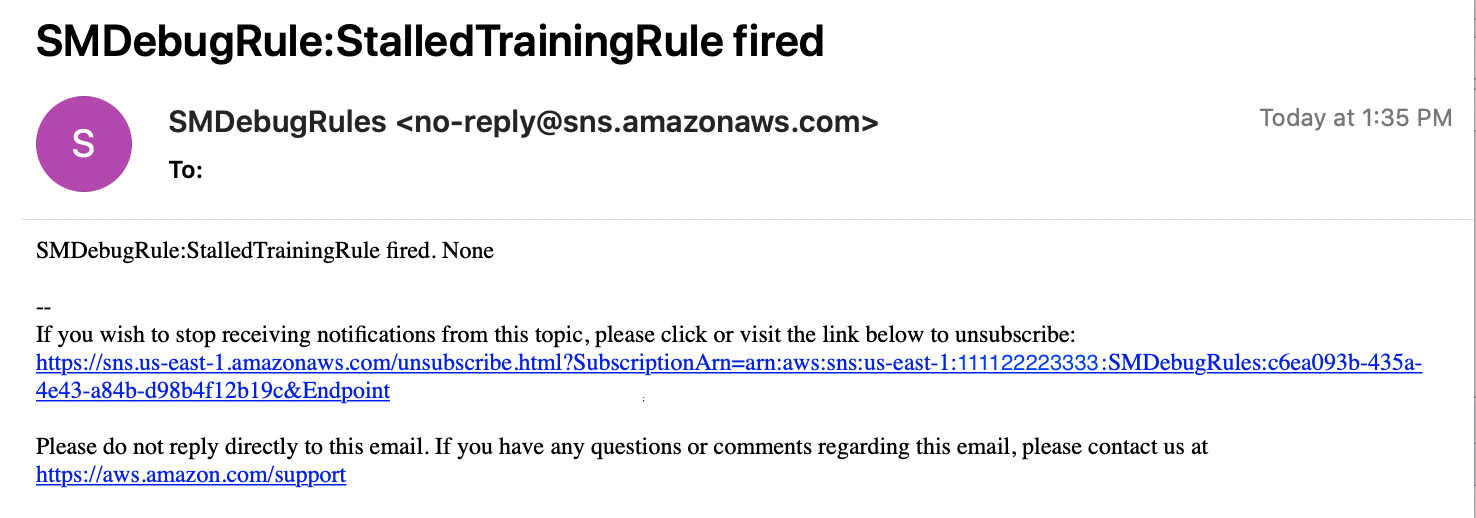
While the training job is running, the Debugger built-in action sends notification emails and text messages whenever the rule finds issues with your training job. The following screenshot shows an example of email notification for a training job that has a stalled training job issue.
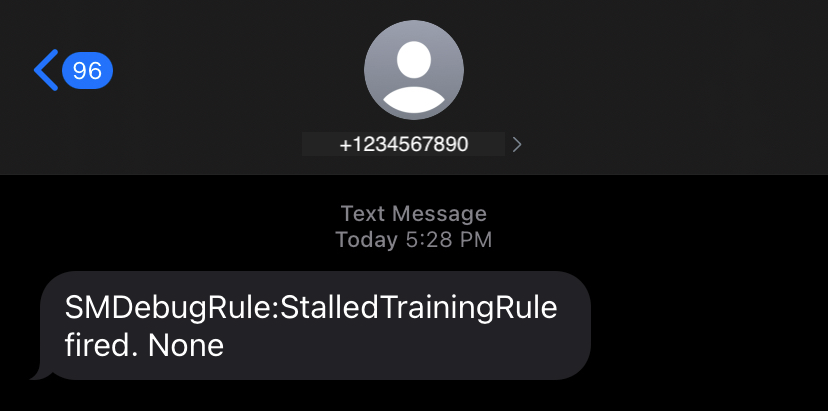
The following screenshot shows an example text notification that Debugger sends when the rule finds a StalledTraining issue.
Considerations for using the Debugger built-in actions
-
To use the Debugger built-in actions, an internet connection is required. This feature is not supported in the network isolation mode provided by Amazon SageMaker AI or Amazon VPC.
-
The built-in actions cannot be used for Profiler rules.
-
The built-in actions cannot be used on training jobs with spot training interruptions.
-
In email or text notifications,
Noneappears at the end of messages. This does not have any meaning, so you can disregard the textNone.